© Jan 2022 6-4 0607SE Maintenance Manual
REPAIR
Hunan Sinoboom Intelligent Equipment Co., Ltd.
recommends the replacement tires be of the same size,
ply rating and brand as the original tires. For the part
number of a specific machine model, please reference
the Part Manual.If the replacement tires are not
asHunan Sinoboom Intelligent Equipment Co., Ltd.
recommends, the following requirememts of tires
should be met:
1. Ply rating/rated load and dimension equal or
greater than original.
2. Tire tread contact width equal or greater than
original.
3. Wheel diameter, width and offset dimensions equal
to the original.
4. Approved for the application by the tire
manufacturer (including intended purposes,
maximum drive speed and maximum tire load, etc.).
5. Due to size variations between different tire brands,
both tires on the same axle should be the same.
UNSAFE OPERATION HAZARD
The tires and rims installed on each
product model have been designed
for stability requirements. Size
changes such as rim width, center
piece location, diameter, etc., without
written factory recommendations,
may result in an unsafe condition
regarding stability.
Installing tires and rims
UNSAFE OPERATION HAZARD
• Use the wheel nuts that suit the
rim bolts. The wheel nuts must be
installed and maintained at the
proper torque to prevent loose
wheels, broken studsand possible
dangerous separation of wheels
from the axle, Be sure to only use
the nuts matched to the cone
angle of the wheel.
• Tighten the lug nuts to the proper
torque to prevent wheels from
coming loose, Use a torque
wrench to tighten the fasteners. If
you do not have a torque wrench,
tighten the fasteners with a socket
wrench, then immediately have a
service garage or dealer tighten
the lug muts to the proper torque.
Over-tightening will result in
breaking the studs or
permanently deforming the
mounting stud holes in the
wheels.
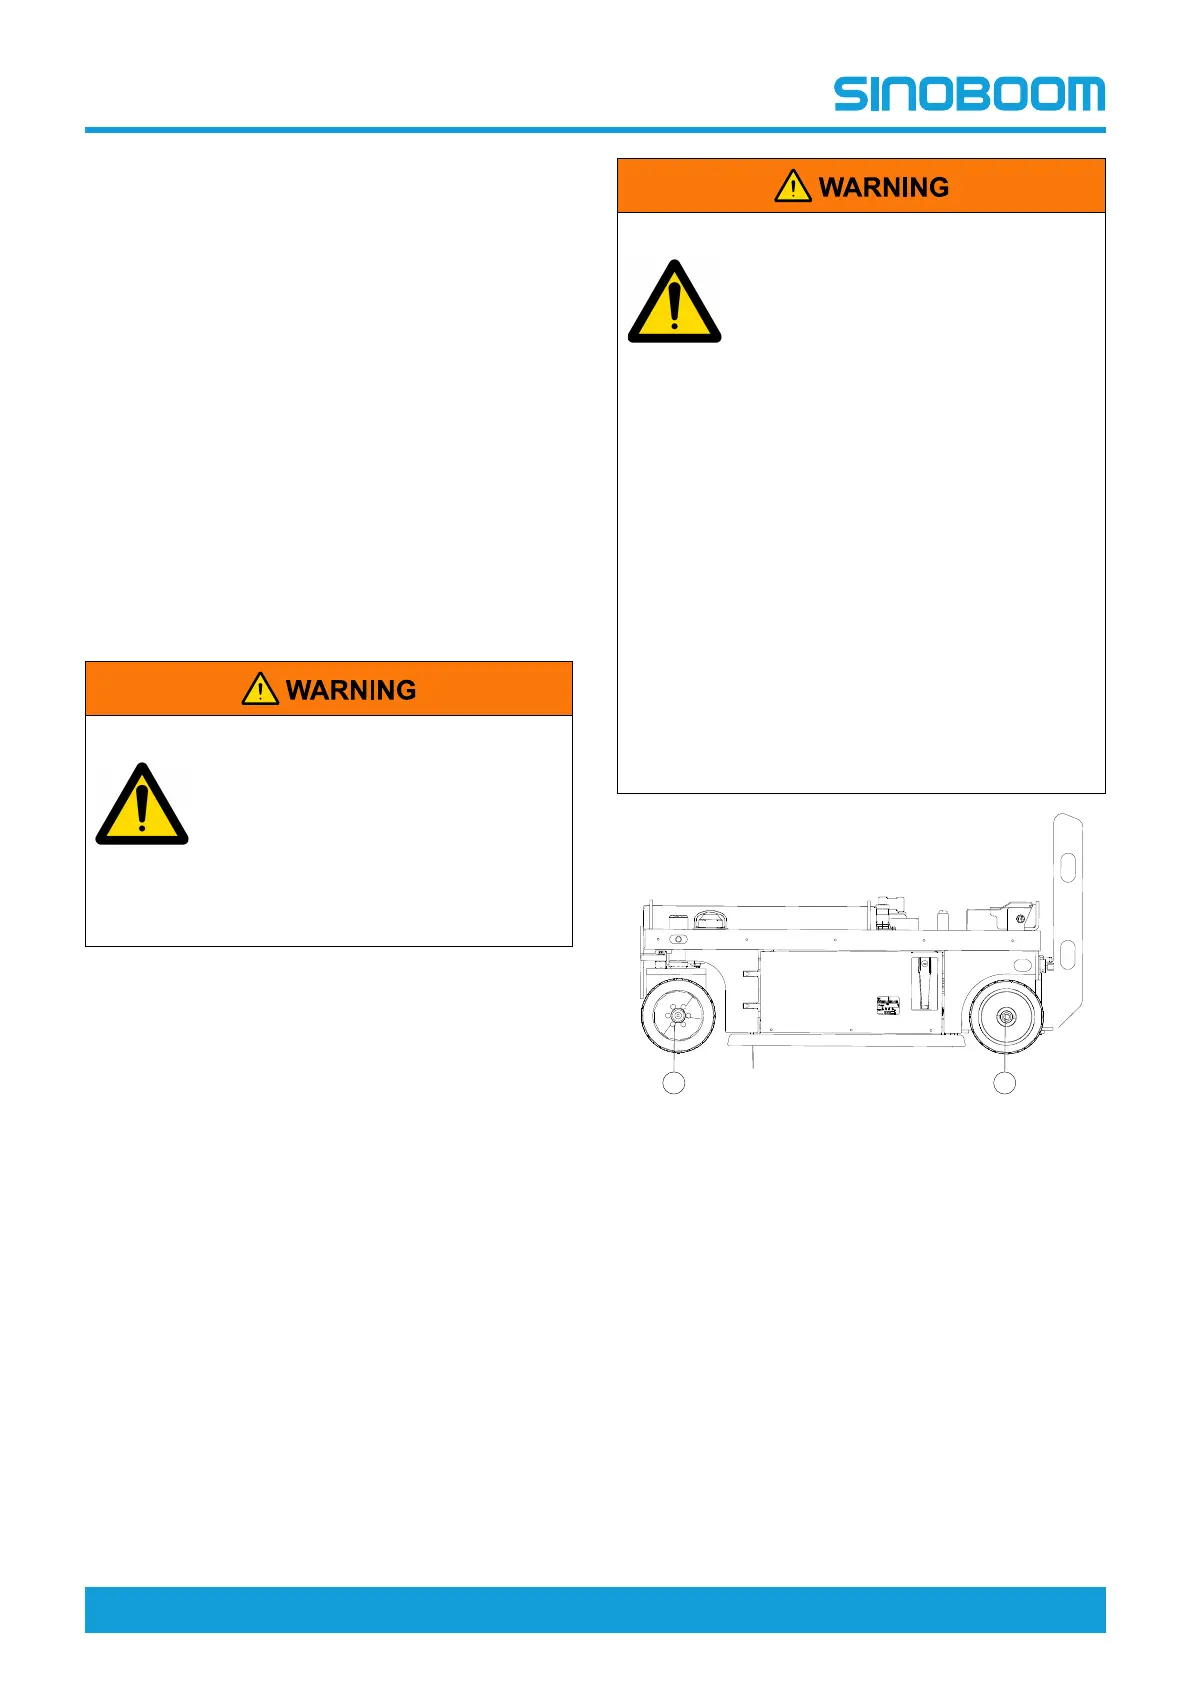
Figure 6-6
1. Place the machine on a firm level surface.
2. Place a jack of ample capacity under the chassis on
the side to be removed, raise the jack to make the
wheel off the ground.
3. Use a suitable device to support the wheel
assembly.
4. Front wheels:remove the wheel fastening bolt #1;
Rear wheels:remove the wheel fastening bolt #2.
5. Remove the wheel assembly and move away the
supporting device.
6. Front wheels:align the mounting holes of the new
wheel or the one to be used with those of the
reducer, and apply threadlocker Loctite 272 to the