IM Machine Name Rev.: END 34
The processing programme contains the pre-set parameters. XX processing
programmes can be stored. The appropriate processing programme can be selected
using the up and down buttons.
With the up and down buttons on the left next to the parameters, you have the option
of setting the values necessary for your process. In doing so, the setting steps are:
voltage 1 V, pulse duration 0.1 ms, pulse frequency 0.5 Hz and laser spot diameter
0.1 ms.
● Press the “Save” button to store the changed values
Cross-hair Adjustment
● Check that the laser shot is in the centre of the cross-hairs.
It can occur that this has shifted during transport.
If the cross-hairs and the laser shot coincide, the last step can be
skipped.
If the cross-hairs and the laser shot do not coincide, proceed as follows:
● Place a suitable object in the center of the work chamber and focus on it. A small
lift table and a metal plate are ideally suitable for this.
During the adjustment, the surface of the metal plate must be in focus. Thus, you see
a perfect, sharp image through the microscope.
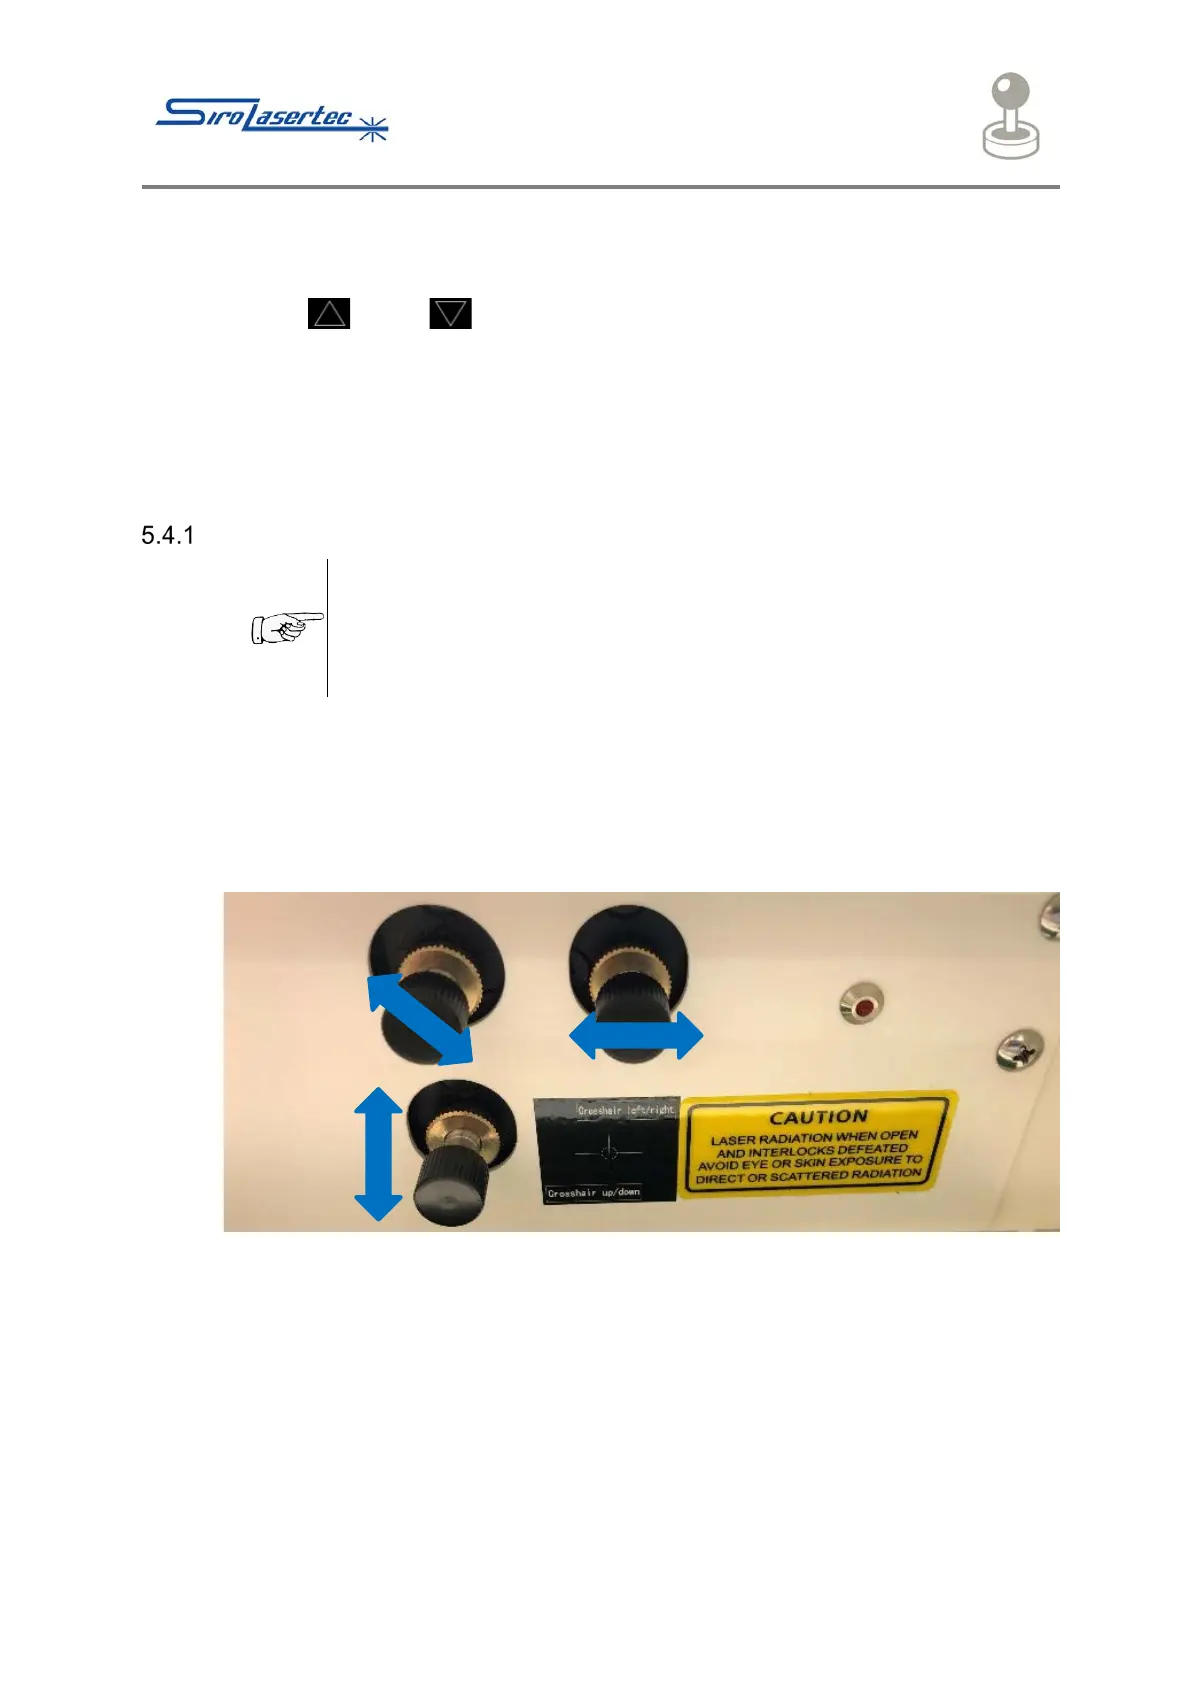
Illustration 16 Rotary Control
● Now loosen the locking screws of the 3 rotary controls in the upper area of the
work chamber.
● Turn the appropriate rotary control. In doing so, the position of the weld point is
changed.
● For adjustment, enter the following settings via the touchscreen:
250V / 2.5ms / 0.0 Hz / 0.5mm.
● Trigger a single laser pulse by pressing the foot pedal.
● Check the coincidence of the weld point with the center of the cross-hairs.