SLAYER STEAM LP USER MANUAL V1.1 | JUNE 2019 27
AUTOMATIC AND MANUAL OPERATION
Slayer Steam LP allows the barista to operate in two separate but related
modes: Automatic and Manual.
In automatic mode, the barista may dispense a pre-programmed shot
using the paddle positions denoting Shot1 and Shot2. This is possible
at each group, and each shot is customizable as described in the brew
parameters section (on pg. 26).
Manual Mode
Steam LP also lets the Barista switch to Manual Mode with the touch of a
button.
Using manual mode is recommended for dialing in a new coee
recipe
It is also useful when incorporating an additional grinder for a
special coee or decaf that is not used in the automatic shot
profiles.
When in manual mode, the “M” symbol will appear in the upper right
corner of the Barista Dashboard
TM
. The Group will now behave like a
manual machine:
Steam LP also enables a Manual shot to be saved as Shot 1 or Shot 2 in
Automatic Mode. Below is the recommended procedure to save shots
using Manual mode
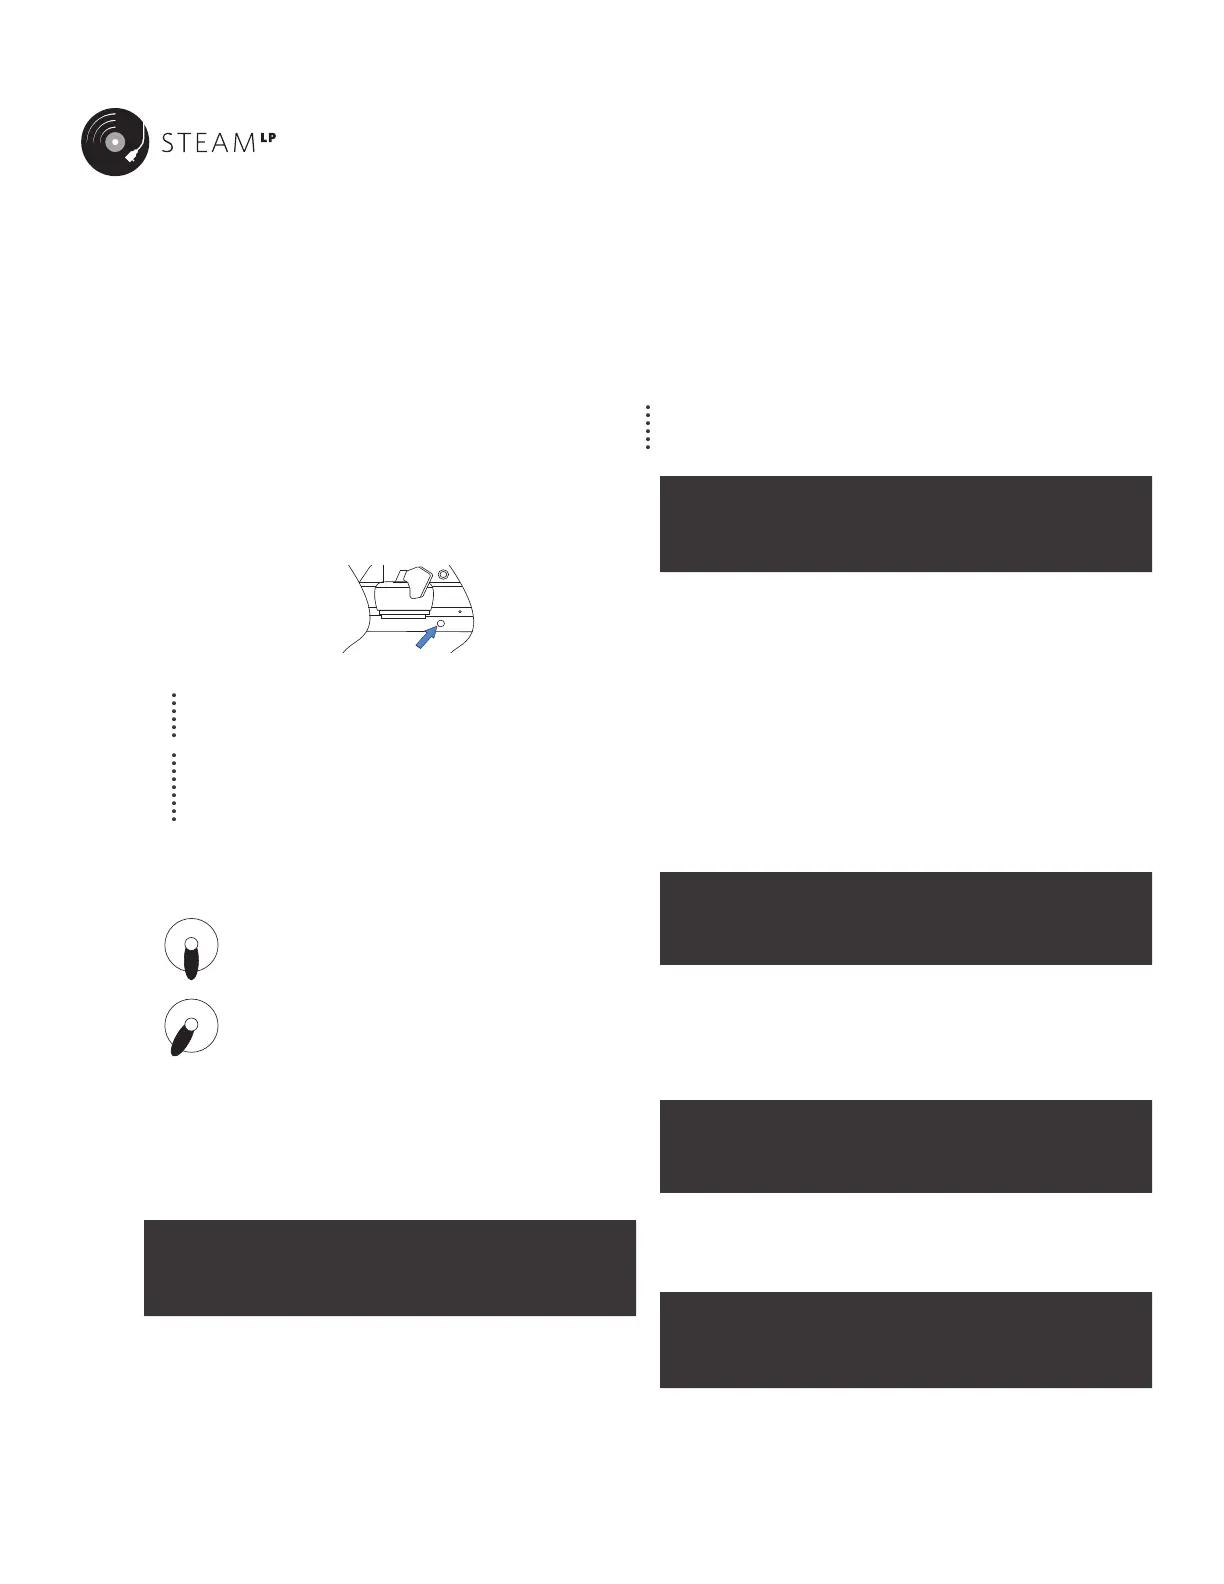
1. Press the Manual Mode button on the lower front panel
SCREEN EXAMPLE:
Pre Brew Post M
0.0 s 60.0 s 5.0 s
2. Move the paddle to position 1 to begin the Pre-Infusion and Brew
timers
3. Move the paddle to Position 2 and this will shift from low to high
pressure.
4. For Post-Infusion, move the paddle back to Position 1 to shift to low
pressure and the Post Brew timer will begin
5. To complete the shot move the paddle back to the home position.
6. Continue puling shots until a profile is desired to be saved.
7. Press the Manual Mode button again. This will allow the shot to be
saved. The screen below will appear
NOTE: If Passwords are enabled, the correct Password will need to be
entered before a Manual shot can be saved.
Save Last Shot
<No> SH1 SH2 CalWt
8. Scroll to SH1 or SH2 to save the last shot at that respective paddle
position. Press the Menu button to accept.
9. The screen will prompt whether to Copy that shot to All groups.
Choose <Yes> or <No>. The screen will return to the home menu.
Manual Button Default
In the Home Menu, scroll to Manual Button Default and press the button
to enter the Menu.
SCREEN EXAMPLE:
Manual Button
Default: <Shot1>
If Shot 1 is selected, any press of the Manual Mode button will display the
following screen and the manual shot will be able to be saved directly to
Shot 1
SCREEN EXAMPLE:
Save Last Shot
<No> Yes All CalWt
When the Manual Button is set to Shot1 or Shot2, a “1” or “2” character
will appear in the upper right corner of the screen and the Display will
appear in the following format:
Time Post wt 1
0|0 s 0.0 g 0.0 g
The number to the left of the separator “ | “ under Time represents Pre-
Infusion time, the number to the right of the separator represents total
Brew time. Post-Infusion and Shot Weight are displayed in grams.
With the paddle in Position 2, the group will be in full
pressure brewing
With the paddle in Position 1, low-pressure pre-infusion
(or Post-Infusion) will be active