SLAYER STEAM LP USER MANUAL V1.1 | JUNE 2019 22
THE BARISTA DASHBOARD™
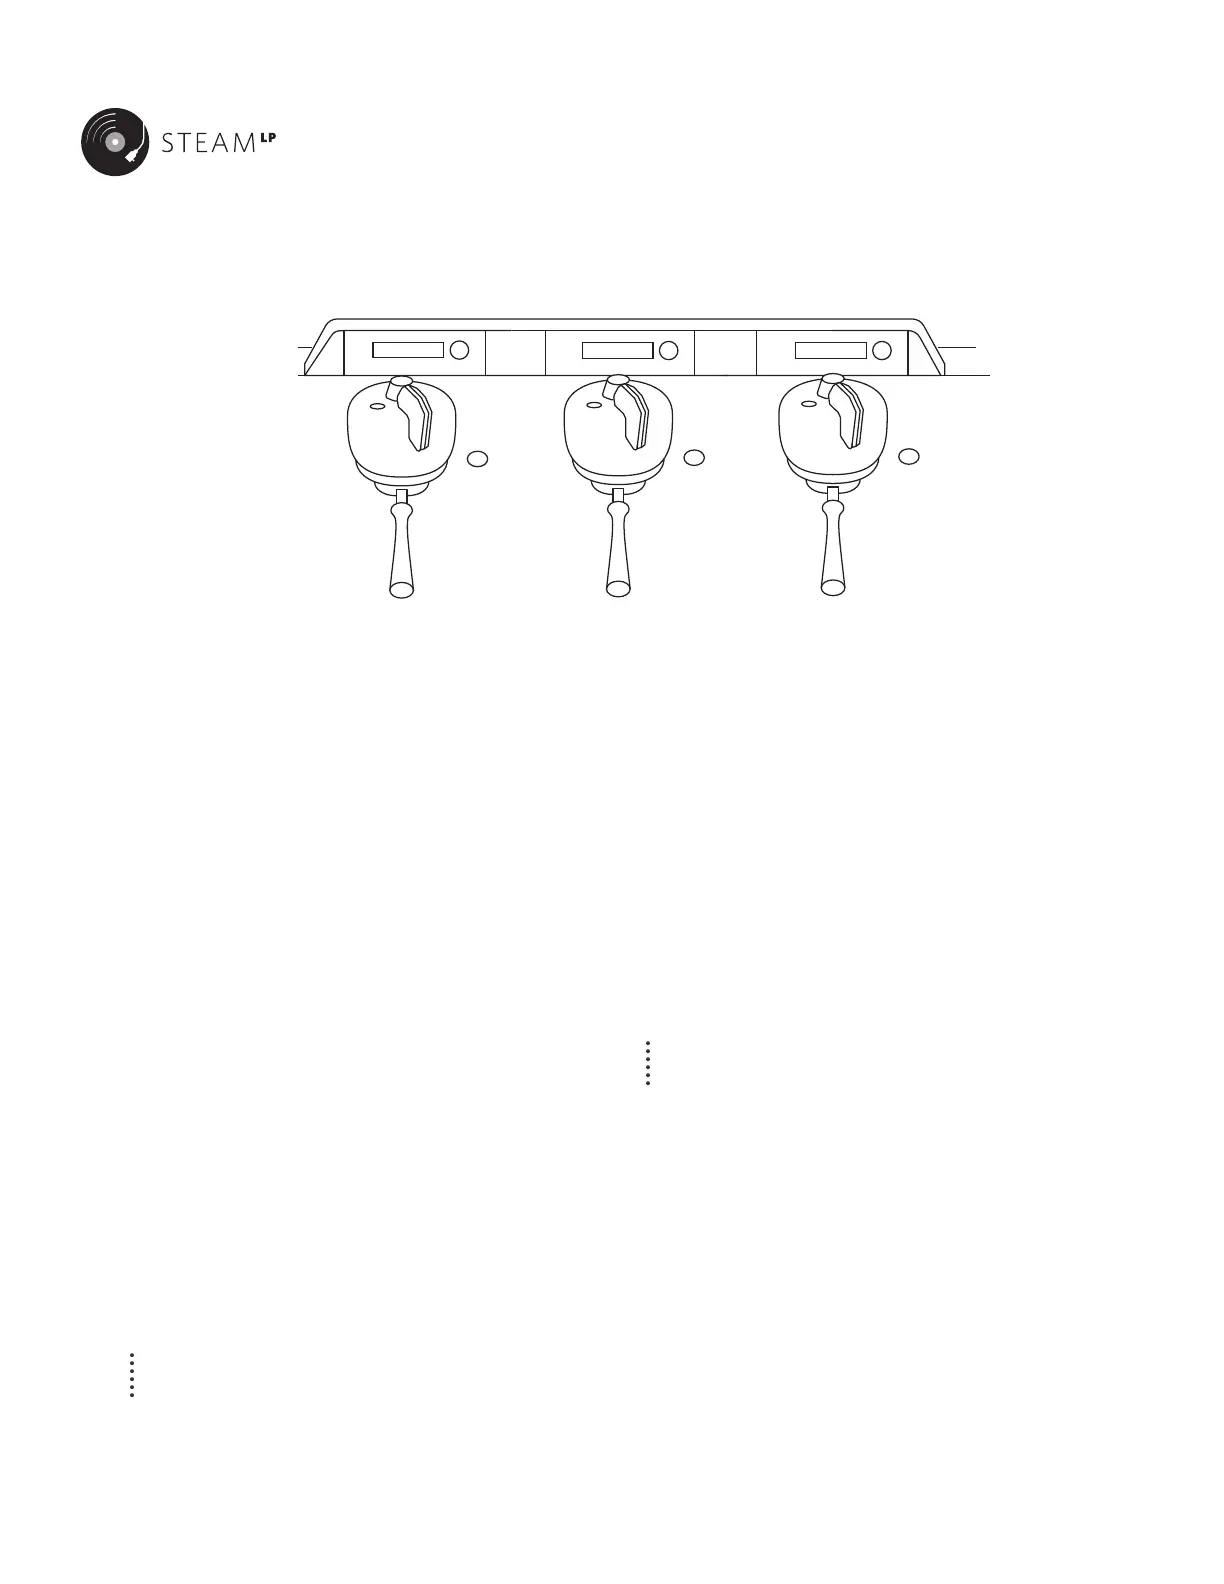
Slayer Steam LP is equipped with a digital interface that displays the
essential functions of the machine up front and center for your ease.
Through the Barista Dashboard™, you have access to quick and eective
brewing parameters and the ability to access two layers of password
protected menus as a Manager or Technician. **Password protection is
disabled from the factory for ease of install and out of the box calibration
and programming.
BASICS OF NAVIGATION
• The menu, settings, and query display is centered within the Barista
Dashboard™
• An easy to use menu button is located to the right of each heads up
barista dashboard. The far left (Group1) is the master grouphead
where all program options are available. This is used to enter the
menus, cycle options, make selections, and adjust settings. These
actions are accomplished in two dierent ways
• Scrolling from the home screen gives access to the Barista Menu
showcasing Brew Parameters, Shot Counts (per group), a prompt
to Enter the Menu (if passwords are not yet set), Full Cleaning,
Quick Cleaning & Switch O
• Pressing the Menu button from the home screen qickly jumps to
the Enter Menu Screen
• A short hold (2 seconds) will exit from a setting within any of the
three menus, while a long hold (5 seconds) will revert to the Home
menu. A timeout will occur after 30 seconds, sending the user back
to the home menu.
PROTIP: Moving the actuator on and o will exit any menu and cancel any
changes. (Think of it as an escape button).
• If saving a volumetric or temperature setting on the left (master)
group head, when prompted, scroll to select ALL to save details across
multiple groups or select Gp1 to save details at each individual group.
• Scroll to the next menu adjustment until setup is complete.
• The menu layout is circular; after cycling through the end of the menu
options, the first menu option will reappear.
SETTING PASSWORD
Password protection is disabled upon arrival to ensure fluid installation
and setup and all menu options in the Advanced Menu are available.
Once the initial options have all been set, the owner/operator may enable
passwords for the Manager and Advanced menus.
When password protection is enabled, the user must enter the Manager
password to access the Manager Menu and the Advanced Password to
access the Advanced Menu.
PROTIP: There is no separate prompt for which password to enter;
entering a correct password will take you to its matching Menu.
Details on how to set the Manager and Advanced Passwords are outlined
below.
A password can be between 1-8 characters, A-Z letters (uppercase only)
and 0-9. Using the blank space or Null < > will indicate the password is
completed.
Set Passwords, Manager & Advanced Menus
1. Scroll to PASSWORDS
2. Scroll to select <ENABLE> and press the menu button
3. Scroll to select Manager and enter a password by scrolling to a
desrired character. Press the menu button to move to the next
character. Scroll to the null <> character (one counter-clockwise
click past 0) to complete the password.