77
Single Bar Calibration
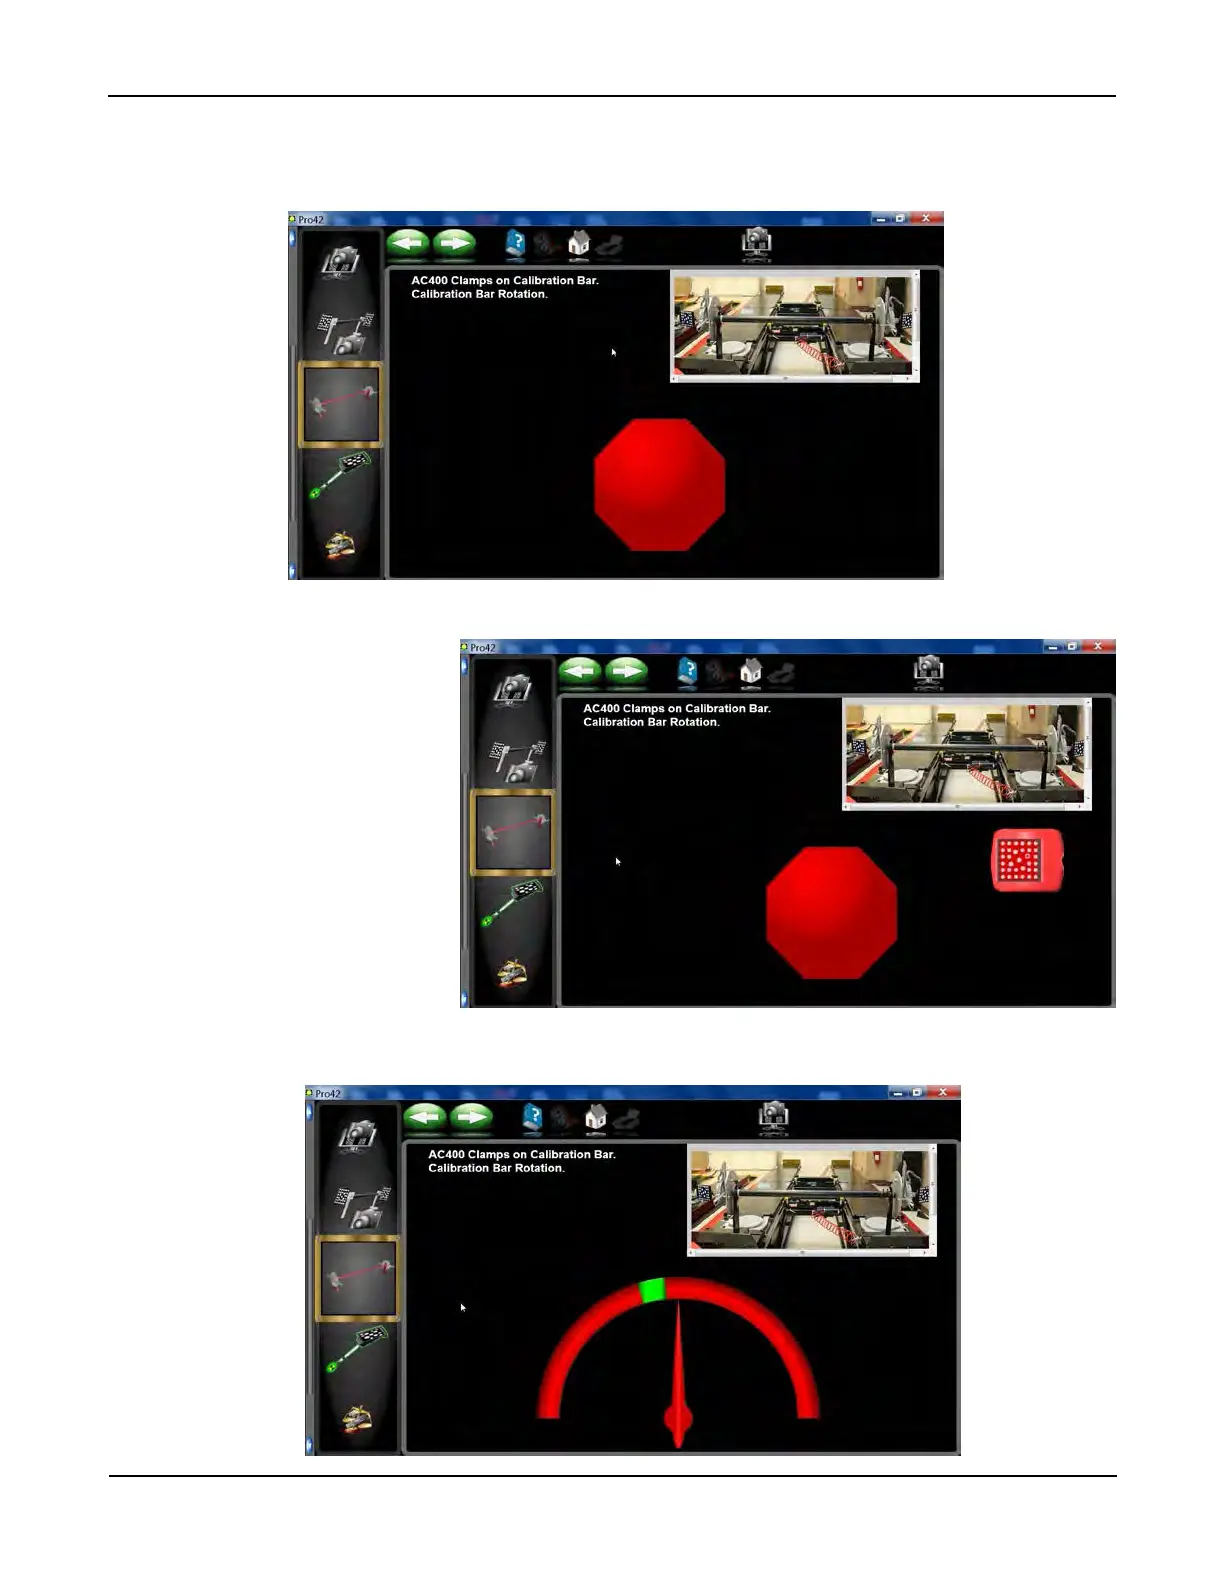
11. With the front clamps and targets mounted vertical, a stop sign will appear. Be patient as the system is re-
cording data and may take several minutes to complete. This is the wheel clamp and targets initial position
(Vertical) for the entire single bar calibration procedure. NOTE: THE CAMERA TO TARGET DISTANCE
MUST BE 120” OR LESS TO PROCEED.
12. Rotate the calibration bar back and lock it using one of the locking knobs on the stands until the stop sign
appears.
13. Rotate the calibration bar forward and lock it using one of the locking knobs on the stands until a stop sign
appears.
NOTE: If a target is blocked
at anytime during the single
bar calibration procedure a
blocked target sign will ap-
pear as shown in the illustra-
tion. Also note that if a wheel
wobble occurs the system
will automatically restart
the previous step. A “Wheel
Wobble” is agged when the
ending position is different
than the beginning position.