9. Reinstall the left and right side plates with an L-type wrench.
Y-axis
1.
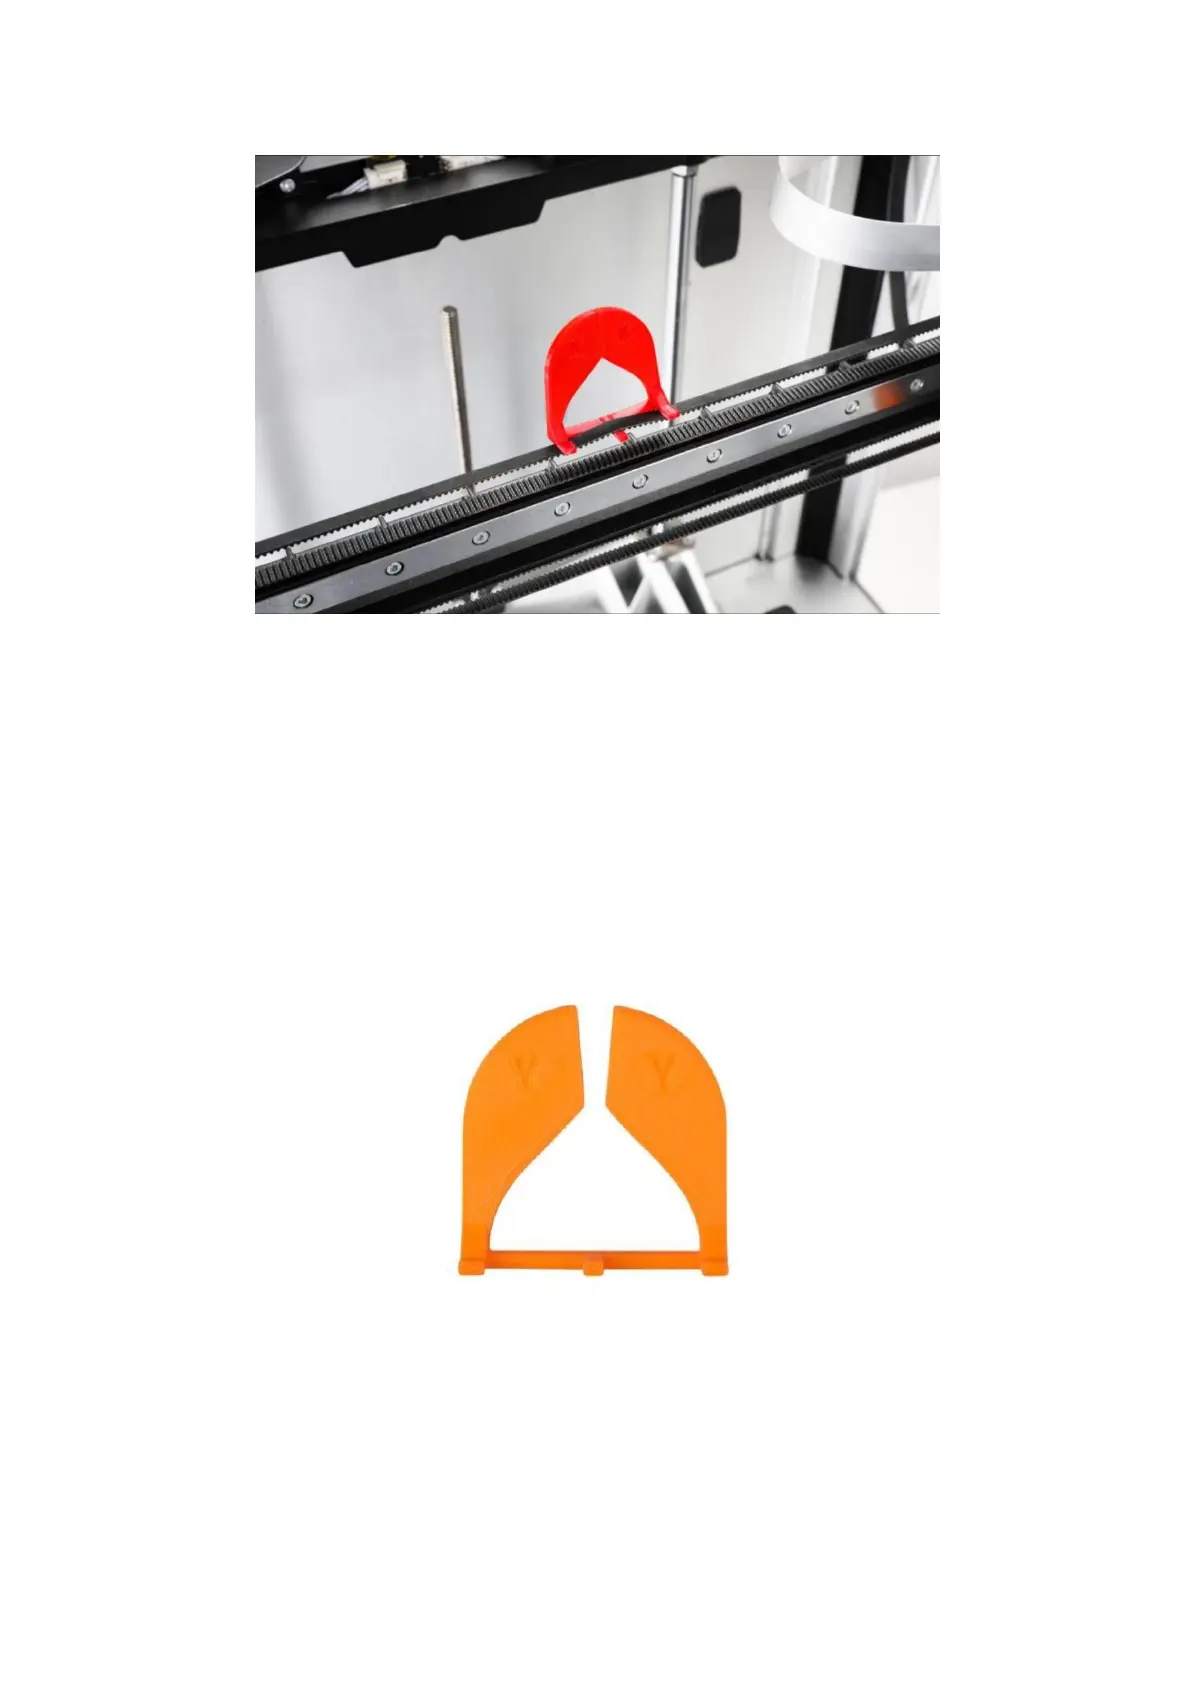
For firmware V2.2.2 and above, obtain the G code in the Local folder of the
screen and print the Y-axis belt tension gauge using the PLA filaments.
2. On the touchscreen, tap Control > Motor, and tap to turn off the motor.
3. Turn the printer off and power off.
4. Manually push the left extruder to the leftmost side and the right extruder to the
rightmost side, and then push the X-axis linear rail to the innermost side.