38
Mechanical Installation
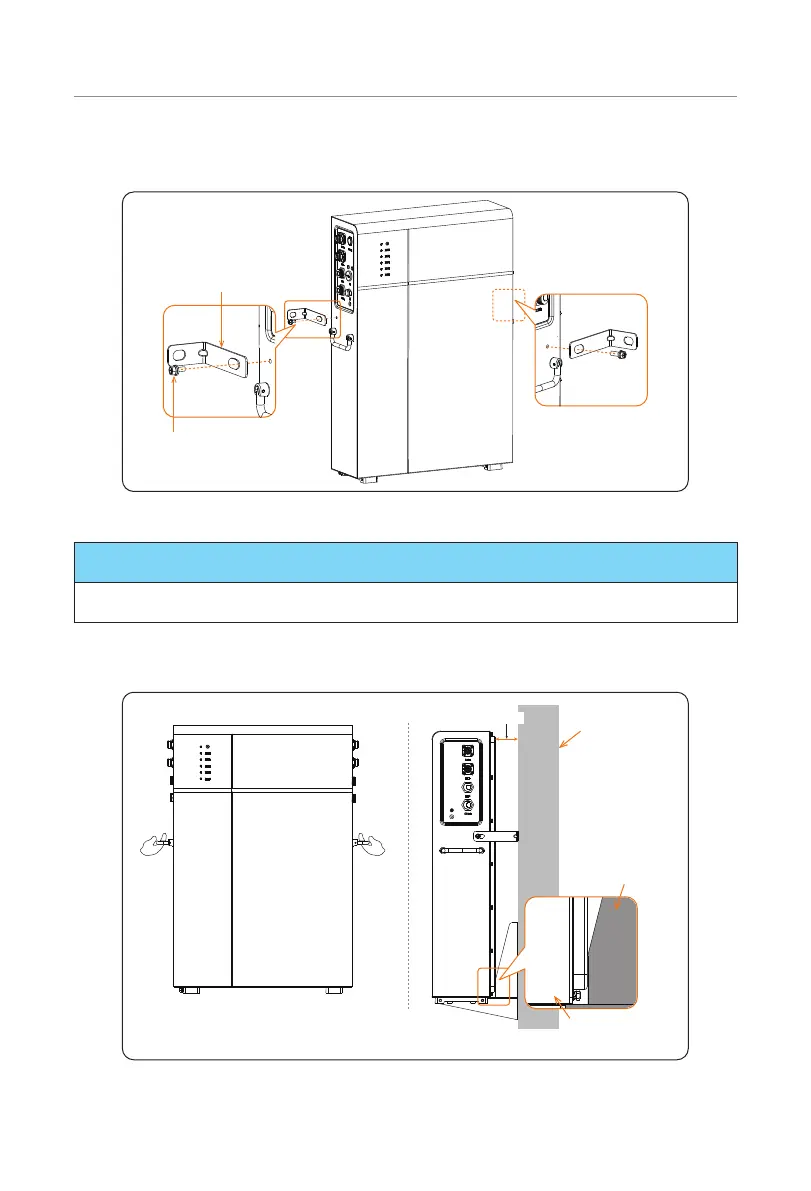
Step 4: Fix the L-shaped wall bracket (Part D) to the battery module with M6*12 cross
external hexagon screw (Part J) (× 2 pcs), but do not tighten them fully.
L-shaped wall bracket
M6 screw
Figure 6-12 Fixing L-shaped wall bracket to the battery module
NOTICE!
• Do not tighten the screws fully.
Step 5: Gently lift the battery module onto the wall bracket, and locate it against the wall
bracket.
Concrete wall or
solid brick wall
with a minimum
thickness of 100
mm
Wall bracket
Battery module
Front view Left side view
55 mm
Figure 6-13 Lifting the battery module
 Loading...


