34
CAUTION: Before doing any work on the guide bar or
chain,
always switch off the engine and
pull the plug cap off the spark plug (see
"Replacing the spark plug"). Always wear
protective gloves!
CAUTION: Start the chain saw only after having
assembled it completely and inspected!
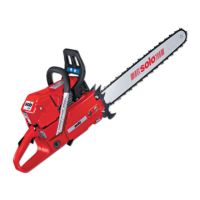
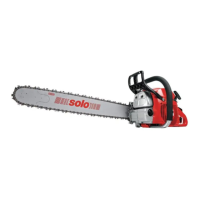
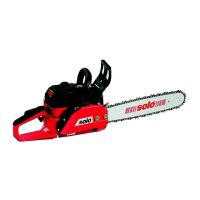
PUTTING INTO OPERATION
- Turn the chain adjusting screw (B/4) anti-clockwise until
the pivot (B/5) is positioned approx. 2 cm in front of the
left stop.
- Put the chain (D/6) onto the sprocket (D/7) and insert it
into the guide groove of the guide bar. The cutting
edges of the top side of the bar must be oriented in the
direction of the arrow.
- Position the guide bar. Ensure the pivot (B/5, C/5) of the
chain tightener is inserted into the bore (see circle) of
the guide bar.
- Lead the chain (E/6) around the sprocket nose (E/8) of
the guide bar.
- Turn the chain tightener (B/4) to the right (clockwise)
until the chain is in gear with the guide groove of the
bottom side of the bar (see circle). Press the guide bar
with your left hand against the casing.
A
B
C D
E
F
5
7
6
5
8
6
1
2
- Loosen the two fastening nuts (A/1).
- Pull off the sprocket guard (A/2).
Mounting the guide bar and chain
Use the universal wrench delivered with the chain saw for
the following works.
Put the chain saw on a stable surface and carry out the
following steps for mounting the guide bar and chain:
4