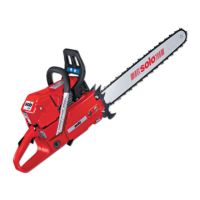
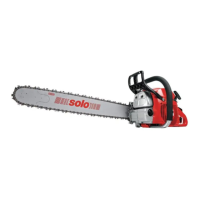
45
Replacing the vibration dampers
CAUTION:
Protective gloves must be put on.
Always replace all five vibration dampers.
- The vibration damper (E/1) is installed next to the
identification plate.
- The vibration damper (E/2) is installed underneath the
guide bar support. The chain catch (a) must be removed.
- The vibration damper (E/5) is installed under the
mounting arm of the tubular handle.
E
3
F
2
1
5
a
b
a
4
- The vibration damper (F/3) is installed underneath the
oil tank cap.
- The vibration damper (F/4) is installed underneath the
pre-filter. The cover (a) and pre-filter (b) must be
removed.
STOP
- Carefully demount the vibration damper by means of
the universal wrench.
- The vibration damper is mounted in the reverse order.
-Demount the tubular handle (a) (5 screws).
-Use the socket wrench (accessories, not delivered with
the chain saw) to demount the vibration damper
carefully.
- The new vibration damper is mounted in the reverse
order.
Replacing vibration damper 5
- Put the saw chain on its side and carefully remove the
protective cover (G/4) by means of the universal wrench.
Replacing vibration dampers 1 - 4
4
G
H
a
- Use the offset screw driver to loosen the screw inside.
I
J