6.1.6 Printout data configuration with PC software
Connect the tester to a computer and set up the connection in accordance with section 7.2 of this
manual. Then run the tester configuration module and the printout wizard (follow the instructions of
the PC software user manual). Following data can be activated and filled in:
- contact data field - three lines. The first field on the top of the printout.
- additional field - allows to add custom printout description (eg. standard name, tester's serial num-
ber, etc.).
- retest date – the date when the tested appliance should be tested again. Allows to set the retest cy-
cle in months. Selected value will be added to the test date and printed out as a retest date.
- tested by – name (eg. Family name, initials, etc.) of the person who did the testing.
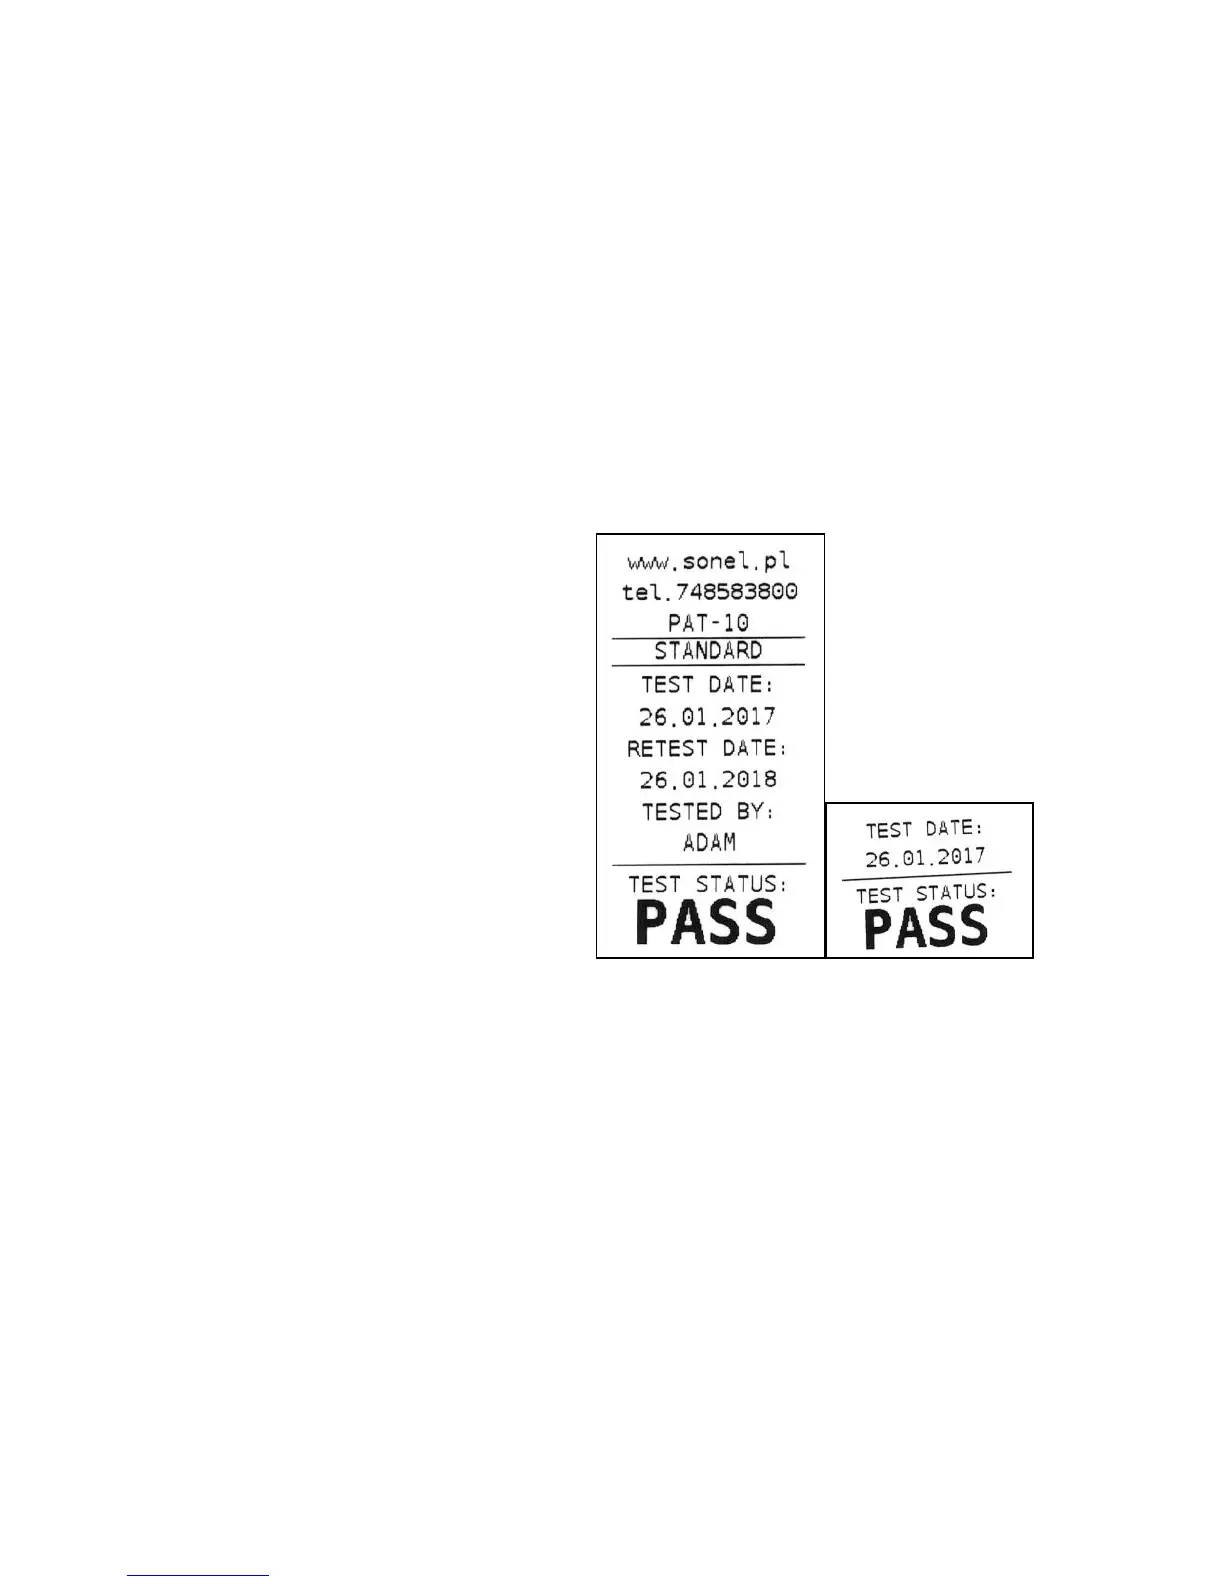
Fields 'tested by' and 'test status' are always printed.
If any of the above mentioned fields are not activated, the tester will skip them when printing -
printouts will be shorter:
Exemplary standard label with all the fields: filled in left empty.
6.1.7 Placing the printer inside a carrying case
Carrying case has enough room to store not only the tester, but printer too. The space dedicated for
that is in the lower part of the case. In order to put the printer inside the case undo zippers and Velcro
straps, then fit the printer inside, and fasten the straps back on, as shown in the picture below: