Chapter 4 Recording and Playback
Chapter 4 Recording and Playback 4-7
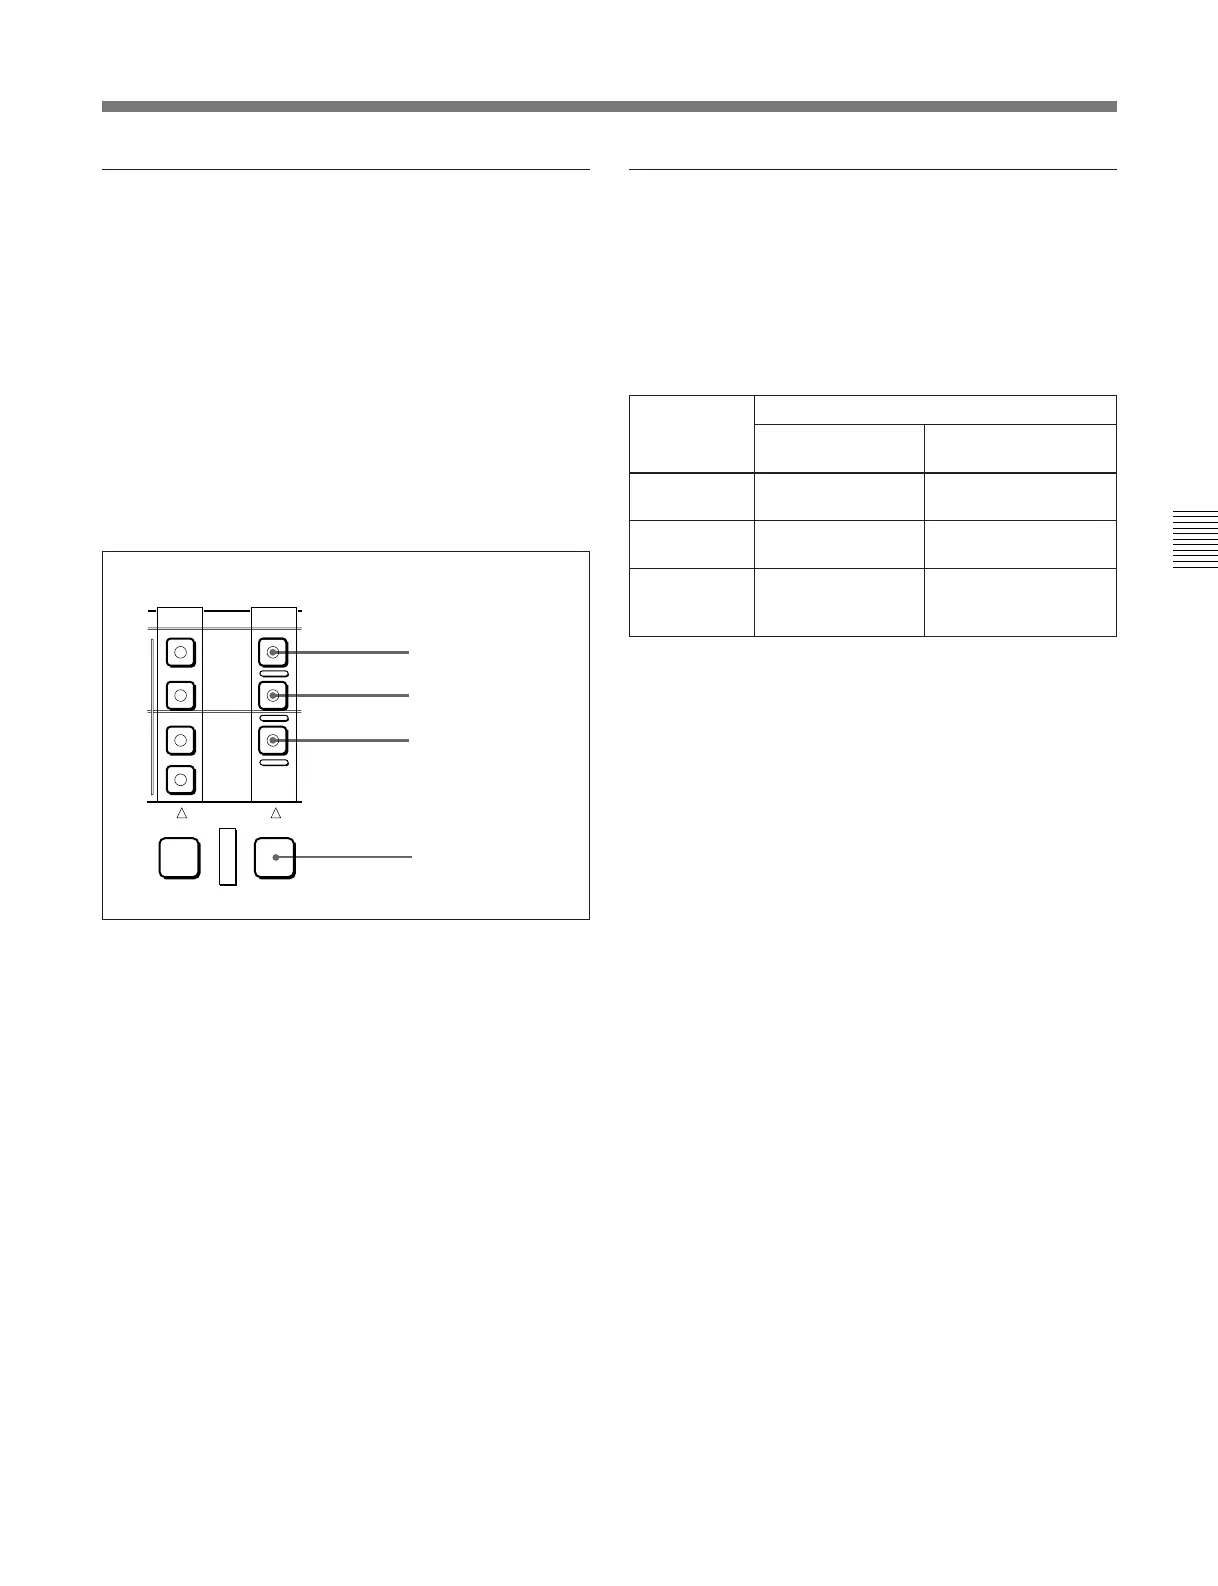
Selecting the device on which operations
are to be carried out
Carry out one of the following operations depending
on which of the built-in VTR or hard disk is subject to
operations.
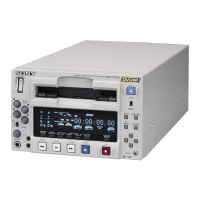
•To carry out operations on the built-in VTR
Hold down the RECORDER button, and press the
TAPE button in the RECORDER row, turning it on.
•To carry out operations on the hard disk
Hold down the RECORDER button, and press the
DISK PROGRAM or DISK MASTER button in the
RECORDER row, turning it on.
EXT
DISK
MASTER
DISK
PRORRAM
TAPE
PLAYER RECORDER
RECORDER button
TAPE button
DISK
PROGRAM button
DISK
MASTER button
Time data selection
Displayed time data
Use the CTL/TC/UB button to select one of CTL
(control), time code, and user bit values. When you
select time code, the data displayed is determined by
the setting (LTC/AUTO/VITC) of the TC switch as
follows.
a) • When playing back DISK MASTER: Continuous time
code beginning with the time code value of the hard
disk position where the recorded file starts.
• When playing back DISK PROGRAM: Continuous
time code beginning with time code value 0 assigned to
the beginning of the program.
Output time code
The settings of the PRESET/REGEN switch and
extended menu item 606 determine whether the time
code output from the TIME CODE OUT connector is
the time code read by the internal time code reader
(REGEN), or the playback time code (PRESET).
For details of the PRESET/REGEN switch settings, see page
2-6.
TC switch
setting
Displayed data
When playing
back tape
When playing back
hard disk
LTC LTC recorded on
tape
LTC recorded on hard
disk
VITC VITC recorded on
tape
VITC recorded on
hard disk
AUTO LTC or VITC
(automatically
switched)
Virtual file time code
a)