Chapter 2 Location and Function of Parts
Chapter 2 Location and Function of Parts 2-9
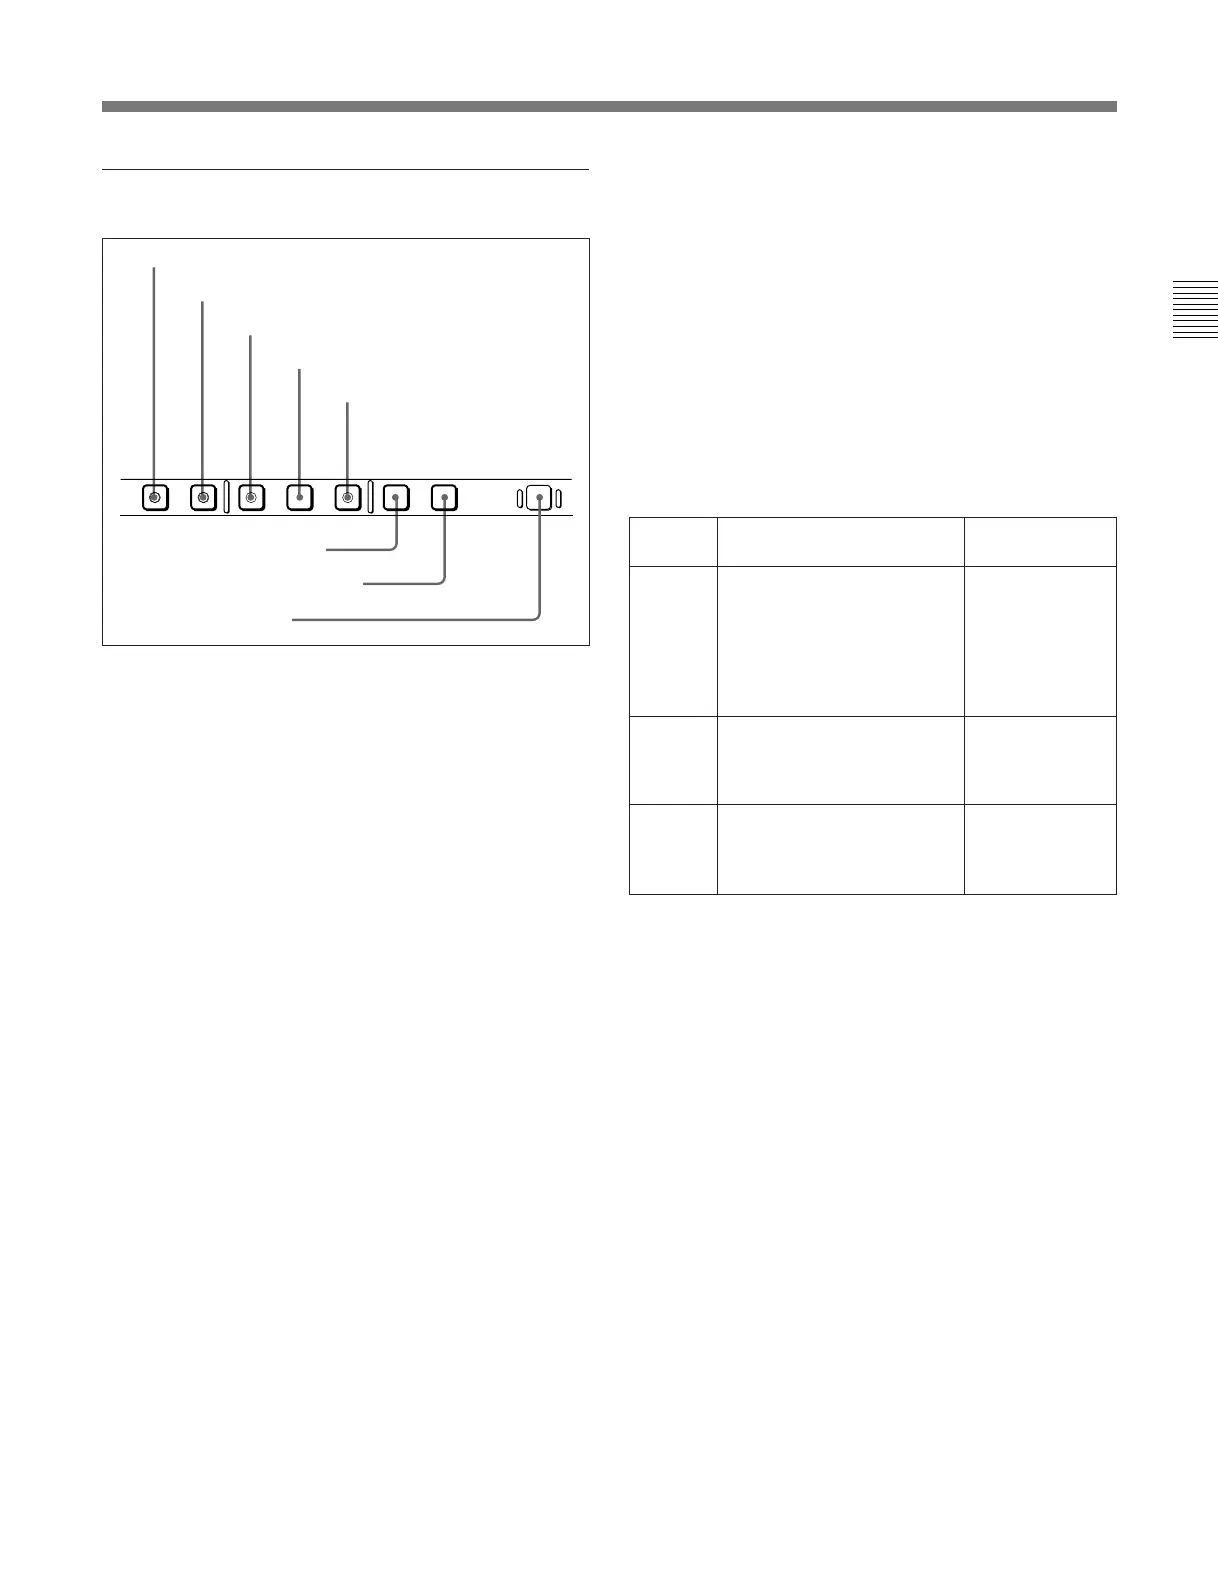
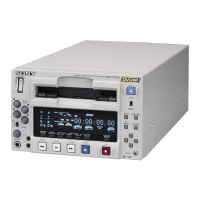
2 Monitor/menu/display setting section
1 PB.EE (playback E-E) button
To select E-E mode input signals for the video/audio
signals output during fast forward, rewind, still, and
standby, press this button, turning it on.
Either one of this button and the PB button 2 is
always lit.
2 PB (playback) button
To select playback signals for the video/audio signals
output during fast forward, rewind, still, and standby,
press this button, turning it on.
Either one of this button and the PB.EE button 1 is
always lit.
3 MENU button
Use this button for setup menu operations.
Pressing this button, turning it on, displays setup
menus in the fluorescent display of the device
specification and display section 3. Press the button
once more to exit from the menu display.
For details of setup menu operations, see Chapter7, “Menu
System”.
4 SET button
Use this button for setting time code and user bit
values and in setup menu operations.
For details of setup menu operations see Chapter7, “Menu
System”, and for details of setting time code and user bit
values see Section 4-1-2 “Recording Time code and User
Bit Values” (page 4-2).
5 HOLD button
To stop updating of the time code or user bit value in
the fluorescent display (that is, to hold the display),
press this button, turning it on. To set a time code or
user bit value, first press this button to hold the value.
6 CTL/TC/UB button
This selects the value displayed in the fluorescent
display in the following sequence: CTL, TC, UB. As
the display changes, the corresponding indicators over
the fluorescent display also show the status.
Time code display value selection and display contents
a) The selection of LTC or VITC is made by the TC switch.
When VITC is selected, the VITC indicator over the TC
switch lights.
7 TOTAL/REMAIN button
Press this button to switch between a TOTAL
indication or REMAIN (remaining) indication on the
fluorescent display. According to the selection, the
TOTAL indicator or REMAIN indicator above the
fluorescent display lights.
The TOTAL and REMAIN indications vary according
to that on which operations are being carried out.
For details of the TOTAL and REMAIN indications, see the
table “TOTAL/REMAIN indications” (page 2-10).
8 RESET button
To reset a CTL, time code (TC) or user bit (UB) value
displayed in the fluorescent display, hold this button
down.
Resetting the CTL value erases all edit points.
PB EE PB MENU SET HOLD RESET
CTL/TC/UB TOTAL/REMAIN
8 RESET button
6 CTL/TC/UB button
7 TOTAL/REMAIN button
1 PB.EE button
2 PB button
3 MENU button
5 HOLD button
4 SET button
Display
selection
Value displayed
Indicator status
CTL Tape running time (hours,
minutes, seconds, frames)
computed from the CTL
(control) signal recorded on
the tape during playback, or
a count of the CTL signal
pulses during recording.
TC and UB
indicators are
both off.
TC Playback time code read by
the internal time code reader
or time code during
recording.
a)
The TC indicator
lights and the UB
indicator goes
off.
UB User bit value inserted in the
playback time code or time
code during recording.
a)
The UB indicator
lights and the TC
indicator goes
off.