82
GB
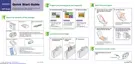
Notes
• The connector is designed for the
PictBridge only. Never connect a
device other than a PictBridge-
compliant digital camera.
• The type of USB connecting cable
you should use may differ
depending on the digital camera.
Use a USB connecting cable with an
A-TYPE connector for the printer
and an appropriate type for your
digital camera.
• Use a commercially available USB
cable shorter than 3m in length.
The printer automatically enters the
PictBridge mode. The “PictBridge”
indication appears in the LCD
display.
5
Operate the digital camera to
print an image.
The printer supports the following
prints:
• Single-image print.
•Index print (INDEX)
• All images print (ALL)
• Date print
• Border/borderless print
3
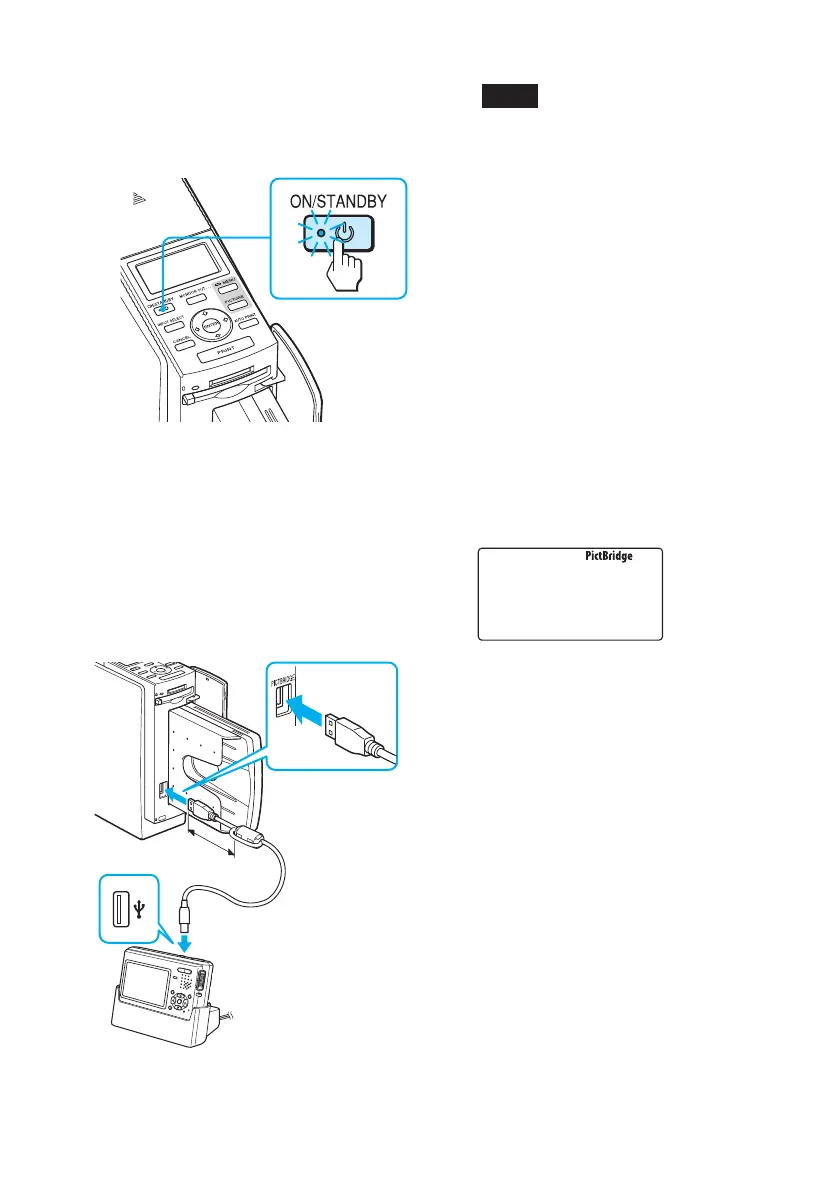
Turn on the printer.
The ON/STANDBY indicator of the
printer lights in green.
4
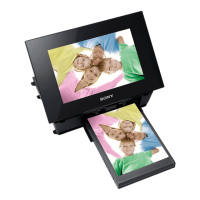
Connect a PictBridge-
compliant digital camera to
the printer.
Use the USB connecting cable
supplied with the digital camera.
PictBridge-compliant
digital camera
To the PictBridge
connector (USB A-
TYPE)
To the PictBridge
connector (USB)