30
RCD-W10
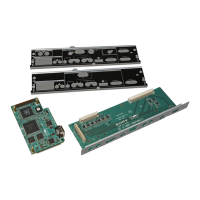
9) Check that the message “Power Check End” appears on display.
(Fig. 3-9)
If the measurement result is outside the specification value,
either perform Section 4. CDM65-RBD1 Electrical Adjustment,
or locate the cause of the error by performing the Laser
Deterioration Judgment.
3-2. Laser Deterioration Judgment
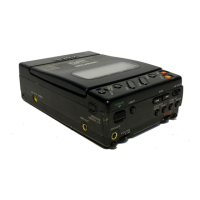
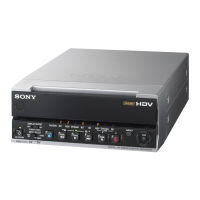
1) Select the menu as follows. Control → Macro, and select
10vwdcC_S.ttl.
Press “Open”. (Fig. 3-10, 3-11)
4 Fig. 3-9
4 Fig. 3-10
4 Fig. 3-11
2) Press the “RESET” button (SW101) of the jig as prompted by the display.
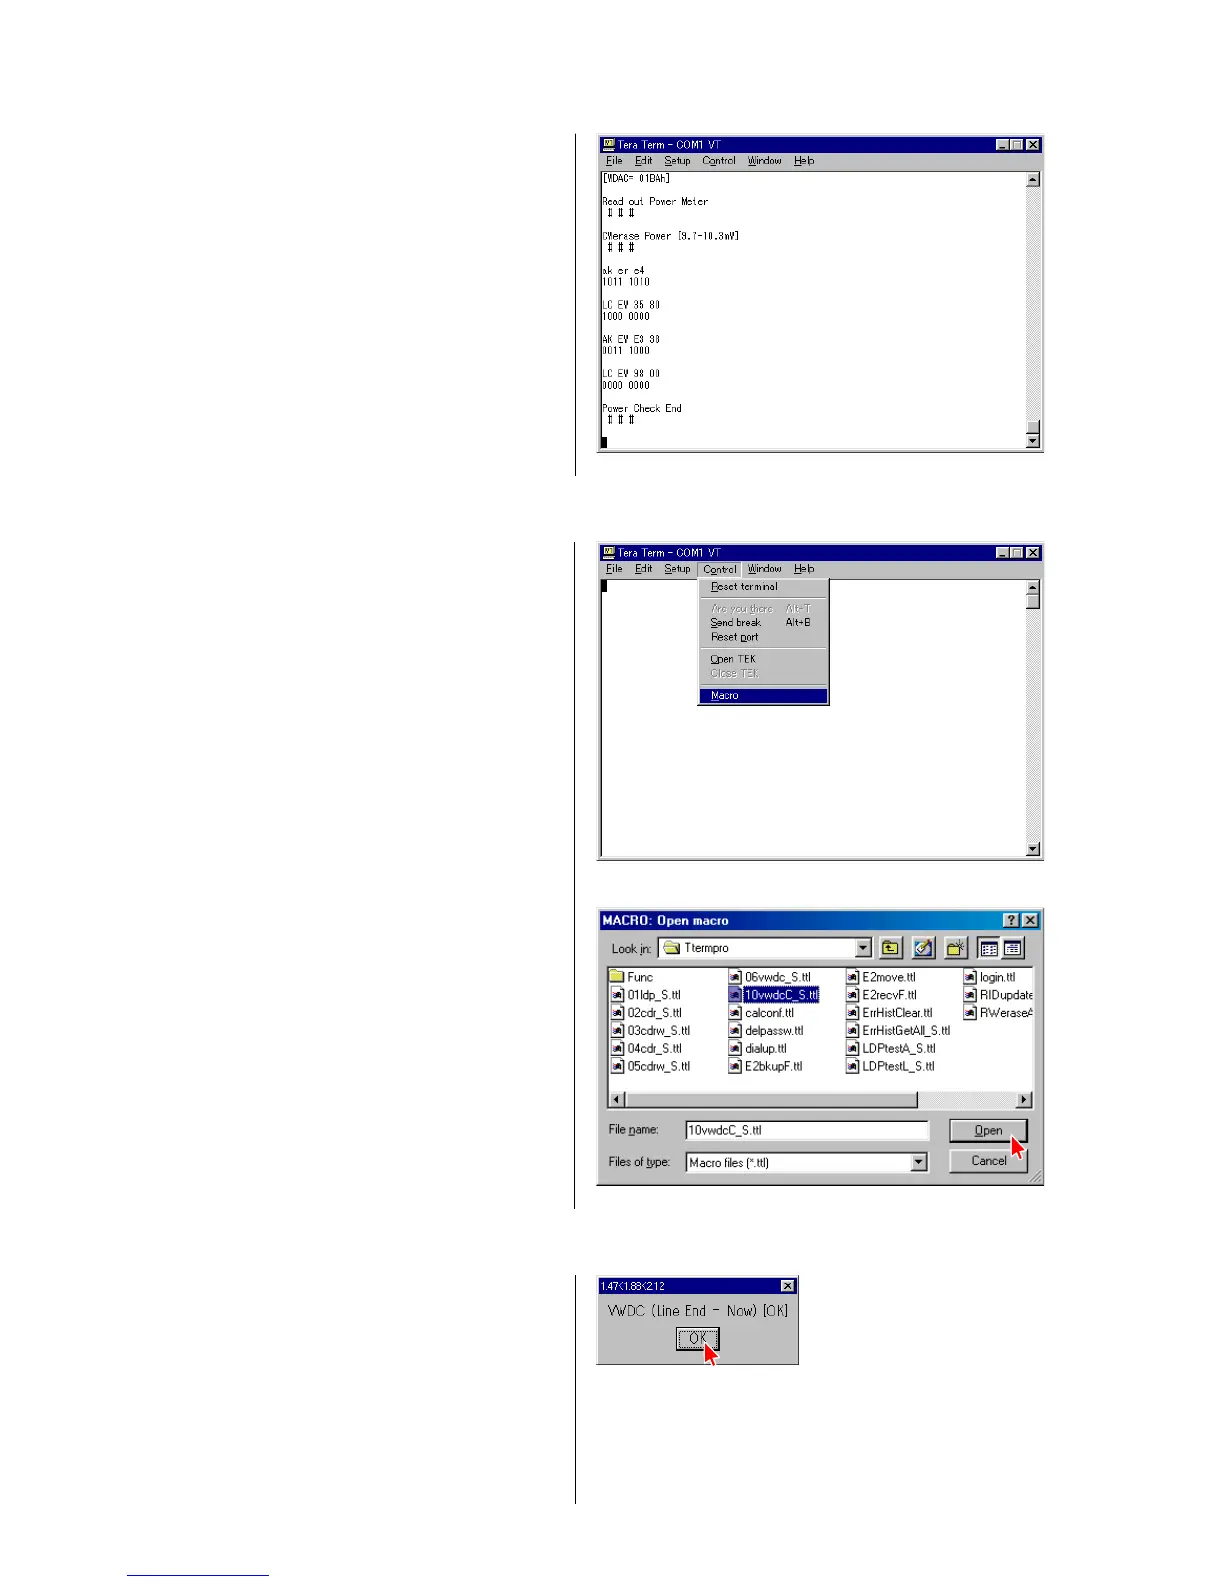
3) When the message [OK] appears as shown in Fig. 3-12, press
the “OK” button.
When the laser unit KRM-220CAA (Op) is normal without
deterioration of laser, the message [OK] appears. If the laser
unit is deteriorated, the message [NG] appears. Then, replace
the laser unit KRM-220CAA (Op).
4 Fig. 3-12
 Loading...