Do you have a question about the Sony STR-DA7ES and is the answer not in the manual?
Details power output and total harmonic distortion for both channels.
Lists rated power output at stereo mode for different impedance loads.
Specifies mono and stereo sensitivity levels in dBf and µV.
Provides the minimum signal level for acceptable stereo reception.
Defines the frequency range for AM tuning in kHz.
Specifies the signal strength required for reliable AM reception.
Lists video input and output signal levels and impedance.
Details the AC voltage and frequency the unit requires for operation.
Specifies power usage in Watts or VA for different area codes.
Outlines AC leakage test procedures and limits for safe operation.
Describes the procedure for testing DTS decoding functionality using a specific test CD.
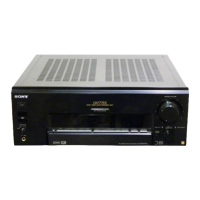
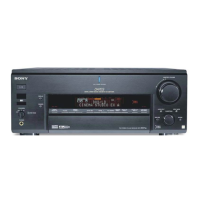
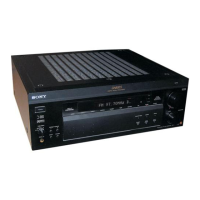
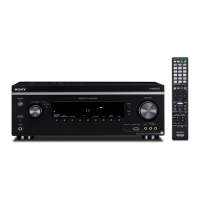
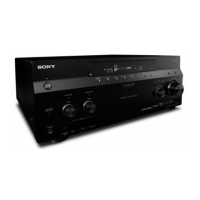
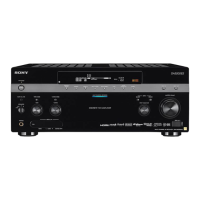
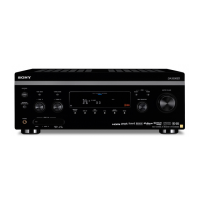
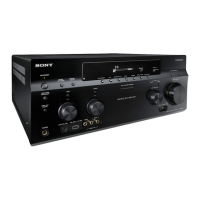
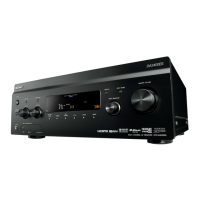
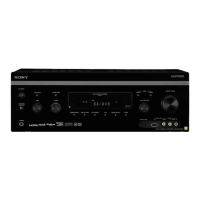
Provides an overview of the main unit's front panel controls and features.
Details the procedure to test all segments of the fluorescent display.
Explains how to reset all preset contents to the default factory settings.
Describes the process to clear all preset data stored in the receiver.
Outlines the procedure to clear preset sound field settings for initialization.
Explains how to select the AM tuning step between 9 kHz and 10 kHz.
Details the procedure to display the receiver's version information.
Provides a step-by-step guide on how to remove the outer case.
Details the procedure for disassembling the front panel assembly.
Describes the steps to remove the internal bracket for service access.
Outlines the procedure for removing the rear panel section.
Explains how to remove the main digital processing board.
Guides the user through removing the input and E-VOL circuit boards.
Details the process for removing the A-class and amplifier boards.
Provides instructions for removing the AC and CIS power supply boards.
Outlines the steps for disassembling the DC power board.
Describes how to adjust idling current by measuring voltage at specific test points.
Explains the procedure for adjusting the OSD display frequency using a counter.
Lists pin functions for IC1201 CXD9617R (AUDIO DSP) on the DIGITAL BOARD.
Presents a block diagram illustrating the audio signal flow within the receiver.
Shows a block diagram detailing the video signal processing path.
Illustrates the first part of the digital signal processing block diagram.
Presents the second part of the digital signal processing block diagram.
Depicts the block diagram for the power amplifier stages of the receiver.
Shows the physical layout and location of various circuit boards within the unit.
Provides an exploded view of the receiver's case and associated parts.
Shows an exploded view of the front panel components, part 1.
Displays an exploded view of the front panel components, part 2.
Provides an exploded view of the receiver's rear panel and connectivity ports.
Shows an exploded view of the main chassis and internal board mounting.
Displays an exploded view of chassis components and fasteners, part 2.
Lists electronic components for the A-Class amplifier board.
Lists electronic components for the main amplifier board.
Lists electronic components for the digital processing board.
Lists electronic components for the CIS (Customer Interface System) board.
Lists electronic components for the E-VOL (Electronic Volume) board.
Lists electronic components for the F-SPTM board.
Lists electronic components for the input signal processing board.
Lists electronic components for the UP CONVERT board.
Lists available language versions of the user and service manuals.
| Audio Channels | 7.1 |
|---|---|
| Frequency Response | 10 Hz - 100 kHz |
| Frequency Response (+1dB, -3dB) | 20 Hz - 20 kHz |
| Total Harmonic Distortion | 0.09% |
| Signal to noise ratio | 100 dB |
| Video Connections | Composite, S-Video |
| Channel Separation | 70 dB |
| Surround Sound | Dolby Digital, DTS |
| Tuning range | FM: 87.5-108 MHz, AM: 530-1710 kHz |
| Digital inputs | Optical, Coaxial |
| Dimensions | 430 x 178 x 430 mm |
| Audio Inputs | 6 |
| Audio Outputs | 2 |
| Video Inputs | 4 |