Section 4—Installation Power-Style™ QED-2 Switchboards
17© 1988–2018 Schneider Electric All Rights Reserved80043-055-13
ENGLISH
NOTE: If lifting strap removal is not required to join sections, leave the
lifting strap on the switchboard. Verify that the bolt is tight to maintain
NEMA Type 3R integrity.
5. Six bolts (3/8-16 x 1 in.) are provided. Place them through the holes created in
step 3 to join adjacent sections.
6. Make the through bus splice connections to the preceding section.
7. Replace the center top cap removed in step 1.
8. Replace and secure the front and rear doors and panels removed in step 2.
Joining Shipping Sections—Indoor Switchboards
1. Position each adjacent section, carefully leveling and aligning it with the
previous section. If lifting straps are provided, completely remove them from
the sides being bolted together so the sections can be joined flush.
NOTE: Leave the other lifting straps on the switchboard if their removal is
not required to join adjacent sections flush.
2. Open or remove the front and rear doors and panels, providing access to bolt
adjacent shipping sections together.
3. Six bolts (3/8-16 x 1 in.) are provided. Place the bolts through the existing holes
in the front and rear vertical corner channels to join adjacent sections (Figure 7).
4. Make the through bus splice connections to the preceding section.
5. Replace and secure all front and rear doors and panels removed in step 2.
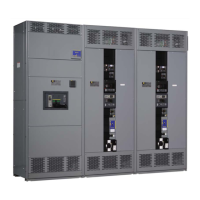
Figure 7 – Indoor Switchboards
Arrows indicate holes
to use in step 3.