4. SPREAD WAX: Flip the nozzle on the cap of the wax bottle. Point the nozzle at the deck. Be sure that the bottle is tilted at a
downward angle. Squeeze the wax bottle twice between the running belt and the deck. TIP: Gently shake the bottle between
each squeeze.
5. Repeat steps 3 and 4, about 18 inches from the end of the deck.
6. Repeat steps 3 through 5, on the right side of the belt/deck.
7. WALK: Plug in the treadmill. Turn the treadmill ON/OFF switch to the ON position. Start the treadmill at 1 mph and walk
on all sections of the belt and deck for 1 minute to ensure the wax has been evenly distributed and worked-in properly.
8. CLEANUP: Turn the treadmill power OFF . Remove any excess wax with diluted cleaner (409) and towel. TIP: Blow away
extra wax first (like dust), then wipe.
9. DISPLAY UPDATE: Update the LAST DECK service mileage to remove the REWAX BELT message.
A. Power ON the treadmill.
B. Enter MAINTENANCE SETTINGS (see Chapter 8).
C. Press the INCLINE DOWN key until the Information Window reads LAST DECK.
D. Use the 0 ~ 9 keys to enter the present treadmill distance.
E. Press the START key to enter and update the display.
F. Press the STOP key to exit MAINTENANCE SETTINGS.
UNPACKING
Remove all parts from the shipping crate and verify that the following parts were included in your shipment:
Description Qty.
Frame Assembly w/ Motor Shroud . . . . . . . . . . . . . . . . . . . . . . . . . . . . . . . . . . . . . . . . . . . . . . 1
Top Rail with Display . . . . . . . . . . . . . . . . . . . . . . . . . . . . . . . . . . . . . . . . . . . . . . . . . . . . . . . . 1
Neck . . . . . . . . . . . . . . . . . . . . . . . . . . . . . . . . . . . . . . . . . . . . . . . . . . . . . . . . . . . . . . . . . . . . . 1
Side Rail w/ Display Cable . . . . . . . . . . . . . . . . . . . . . . . . . . . . . . . . . . . . . . . . . . . . . . . . . . . . 1
Side Rail . . . . . . . . . . . . . . . . . . . . . . . . . . . . . . . . . . . . . . . . . . . . . . . . . . . . . . . . . . . . . . . . . . 1
Button, Plastic . . . . . . . . . . . . . . . . . . . . . . . . . . . . . . . . . . . . . . . . . . . . . . . . . . . . . . . . . . . . . 4
Screw, Button Head Socket Cap, 1/4”-28 UNC x 3/8”* . . . . . . . . . . . . . . . . . . . . . . . . . . . . . . . 4
Screw, Socket Head Cap, 5/16”-18 UNC x 1.0”** . . . . . . . . . . . . . . . . . . . . . . . . . . . . . . . . . . . 4
Bolt, Hex-head, 5/16”-18 UNC_ x 2.0” . . . . . . . . . . . . . . . . . . . . . . . . . . . . . . . . . . . . . . . . . . . 2
Washer, Flat, 5/16” I.D. x 1.5" O.D. . . . . . . . . . . . . . . . . . . . . . . . . . . . . . . . . . . . . . . . . . . . . . . 2
Hex (Allen) key, 1/4”*** . . . . . . . . . . . . . . . . . . . . . . . . . . . . . . . . . . . . . . . . . . . . . . . . . . . . . . 1
Hex (Allen) key, 5/32”*** . . . . . . . . . . . . . . . . . . . . . . . . . . . . . . . . . . . . . . . . . . . . . . . . . . . . . 1
Screwdriver, Phillips, #2*** . . . . . . . . . . . . . . . . . . . . . . . . . . . . . . . . . . . . . . . . . . . . . . . . . . .1
Screwdriver (blade-tip), 3/32”*** . . . . . . . . . . . . . . . . . . . . . . . . . . . . . . . . . . . . . . . . . . . . . . . 1
Wrench, Combo, 9/16” & 7/8”*** . . . . . . . . . . . . . . . . . . . . . . . . . . . . . . . . . . . . . . . . . . . . . . . . 1
Owner’s Manual with Warranty Registration Card . . . . . . . . . . . . . . . . . . . . . . . . . . . . . . . . . 1
*Pre-inserted into frame assembly
**Pre-inserted into handrails and connecting tubes (stubs)
***Part of included STAR TRAC tool kit.
Should any component not be present or if you have any operational questions, please call Star Trac’s Service department at (800)
503-1221 or USA 1-714-669-1660. Specifically refer to your treadmill serial number and model number listed below:
Serial No._________________________________________________________________________
Model No._________________________________________________________________________
NOTE: The following assembly procedure applies to both the PRO and PRO S Treadmills. Illustrations show the PRO Treadmill only.
ASSEMBLY
To assemble your STAR TRAC PRO / PRO S TREADMILL, just follow these steps.
NOTE: Don’t fully tighten the bolts and screws until all parts are assembled.
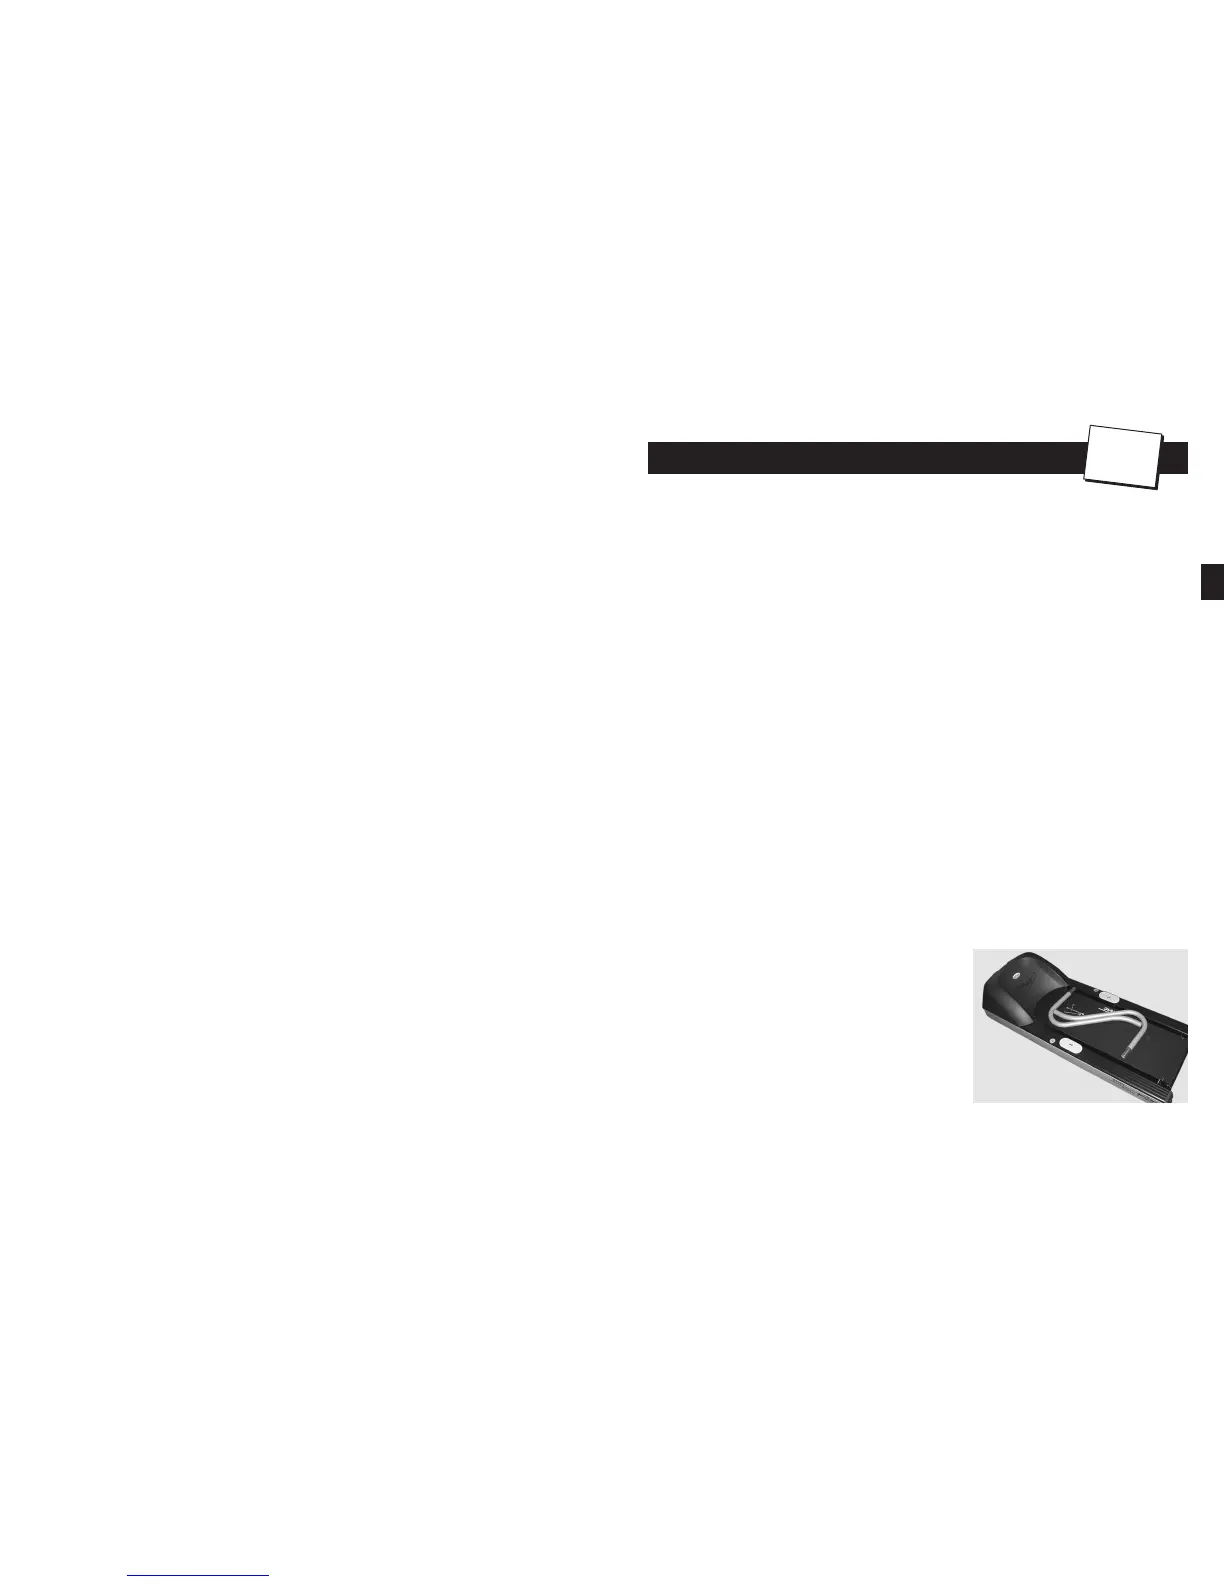
1. Unpacking and Positioning the Frame
Assembly
Remove all the packaging material so the treadmill is sitting,
ready for assembly, on the shipping crate platform. With a helper,
lift the treadmill frame assembly from the shipping crate platform
and place it in the location where it will be used. Make sure the
unit is placed near a power outlet.
Caution: The motor shroud end of the frame assembly is very
heavy. Two people may be needed to lift this end when moving the
frame assembly.
2
A
SSEMBLY AND
S
ETUP
C
HAPTER
2
STAR TRAC PRO / PRO S TREADMILL O
WNER
’
S
M
ANUAL
1146 STAR TRAC PRO / PRO S TREADMILL O
WNER
’
S
M
ANUAL
Step 1