Installation Instructions
Tools required for Bike, CrossTrainer, and Stepper (not supplied):
• 5mm or 3/16” Allen wrench (Crossbow and clamp screws)
• 1/8” or 3mm Allen wrench (Neck screws)
• #2 Phillips Screwdriver (Wing screws)
• 7/16” or 11MM open end wrench (Cross bow screws)
Bike, CrossTrainer and Stepper
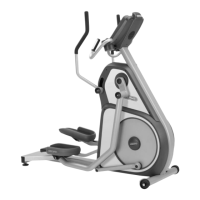
1
Remove the four screws from the display.
(Screws are no longer needed)
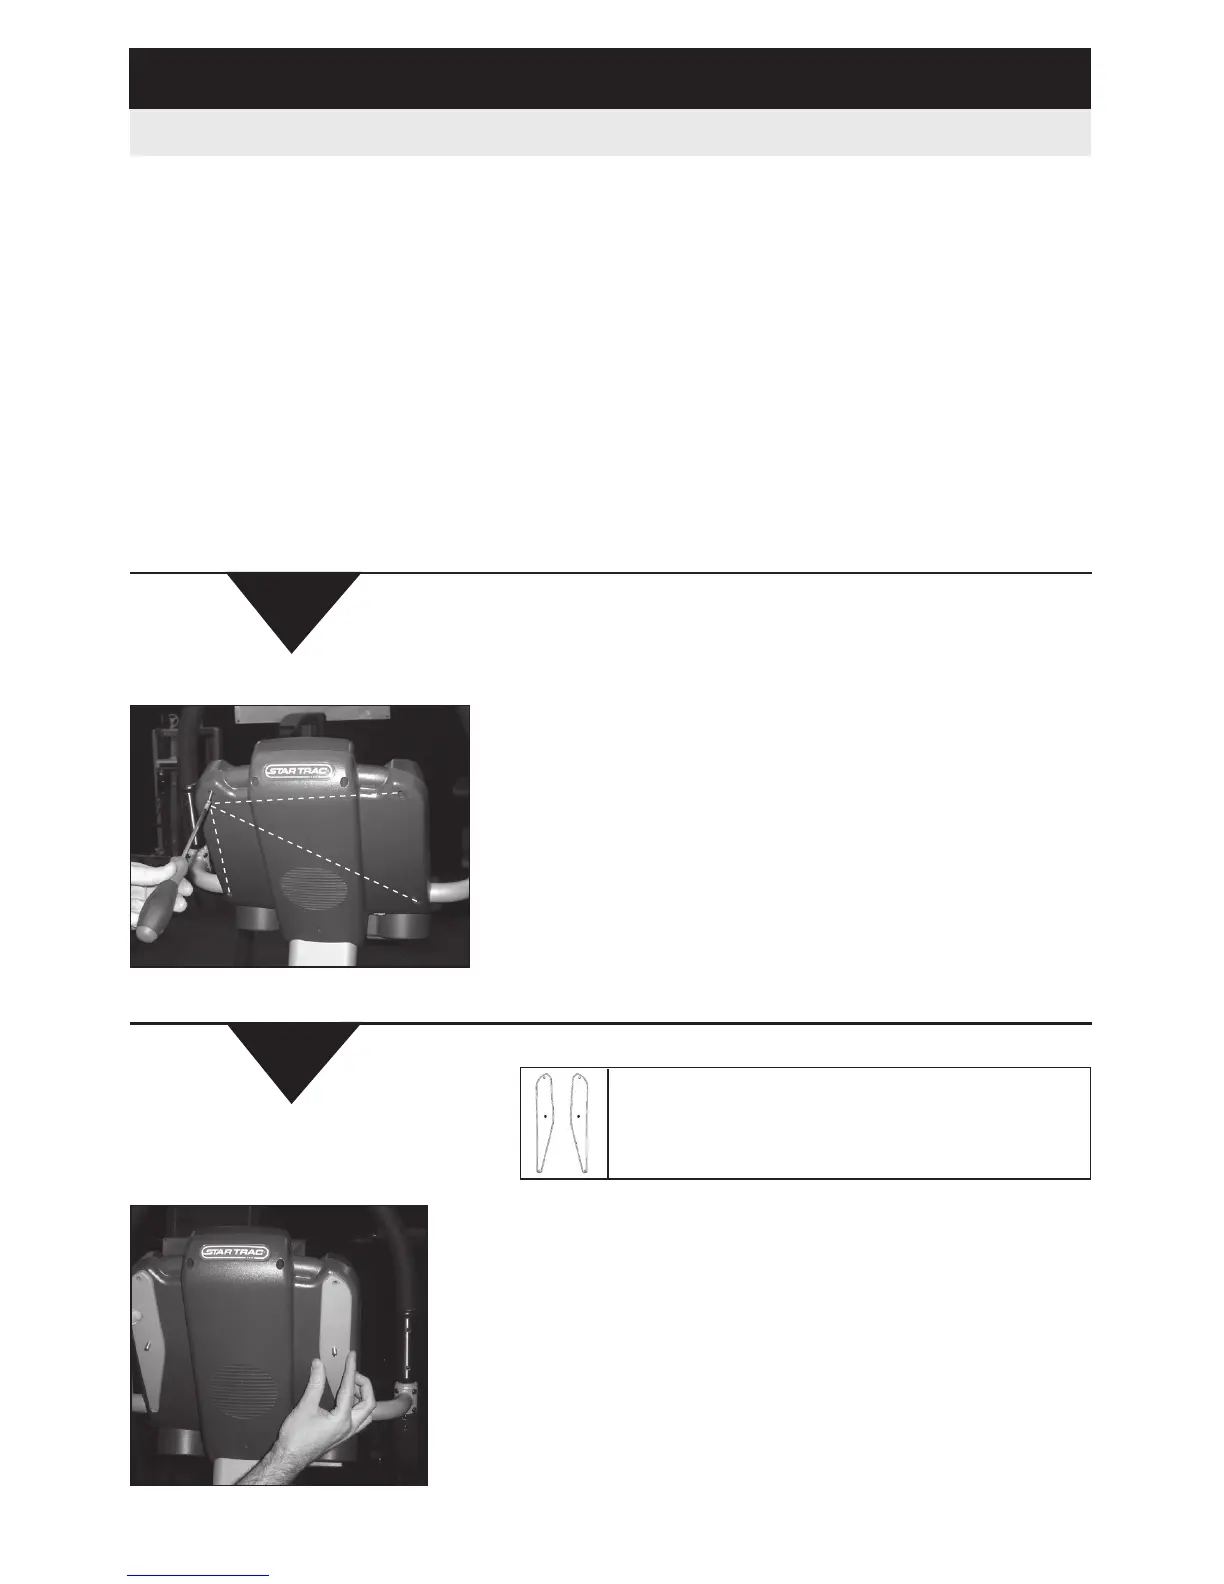
2
Attach the wings into the back of the display using
the Phillips head screws.
NOTE: The longer screws go in the 2 bottom
holes and the shorter screws in the 2 top holes.
Failure to follow this will result in damage to the
display.
Align the wings on the crossbow so the curved edge
is facing the inside and the smooth edge on the
outside as shown in the diagram.