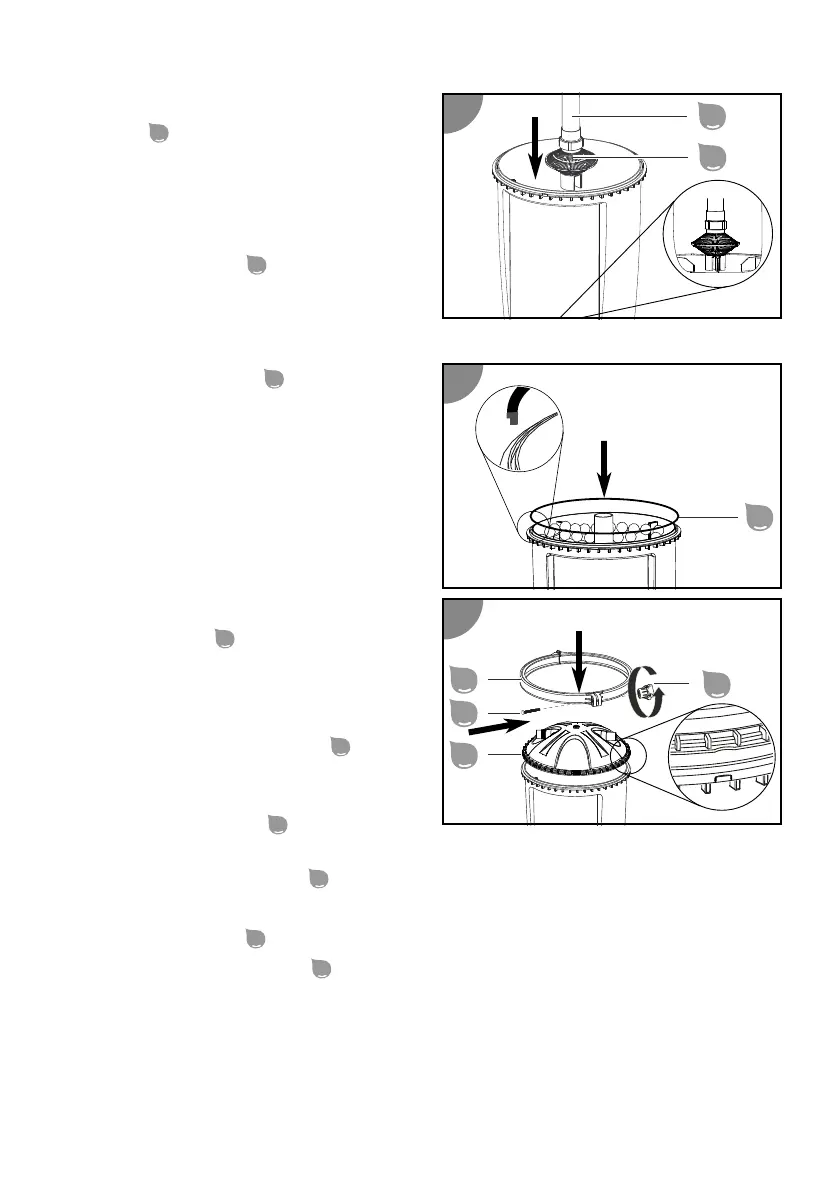
4. Posion the riser pipe including
screen
in the middle of the lter
vessel boom.
Make sure that the protrusion in the
middle of the lter vessel boom ts
into the recess of the screen.
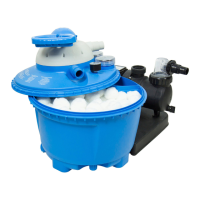
5. Fill the lter vessel
with Steinbach
lter balls.
Please refer to the secon "Technical
data" for the required quanes.
6. Insert the vessel seal
. Check for any
foreign objects in the groove and make
sure that the seal is ed correctly.
7. Align the notch on the outer edge of
the lter cover
with the adjustment
lug of the lter vessel.
8. Place the lter cover on the lter
vessel.
Make sure that the riser pipe
is
inserted into the recess at the boom
of the lter cover.
9. Place the locking ring
around the
lter cover and lter vessel connecng point.
10. Insert the locking ring bolt
into the hexagon socket of the locking ring.
11. Pass the locking ring bolt through the hole on the opposite side of the clamping ring.
12. Place the wing nut
onto the thread and turn it clockwise to ghten it.
13. Remove the bleeder screw
on the lter cover by turning it counterclockwise.
45
 Loading...