56
EN
Display Description
None
This option is interesting if you want to work on an uneven surface. If you select the None option, the surface will
be scanned rst, according to the settings you have made.
The milling program then pauses so that you can change the tool.
The manual control in UCCNC is fully available. Accordingly, you can record a new workpiece zero point for the
Z-axis after the tool change.
If you use the ToolZ Offset option, the stored difference between the 3D probe and the cutter is taken into account,
you do not have to determine a new zero point.
Click on Cycle Start to start the milling program. The previously scanned uneven surface is automatically compen-
sated in the program.
This function is explained more detailed in chapter „6.5.2 Milling with Automatic Surface Compensation
("None")“.
Create
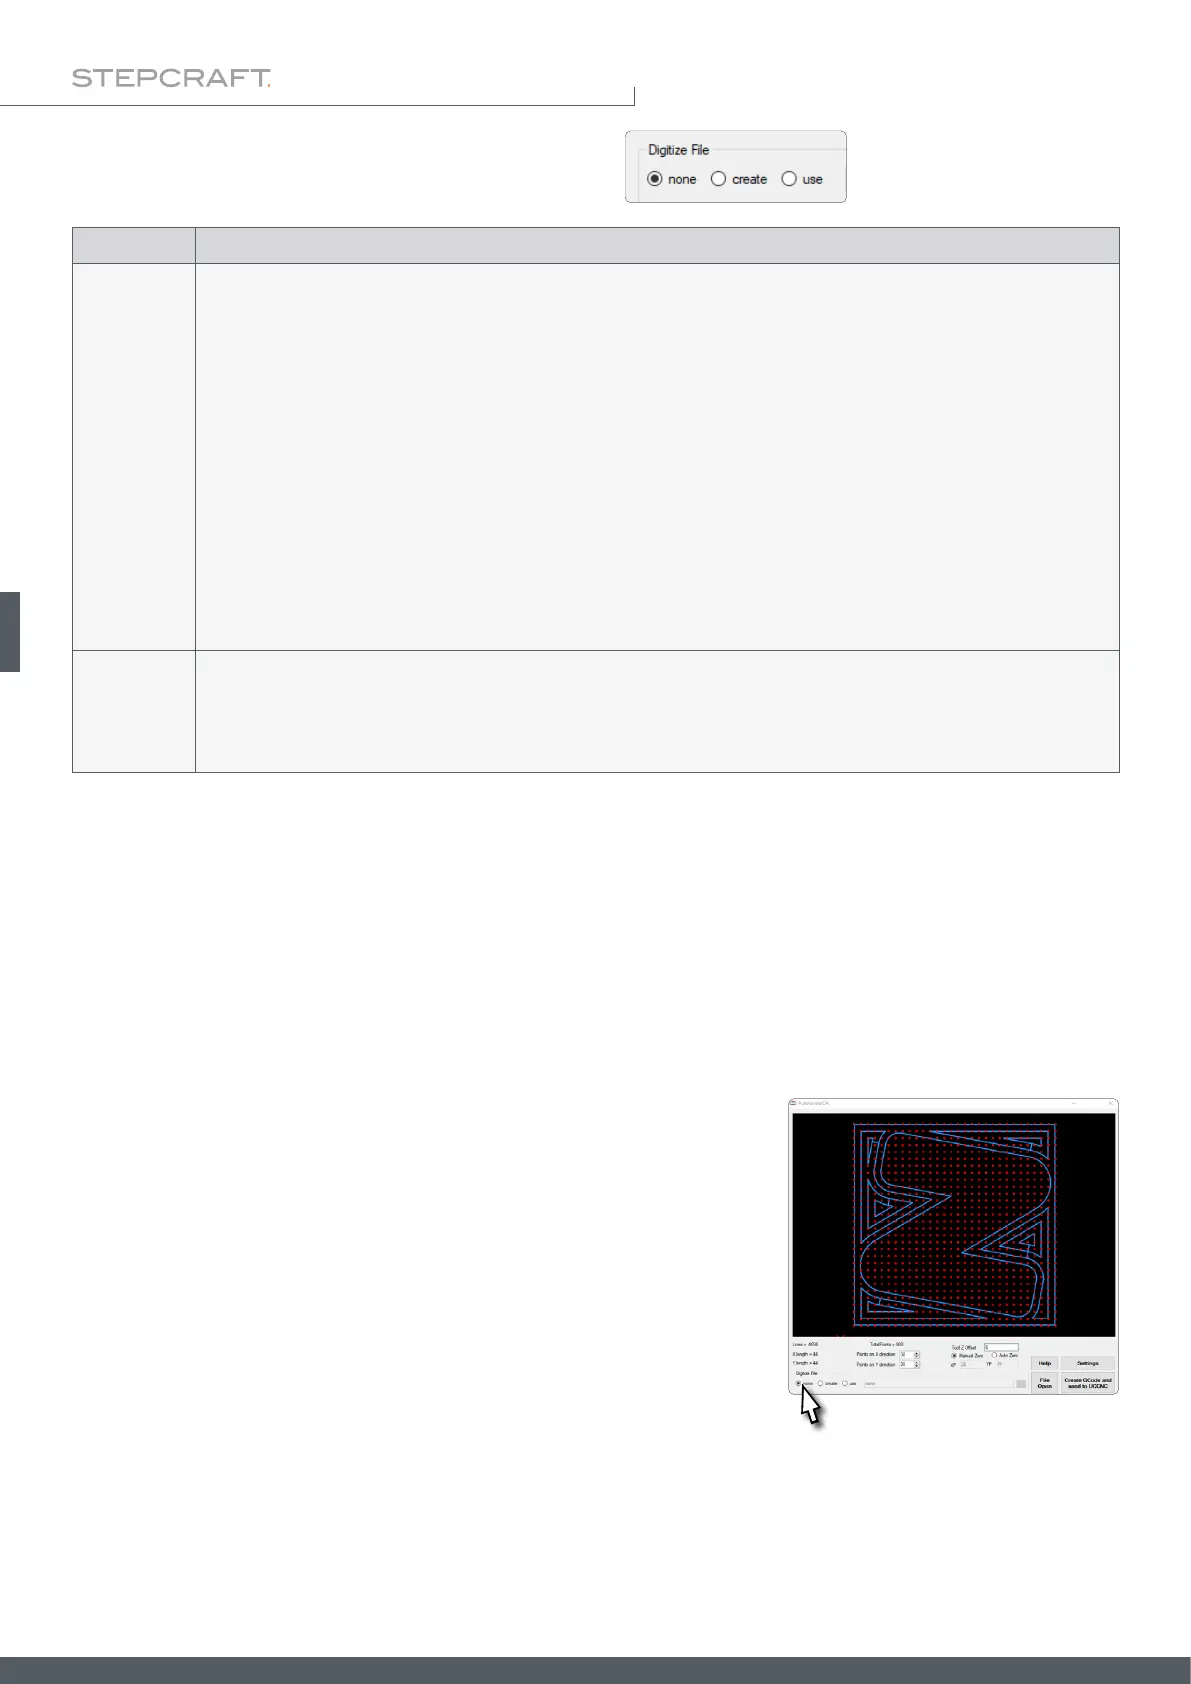
The Create function can be used to create point clouds of objects that then can be further processed.
When using Create, the plugin requires a dummy NC program on the basis of which the plugin can perform calcu-
lations. This issue is layed out in chapter „6.5.3 Scanning a Surface ("Create")“.
6.5.2 Milling with Automatic Surface Compensation ("None")
If you want to use a milling program with automatic surface compensation, proceed as follows:
• Prepare your workpiece by xing it with a method of your choice. It is especially recommended for this application
to use a vise (such as item 12378 centering vise CV-140), double-sided tape (item 12482 adhesive sheet) or a
vacuum table. The advantage of these methods, is that the workpiece surface remains free. Also prepare your tool.
• Start UCCNC. If you want to use the automatic tool Z-Offset in the Au-
toleveler CA plugin, determine the length difference between the 3D
probe and the tool by nding the Z-zero point with each and calculating
the difference. Clamp the 3D probe after that.
• Activate the Digitize File option none.
• Load your NC le using the File Open button.
Digitize File can be used with the follwing options: