4. Remove fill valve (1SOL) from rinse pump.
NOTE: Leave electrical connections and hoses
connected to fill valve. Fill valve will be transferred to
replacement rinse pump.
Fig. 21
5. Disconnect inlet and outlet hoses from rinse
pump.
6. Remove 2 nuts securing rinse pump to base of
unit.
Fig. 22
7. Slide mounting bracket out from underneath clip
on base of unit, and remove rinse pump.
8. Transfer mounting bracket and fill valve to
replacement rinse pump.
9. Reverse procedure to install.
10. Check for proper operation.
RINSE PROBE (2QTM)
Disconnect the
electrical power to the machine and
follow lockout / tagout procedures.
1. Remove
LEFT AND RIGHT TRIM PANELS.
2. Disconnect 2QTM at harness.
Fig. 23
3. Remove rinse probe from rinse tee.
Fig. 24
4. Reverse procedure to install.
NOTE: Use tape or thread compound to help seal
threads.
5. Check for proper operation.
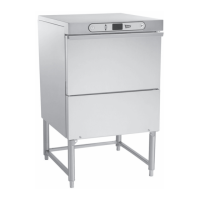
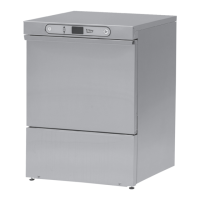
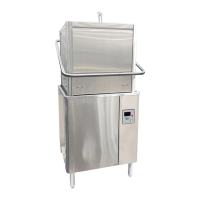
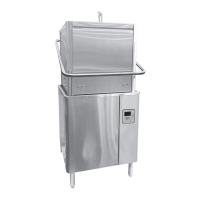
SG, SU-L, SU-H DISHWASHERS - REMOVAL AND REPLACEMENT OF PARTS
F45577 (1215) Page 12 of 59