WORKSHOP MANUAL
Map of functional units
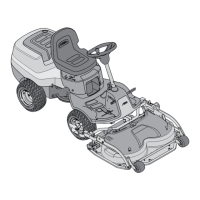
MP 84/98 - MP 84/98 Hy
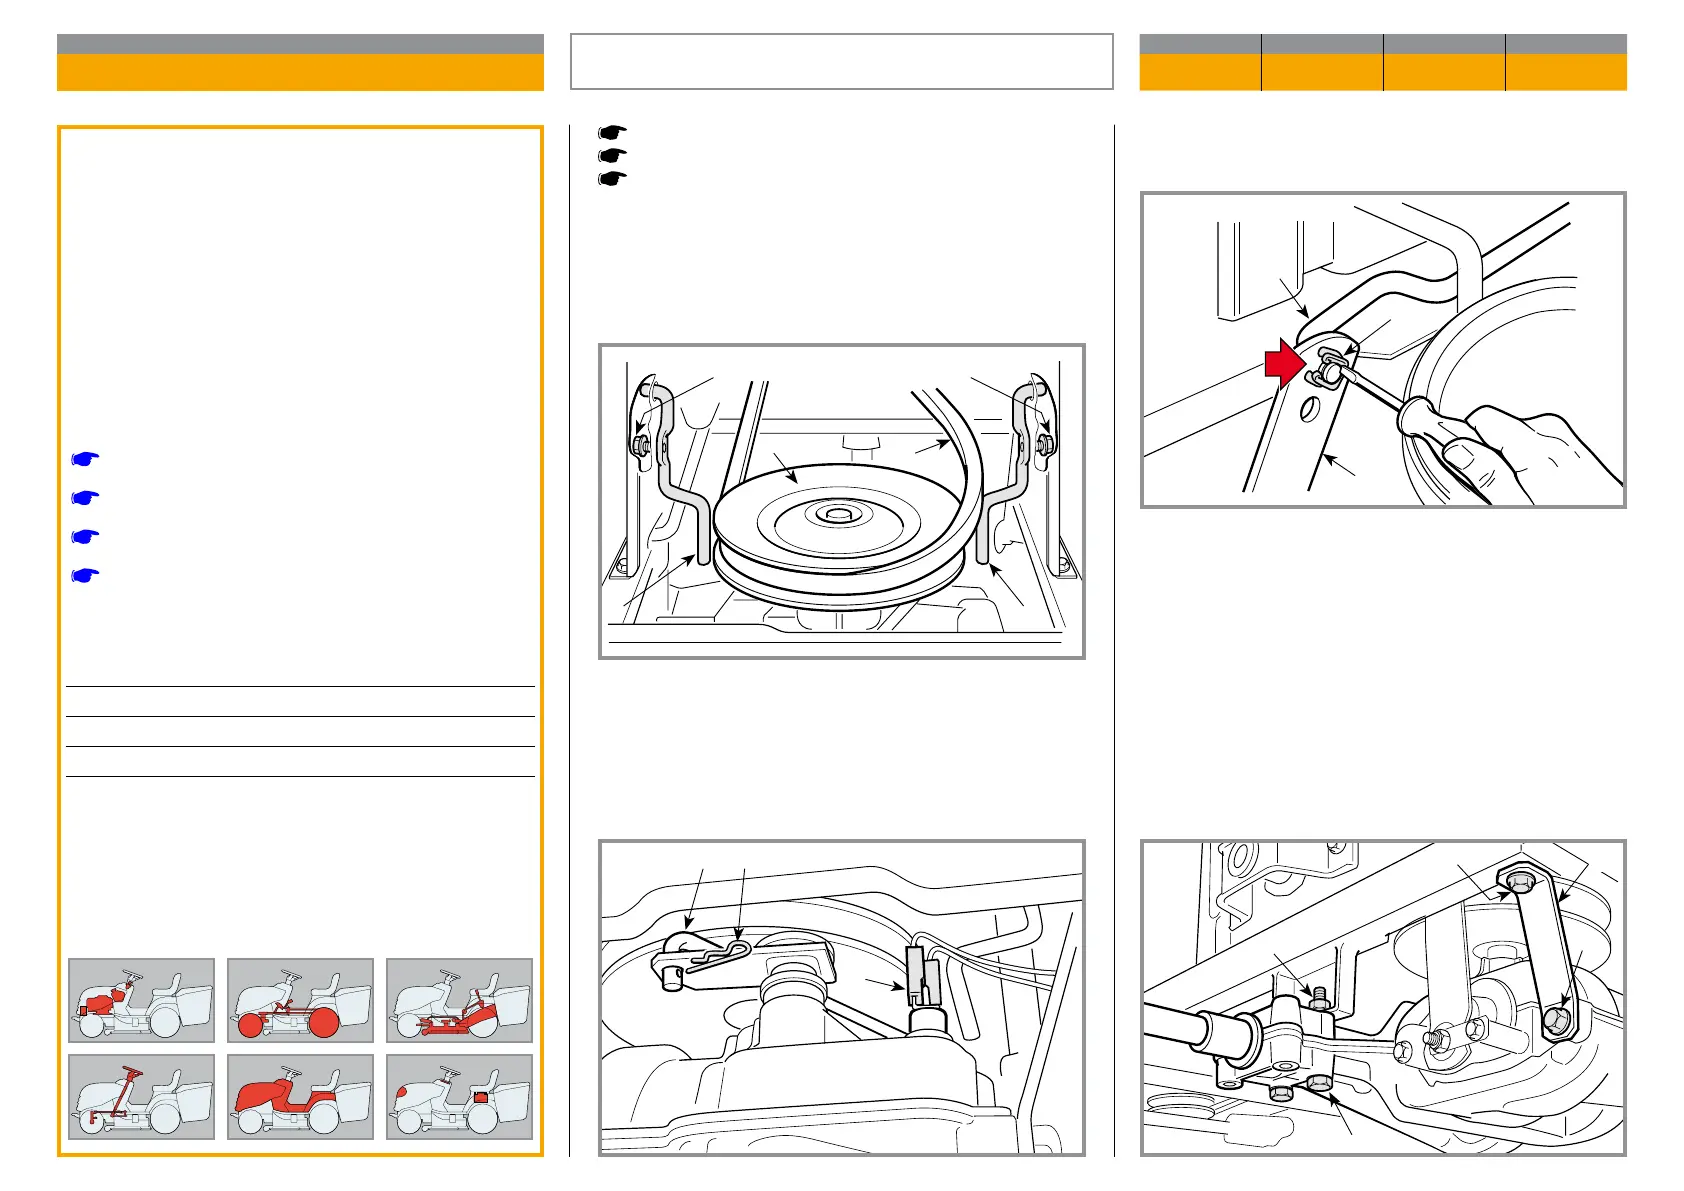
Disconnect the “neutral” signal microswitch cables
(9).
Release the parking brake to reduce spring tension
on the rod, them remove the plate (10) and discon-
nect the brake control rod (11) from the lever (12).
The unit is supported on the left by a bracket (13)
with their screws (14) and (15) and is attached to the
frame by four screws (16) with their nuts (17).
Remove the rear of the conveyor.
Lift the rear part of the machine
Remove the rear wheels.
Engage the parking brake to slacken o the belt and
obtain greater operating convenience.
Bring the cutting deck to the highest position.
Loosen the two side screws (1) and (2) and move the
two belt guides (3) and (4) forward until the belt (5) is
released from the pulley (6).
Remove the split pin (7) and disconnect the gear con-
trol rod (8).
General informations
The rear axle (Transaxle) is made up of a single
maintenance free sealed unit which includes the
transmission unit (mechanical) and the dieren
tial and doesn’t need any maintenance.
It only needs to be removed to be replaced or for
an overhaul by the Manufacturer’s Service Cen
tre.
Related topics
[
2.3] Lifting of the machine
[
4.2] Brake adjustment
[
5.6] Removing the ejection conveyor
[
6.1] Removal of the wheels
Tightening torques
14 Screw for bracket fastening .......... 25 ÷ 30 Nm
15 Self-tapping screw ....................... 25 ÷ 30 Nm
17 Rear axle fastening nut ................ 25 ÷ 30 Nm
REMOVAL OF THE REAR AXLE
Peerless MST 205-535 E
CHAPTER REVISION FROM ... PAGE
5.6 1 2018 1 of 2
11
12
10
78
9
1 2
3 4
56
14
15
13
16
17