27
03.11
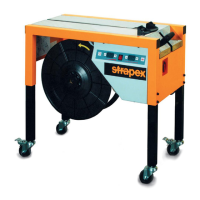
Strapex SMA 30
Machine does not work, status lamp is on
Machine does not work, status lamp is off
Strap feeding malfunction
Strap take-up malfunction
Strap feeding does not stop
9.7 ELIMINATION OF FAULTS
Preconditions
– Machine is correctly connected to the mains supply.
– Micro fuses in the electrical part are not defective,
see chapter 9.4).
Faults can often only be eliminated by
qualifi ed personnel.
FAULT
CAUSE / ACTION
– Check connector or cables.
– Check relay on reset switch.
– Check contact or breakdown of stop button.
– Check contact of start button button.
– Check belt and pulley of motor M23, and motor
M26.
– Check whether the machine is connected to the
mains.
– Check whether the mains switch is on.
– Fuse is blown or out of place (refer to Chapter 9.3)
– Check for loose cables.
– Remove strap and re-insert it (see Chapter 6.2).
– Check S44 works improperly (malfunction).
Check position for proper contact.
– Check time setting “F1(on PCB)”.
– Check belt and pulley of motor M26.
– Check position or proper contact of switch S39.
– Check belt and pulley of motor M26.
– Flaps of strap way or of arch do not return com-
pletely to their proper position.
– Check time setting “F1(on PCB)”.
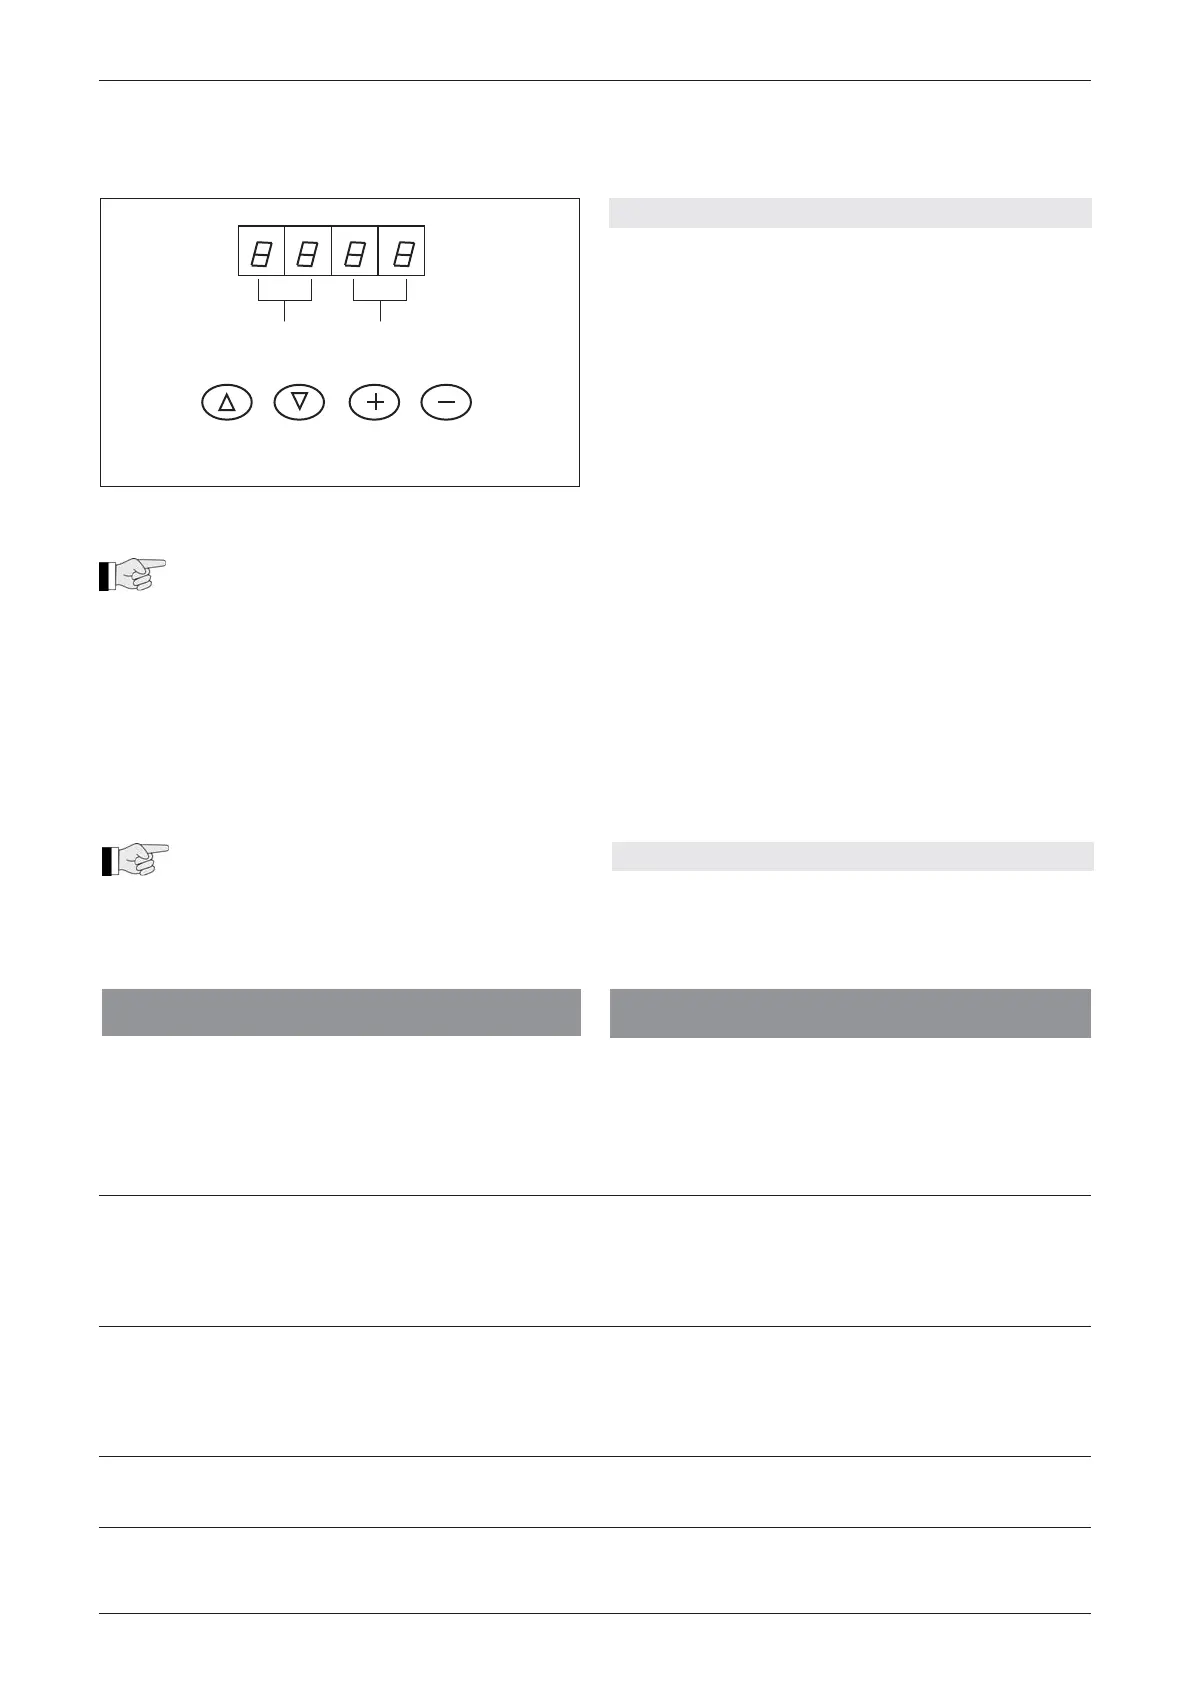
9.6 SETTING PARAMETERS
– Loosen eight phillips head screws and remove rear
cover.
– Loosen two phillips head screws and remove cover
of control box.
LED-A Function mode
LED-B Parameter values
INC Function mode increase P0>P7>F0
DEC Function mode decrease P0>H7>E7
M+ Increasing parameter values
M- Decreasing parameter values
Read mode (PCB):
– M+ or M- = to read the current setting values
Settings (PCB):
– M+ and M- =
Simultaneously for three seconds,
enter setting mode.
– M+ or M- =
Select the function mode.
– INC or DEC =
Change parameter values.
– M+ and M- =
Simultaneously, store the values.
LED-A LED-B
INC DEC M+ M-
Fig. 16
The list with all parameter values and the
factory settings are on page 45.