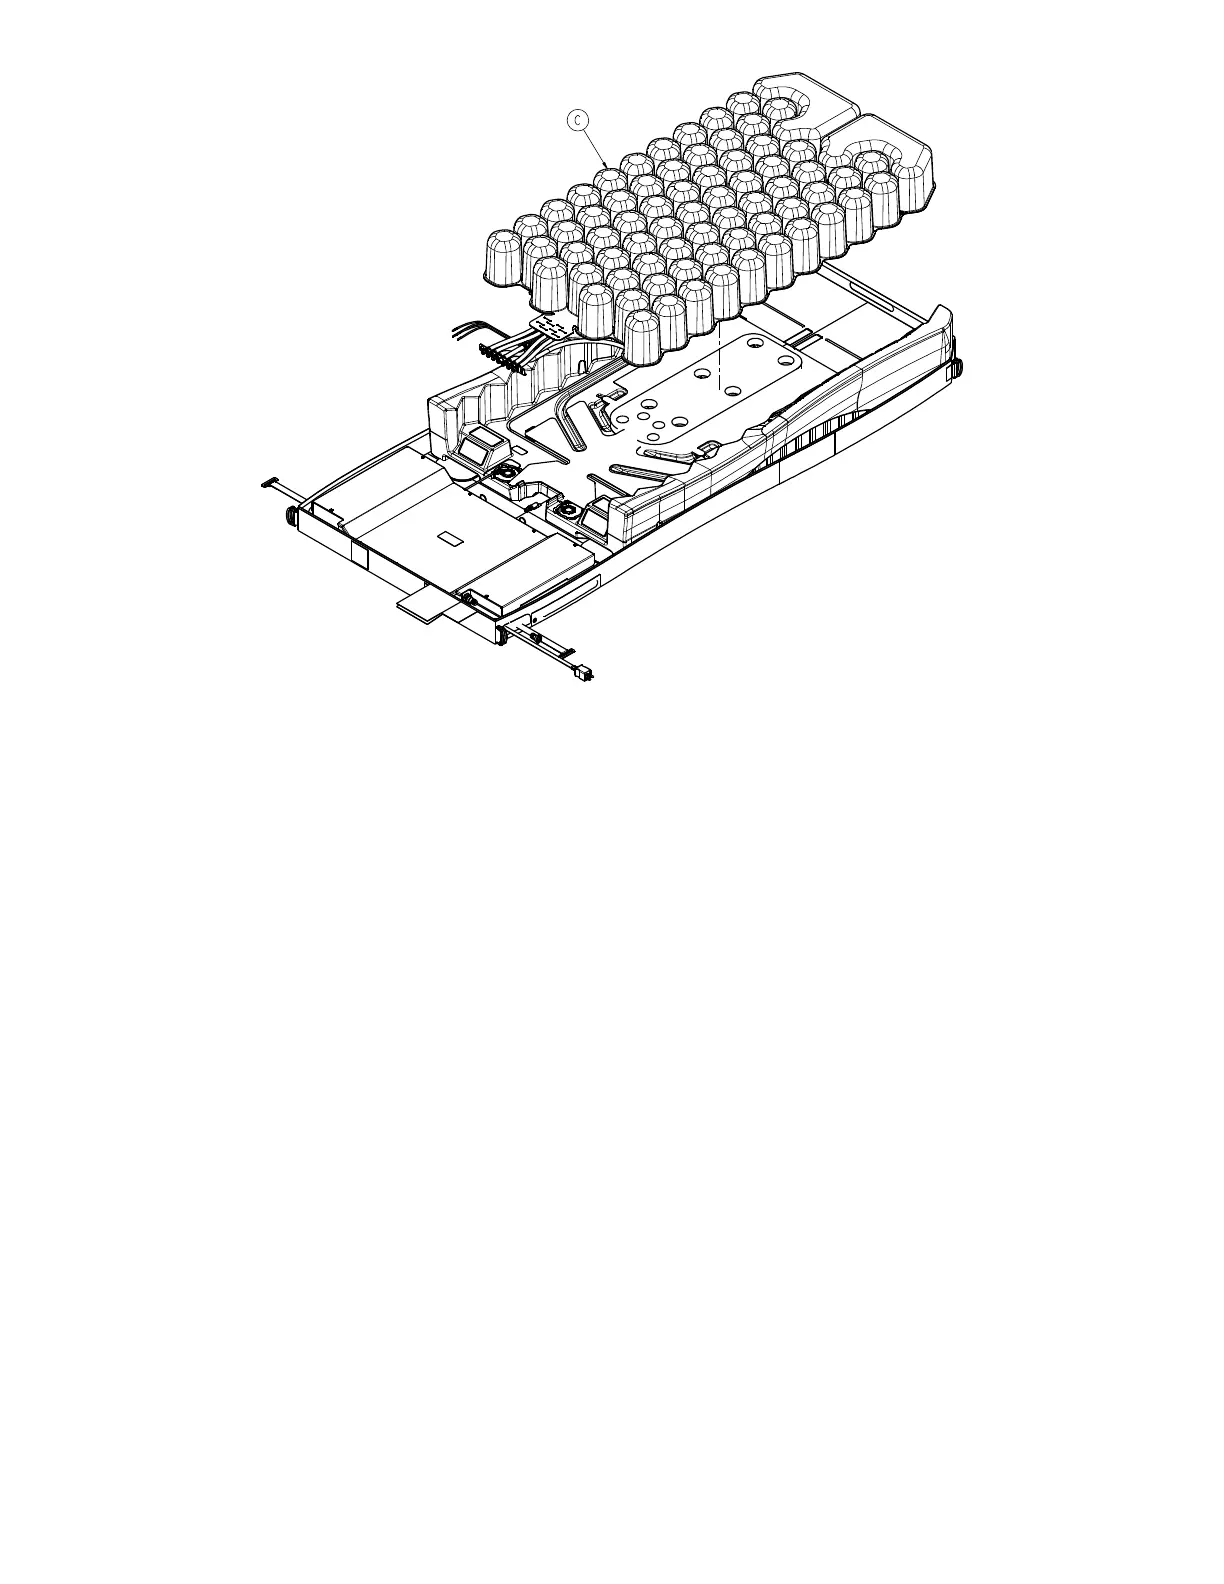
FFiigguurree 88 –– PPoodd aasssseemmbbllyy
11.Separate the Velcro® from the head end of the pod assembly (C) and feed the turn bladder hose quick connection
through the foam crib.
12.Remove and discard the pod assembly (C)(Figure 8).
13.Reverse to install the new pod assembly.
NNoottee
• During reinstall, make sure to align the Velcro® patches.
• After installation, remove the zipper pull tool or equivalent from the zipper.
• Make sure that the watershed covers the zipper.
14.Run the leak diagnostic test (see
Accessing the Isolibrium Diagnostic Menu
in the IInnTToouucchh maintenance manual).
15.Verify proper operation before returning the product to service.
FFoooott bbooxx ccoovveerr aacccceessss
TToooollss rreeqquuiirreedd::
• Zipper pull tool or equivalent
• T20 Torx driver
• T15 Torx driver
PPrroocceedduurree::
1. Apply the IInnTToouucchh brakes.
2. Unplug the support surface power cord.
3. Remove the headboard and footboards.
4. Lower all the siderails.
2971-009-002 Rev D.0 31 EN
 Loading...