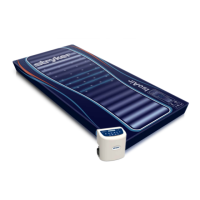
FFiigguurree 44 –– PPoodd VVeellccrroo®® aanndd ssnnaapp rreettaaiinneerrss
19.Detach the foot end foam crib from the bottom cover.
20.Disconnect the exhaust tube quick disconnect (H) from the bladder assembly (Figure 4).
21.Remove and discard the bottom cover.
22.Reverse to install the new bottom cover.
NNoottee
• During reinstall, make sure to align the Velcro® patches, snaps and the foot box cover.
• Connect the corner retainers by placing the strap below each D-ring and snaps to the cover. Repeat for the other
three corners.
• After installation, remove the zipper pull tool or equivalent from the zipper.
• Make sure that the watershed covers the zipper.
23.Verify proper operation before returning the product to service.
PPoodd aasssseemmbbllyy rreeppllaacceemmeenntt
TToooollss rreeqquuiirreedd::
• Zipper pull tool or equivalent
PPrroocceedduurree::
1. Remove the top cover. See
Cover replacement, top
(page 25) for removal.
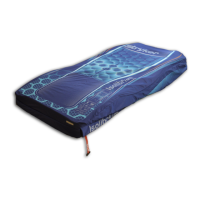
2. Unsnap the pillow (H) from the left and right side of the pod assembly (Figure 5). Save the pillow.
3. Separate the six Velcro® connectors holding the foot section gel crib to the pod assembly.
4. Remove the foot section gel crib (F) by lifting upward (Figure 5). Save the gel crib.
EN 28 2971-009-002 Rev D.0
 Loading...