CheckPoint Pharma and CheckPoint
e
Operation and Maintenance Manual
SUEZ © 2018 90 of 112 DLM 97200-03 EN Rev. A
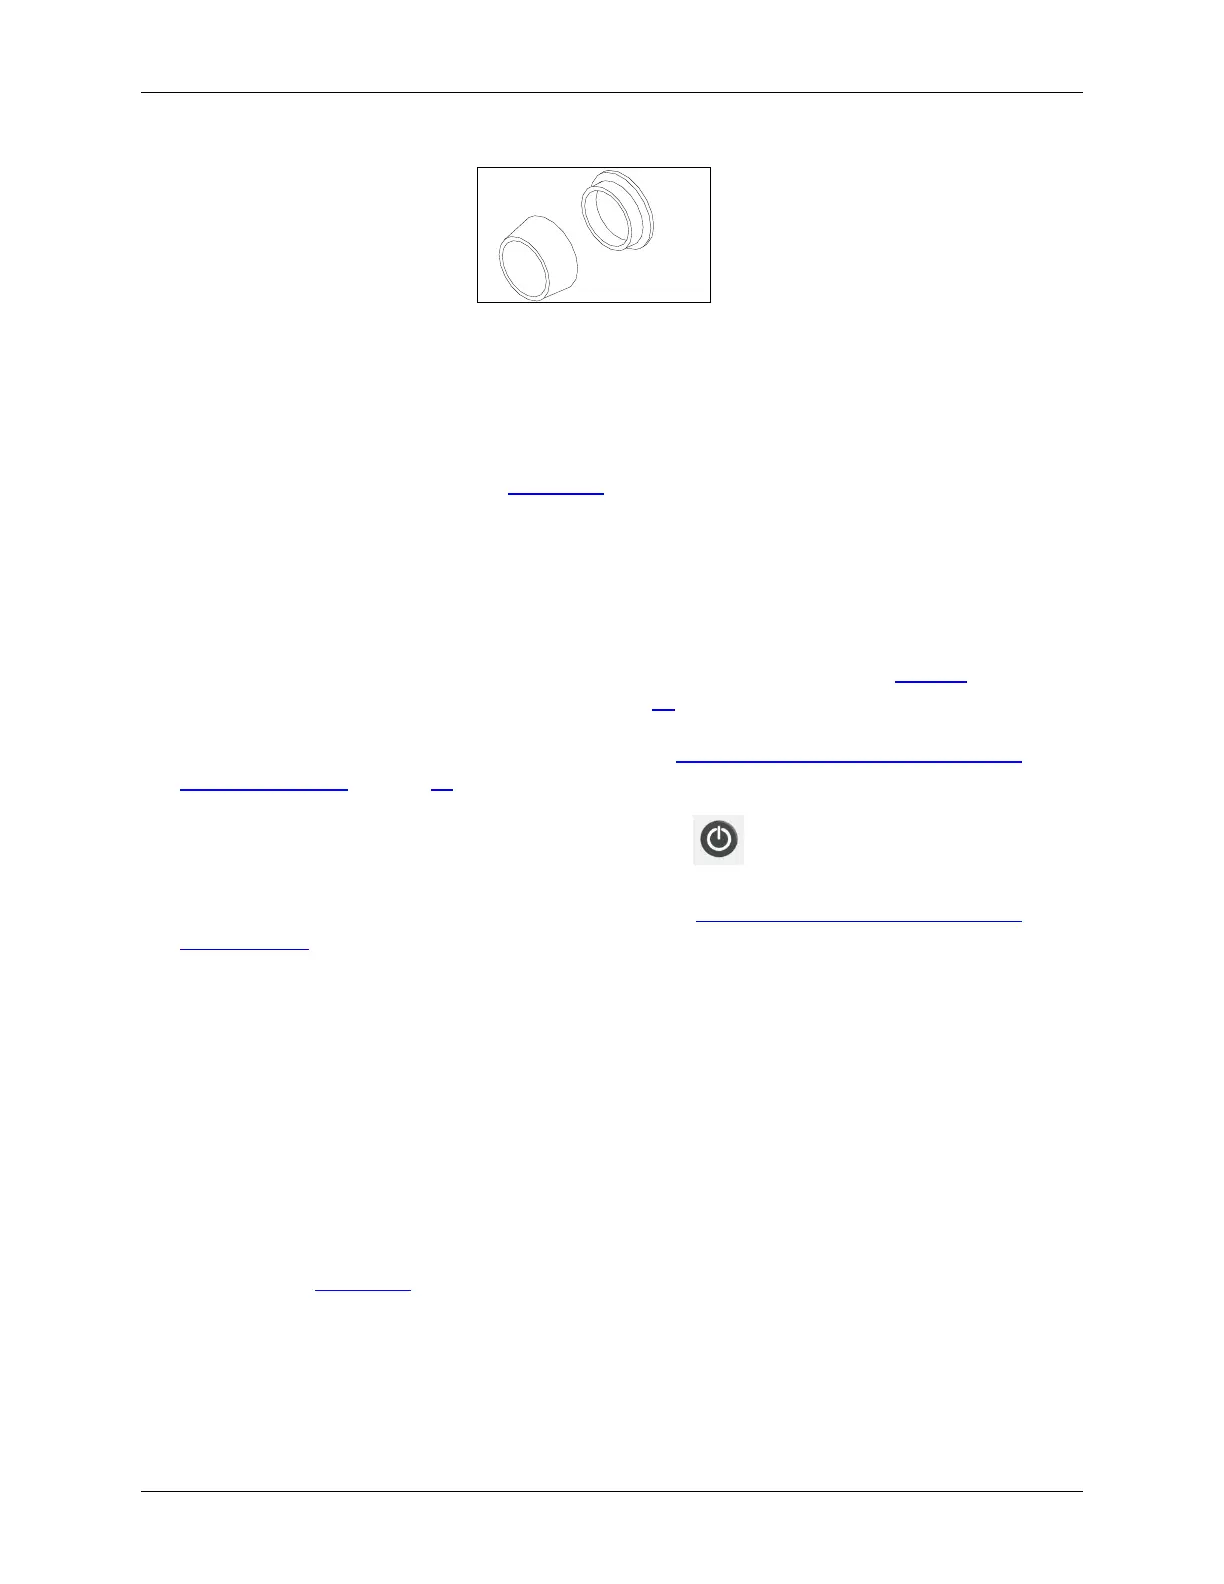
Figure 35: UV Lamp Ferrule Orientation Detail
12. Carefully slide the lamp assembly into the enclosure. Stop if you feel any resistance, and realign
the lamp in the reactor. Make sure the black heat tubing is flush against the brass-colored nut.
13. Tighten the brass-colored nut finger-tight. While tightening the nut, make sure the heat shrink
tubing remains flush against the nut (Figure 34: Relative Positioning of Components in the UV
Lamp Assembly). Do NOT use a wrench.
14. Connect the power connector to the bulkhead by aligning the slot on the connector with the slot
on the power supply. Tighten the connector screw. Gently pull on the power connector to make
sure it is securely attached to the power supply.
15. Record the installation date for the UV lamp in the Maintenance Worksheet. See Table 5:
CheckPoint 2-Year Maintenance Worksheet on page 93.
16. If you need to replace the sample pump head, go to the Replacing the Sample Pump Head and
Tubing instructions on page 86. Otherwise, close and secure the fluidics cover.
17. Restore power to the Sensor and then press and hold the to turn on the Sensor.
18. Enter the installation date for the UV lamp as described in “Setting the Installation Date for New
Consumables” below.
Changing the Inline Filter Element
To help prevent clogging, a filter may be installed on the sample inlet line. The lifetime of the filter
element depends on the level of particles in the water samples. To replace the element, follow these
steps:
1. Using two wrenches, loosen the end cap of the filter by turning the wrenches in opposite
directions (see Figure 36: Removing the Filter End Caps).