3-4
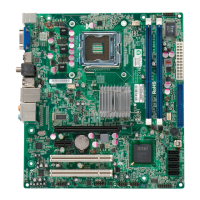
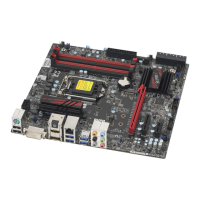
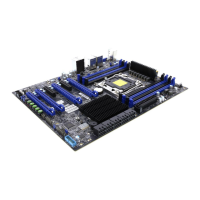
C2G41 User's Manual
Notes: Be sure to type in a space after "ami". Always use the le named “ami.
bat” to update the BIOS.
When completed, your system will automatically reboot. If you choose the .exe
le, please run the .exe le under Windows to create the BIOS ash oppy disk.
Insert the oppy disk into the system you wish to ash the BIOS. Then, boot
the system to the oppy disk. The BIOS utility will automatically ash the BIOS
without any prompts. Please note that this process may take a few minutes to
complete. Do not be concerned if the screen is paused for a few minutes.
Warning: Do not shut down or reset the system while updating the BIOS
to prevent possible system boot failure!
When the BIOS ashing screen is completed, the system will reboot and will
show “Press F1 or F2”. At this point, you will need to load the BIOS defaults.
Press <F1> to go to the BIOS setup screen, and press <F9> to load the default
settings. Next, press <F10> to save and exit. The system will then reboot.
Note: The SPI BIOS chip installed on this motherboard is not removable. To
repair or replace a damaged BIOS chip, please send your motherboard to RMA
at Supermicro for service.
Question: I think my BIOS is corrupted. How can I recover my BIOS?
Answer: Please see Appendix D, BIOS Recovery for detailed instructions.
Question: What's on the CD that came with my motherboard?
Answer: The supplied compact disc has quite a few drivers and programs that
will greatly enhance your system. We recommend that you review the CD and
install the applications you need. Applications on the CD include chipset drivers
for Windows and security and audio drivers.
Question: How do I utilize the onboard HD sound?
Answer: The onboard HD sound available on the C2G41 can be enabled with
the audio driver software that was included in your motherboard package.
When activated, sound will be routed through the jacks next to the LAN Port
according to the audio connection descriptions listed on Chapter 2. You must
also set the HD Audio setting to "Auto" in the Advanced Chipset section of the
BIOS setup.
Question: I installed my microphone correctly but I can't record any sound.
What should I do?