8
Section 2 - CPM3 Operating Modes
2.1 Contrast Adjust
To adjust the contrast press the Up and Enter but-
tons together to increase the contrast or press
Scroll Down and Enter together to decrease the con-
trast. This operation can be done at any time after
the power up sequence.
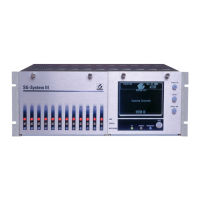
2.2 Active Mode
In active mode, the primary connection to the com-
puter is via TCP/IP networking on the 10/100 BaseT
Ethernet connection for the automation computer. If
this fails, then the output will go via serial RS-232. A
command can then be sent through the System III
Console software to revert back to TCP/IP when the
connection is restored. The IP of the CPM3 is dis-
played on the screen.
Figure 2-1, Active Mode
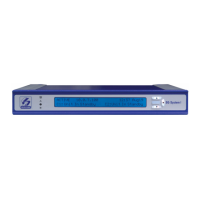
2.3 Manual Mode
For manual mode, each event will activate the inter-
nal buzzer to be acknowledged manually. Each event
will be sent automatically to the connected printer
and displayed on the CPM3 LCD. Messages longer
than 80 characters will be displayed on two lines.
Once the signal is acknowledged, it will be cleared
from the screen.
Figure 2-2, Manual Mode
NOTE: The CPM3 will display a maximum of 5000
events which have not been acknowledged.
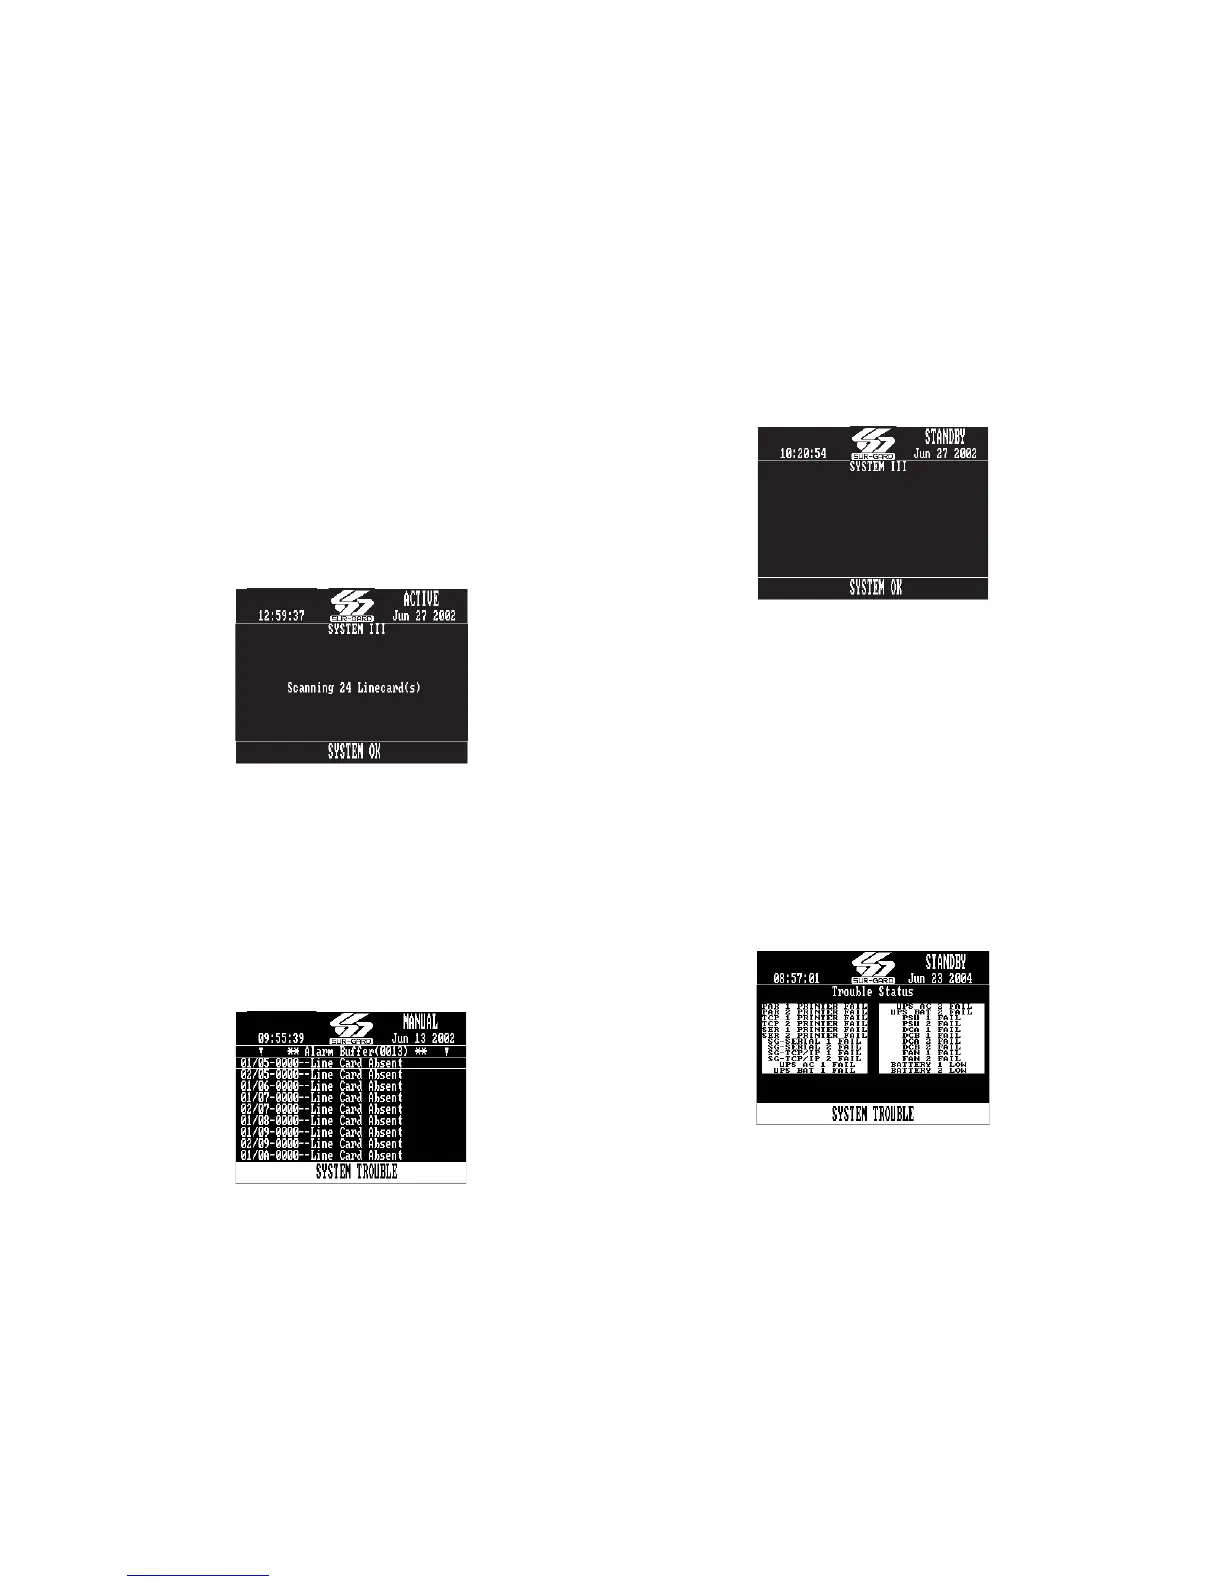
2.4 Standby Mode
When two CPM3s are present, one CPM3 will be in
active or manual mode, and the other CPM3 will be
in standby. If the active CPM3 fails, the standby unit
will automatically take over the control of the sys-
tem. The IP of the CPM3 is displayed on the screen.
Figure 2-3, Standby Mode
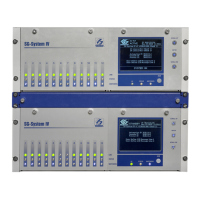
2.5 System Trouble
When a trouble is present on the System III, the
message ‘SYSTEM TROUBLE’ will be displayed at the
bottom of the screen.
• To view which trouble is present, press the
SCROLL UP and SCROLL DN buttons simulta-
neously. (All signal must be acknowledged before
this is available.)
• To return to the main screen, press the SCROLL UP
and SCROLL DN buttons simultaneously, or wait
for timeout before this is available.
System Troubles are displayed as shown in Figure
2-4:
Figure 2-4, System Troubles
192.168.0.1
192.168.0.1