12
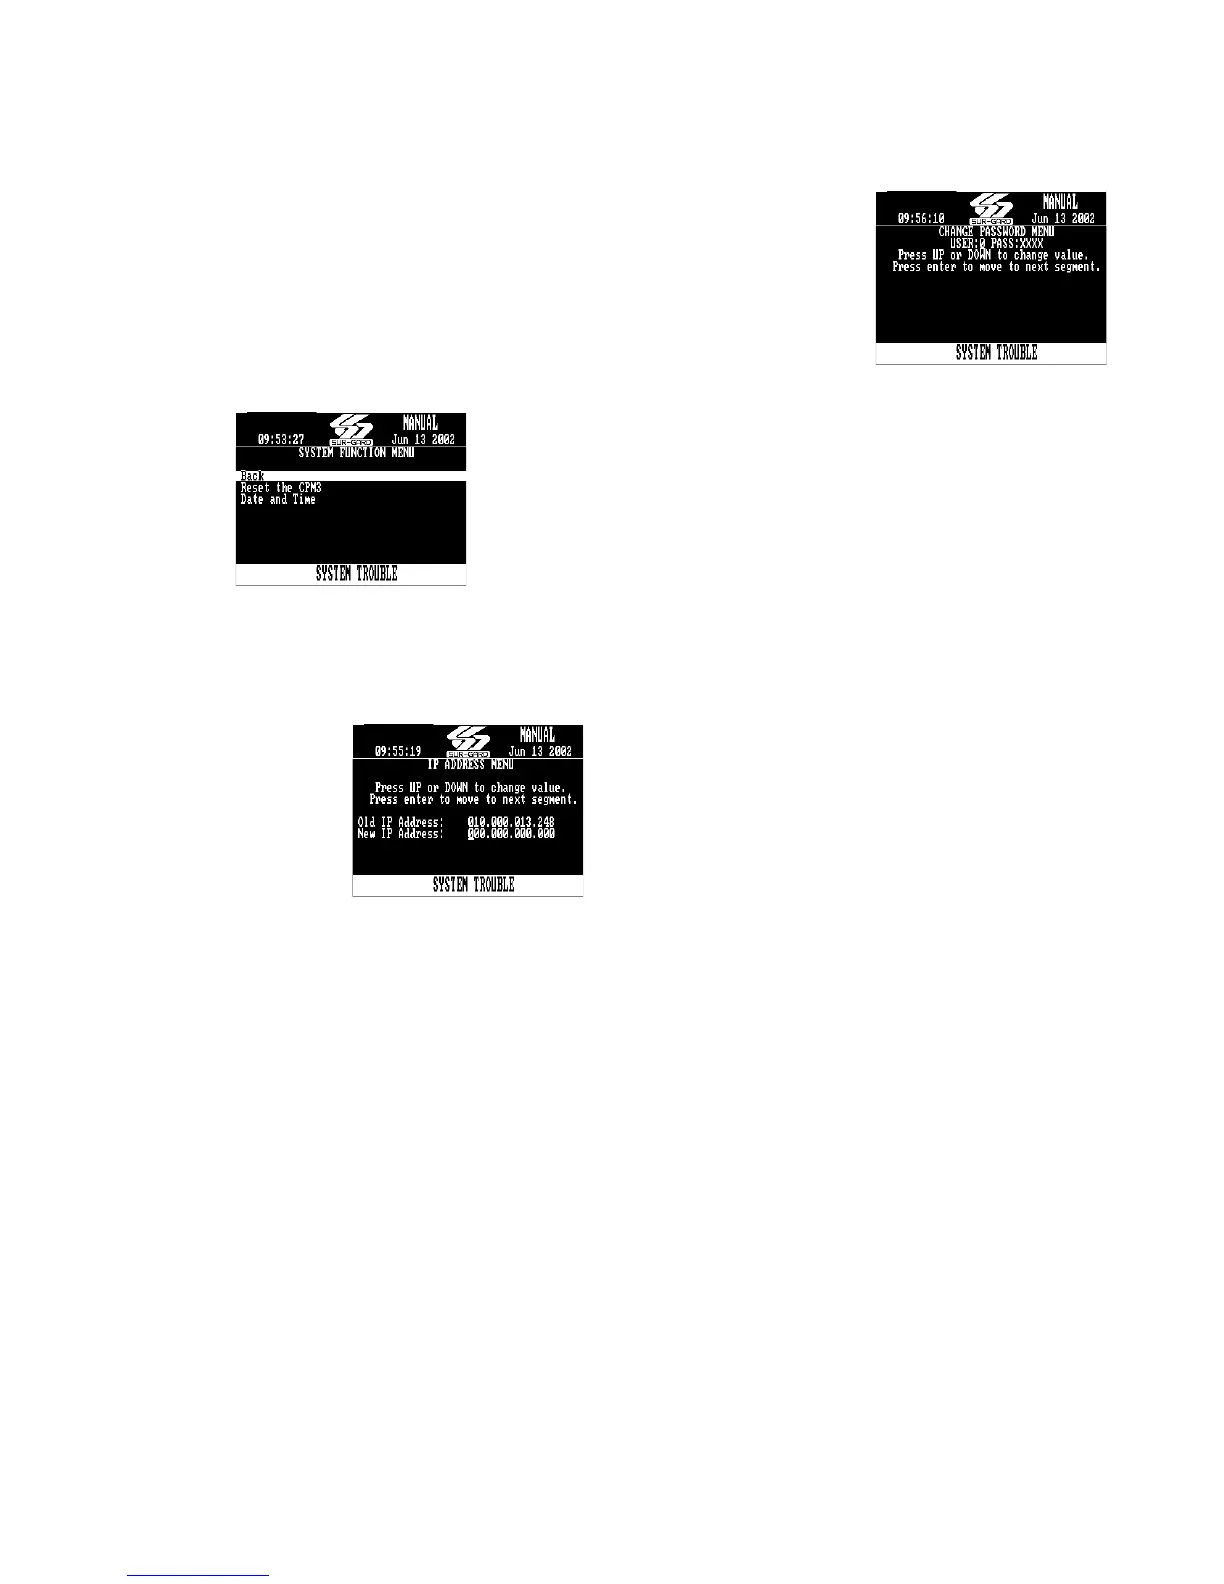
4.4.2 System functions
• Reset the CPM3
Restarts the CPM3. This is required to make the
changes to some options effective. For example,
the IP address.
•Date and Time
To set the date and time of the System III. This can
also be done from the Console software.
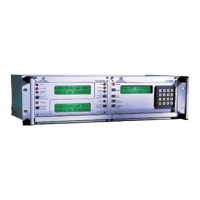
Figure 4-7. System Function Menu
Advanced Programming allows the user to custom-
ize line card profiles.
4.5 CPM3 Options
Option [01]: IP Address - Default [10.0.7.100]
Enter the IP Address of
the CPM3. Ensure that
the IP address pro-
grammed is unique to
the CPM3.
Option [02]: Subnet Mask
Address -
Default [255.255.0.0]
Enter the Subnet Mask
Address of the CPM3.
Option [03]:
Gateway Address - Default [0.0.0.0]
Enter the Gateway Address of the CPM3 if required.
Option [04]: Auto Update Time & Date - Default [0]
This option allows the automation to update the SG-
CPM3’s time via the TCP/IP port. When enabled should
the CPM3 fail to get the time & date within 24 hours
period (started after the last update is received), it will
generate a status message to the printer and automa-
tion, following the internal trouble protocol. The Trouble
status on the CPM3 will not be affected. The SG-System
III Console time update function must be disabled when
using this feature or there is possibility that the CPM3
will not remain synchronized with the automation PC.
Printer message: "Time&Date Update Fail"
Automation message: 0RRLLL[#0000¦NRU0000]
Option [05]: Contrast Adjust - Default N/A
Allows the contrast of the message display screen to be
adjusted. Press the up or down button to adjust. The
contrast can also be adjusted from the main screen by
holding the up and enter buttons simultaneously to
increase the level, or by holding the enter and down but-
tons simultaneously to decrease the level.
Option [06]: Password Menu - Default [CAFE]
Allows the System III
users and passwords to
be erased or changed.
Sixteen users with 4-
digit passwords are
available for use on the
System III. User 0 is the
Master user, and users 1
through F may be
assigned to individual
operators. The Master
user will provide access to all menus, while the operators
will not have access to the CPM3 settings. To erase a user,
program the password for that user to ‘FFFF’.
NOTE: User “0” cannot be erased.
Option [07]: COM1 Baud Rate - Default [9600]
Determines the baud rate at which the CPM3 will com-
municate to the automation software via serial port 1.
2400 9600
4800 19200
Option [08]: COM1 Data Bits - Default [8]
Determines the number of data bits used to communi-
cate to the Automation Software connected on the serial
port 1. Choose a number from 7 through 9 to indicate 7,
8, or 9 data bits.
Option [09]: Parity - Default [0]
Determines the parity of the serial port 1.
0: no parity (default)
1: odd parity
2: even parity
NOTE: The number of stop bits can not be changed
and will always be 2.
Option [0A]: COM2 Format - Default [0]
This option affects how the COM2 Serial Port is super-
vised and how the data is formatted.
To disable the option set to [0].
To enable the printer messages to be outputted to a
serial printer via the COM2 set to [1].
To enable the printer messages to be outputted to a
computer via the COM2 port set to [2].
To enable SCADA interface through the COM2 set [3].
This setting is for FUTURE USE.
Option [0B]: COM2 Baud Rate - Default [9600]
Determines the baud rate at which the CPM3 will com-
municate to the Serial Printer connected on the serial
port 2:
2400 9600
4800 19200
OOption [0C]: COM2 Data Bits - Default [8]
Determines the number of data bits used to communi-
cate to the Automation Software connected on the serial
port 2. Choose a number from 7 through 9 to indicate 7,
8, or 9 data bits.
Option [0D]: COM2 Parity - Default [0]
Determines the parity of the serial port 2.
0: no parity (default)
1: odd parity
2: even parity
NOTE: The number of stop bits can not be changed
and will always be 2.