Recording Playing discs EditingBefore you start Connections Getting started
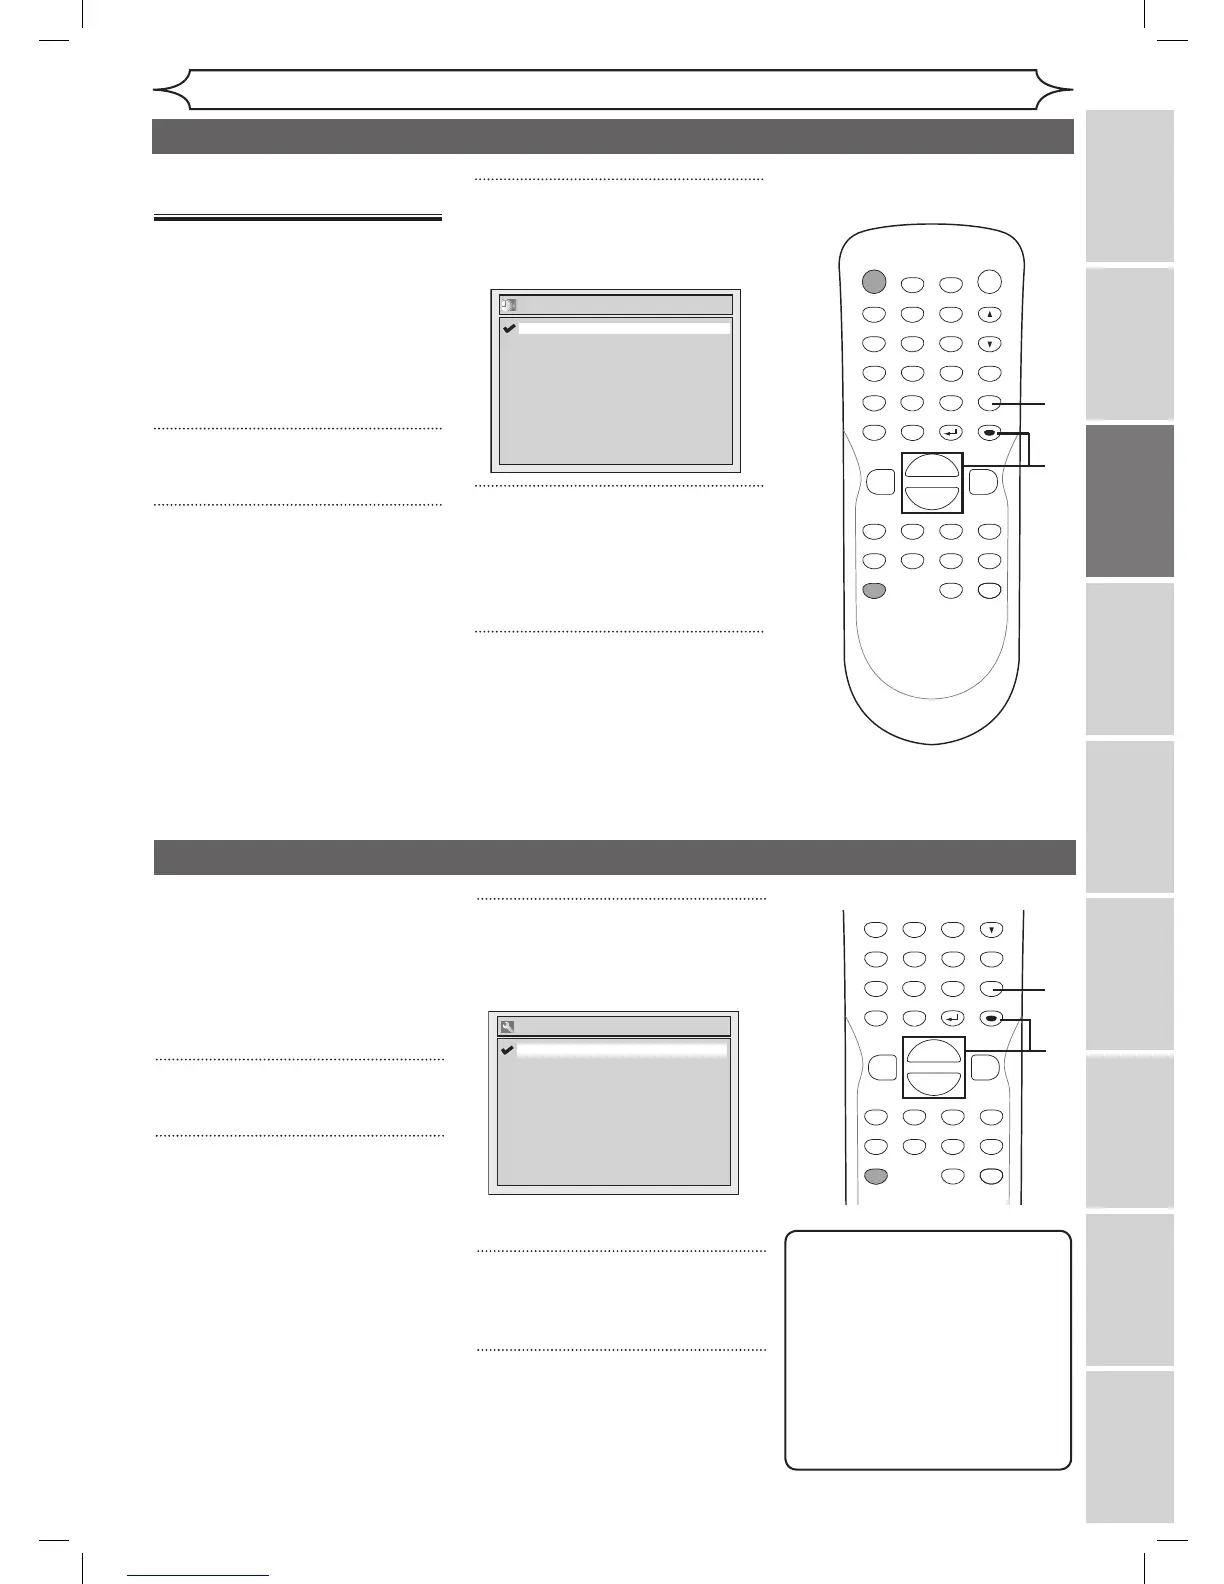
Changing the
Setup menu Others Español
Getting started
Setting the clock (cont’d)
3
Using [K / L], select “Daylight
Saving Time”. Press [ENTER].
Option window will appear.
4
Using [K / L], select “ON” or
“OFF”. Press [ENTER].
Choose “ON” when currently
observing the daylight saving time.
5
Press [SETUP] to exit.
You can select the TV aspect ratio
to match the formats of what you
are playing with the unit and your
TV screen (4:3 standard or 16:9
widescreen TV).
“4:3 Letter Box” has been selected
as the default.
1
Press [SETUP].
2
Using [K / L], select “Required
Setting”. Press [ENTER].
Required Setting menu will
appear.
3
Using [K / L], select “TV
Aspect”. Press [ENTER].
Option window will appear.
Refer to the Note on this page.
4
Using [K / L], select a desired
option. Press [ENTER].
5
Press [SETUP] to exit.
Note
If you have a standard TV:
Select “4:3 Letter Box”, so
that black bars appear on the
top and bottom of the screen.
Select “4:3 Pan & Scan” for
a full height picture with both
sides trimmed.
If you have a widescreen TV:
Select “16:9 Wide”.
1
3
4
5
2
Selecting the TV aspect ratio
Setting the Daylight
Saving Time
When “Daylight Saving Time” is
“ON”, the unit clock will automati-
cally move forward one hour at
2:00a.m. on the first Sunday in
April and move back one hour at
2:00a.m. on the last Sunday in
October.
“ON” is selected as a default.
1
Press [SETUP].
2
Using [K / L], select “Clock”.
Press [ENTER].
Clock menu will appear.