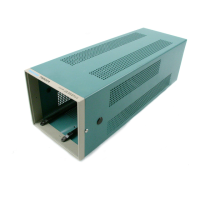
Maintenance
Remove the Front Panel
assembly
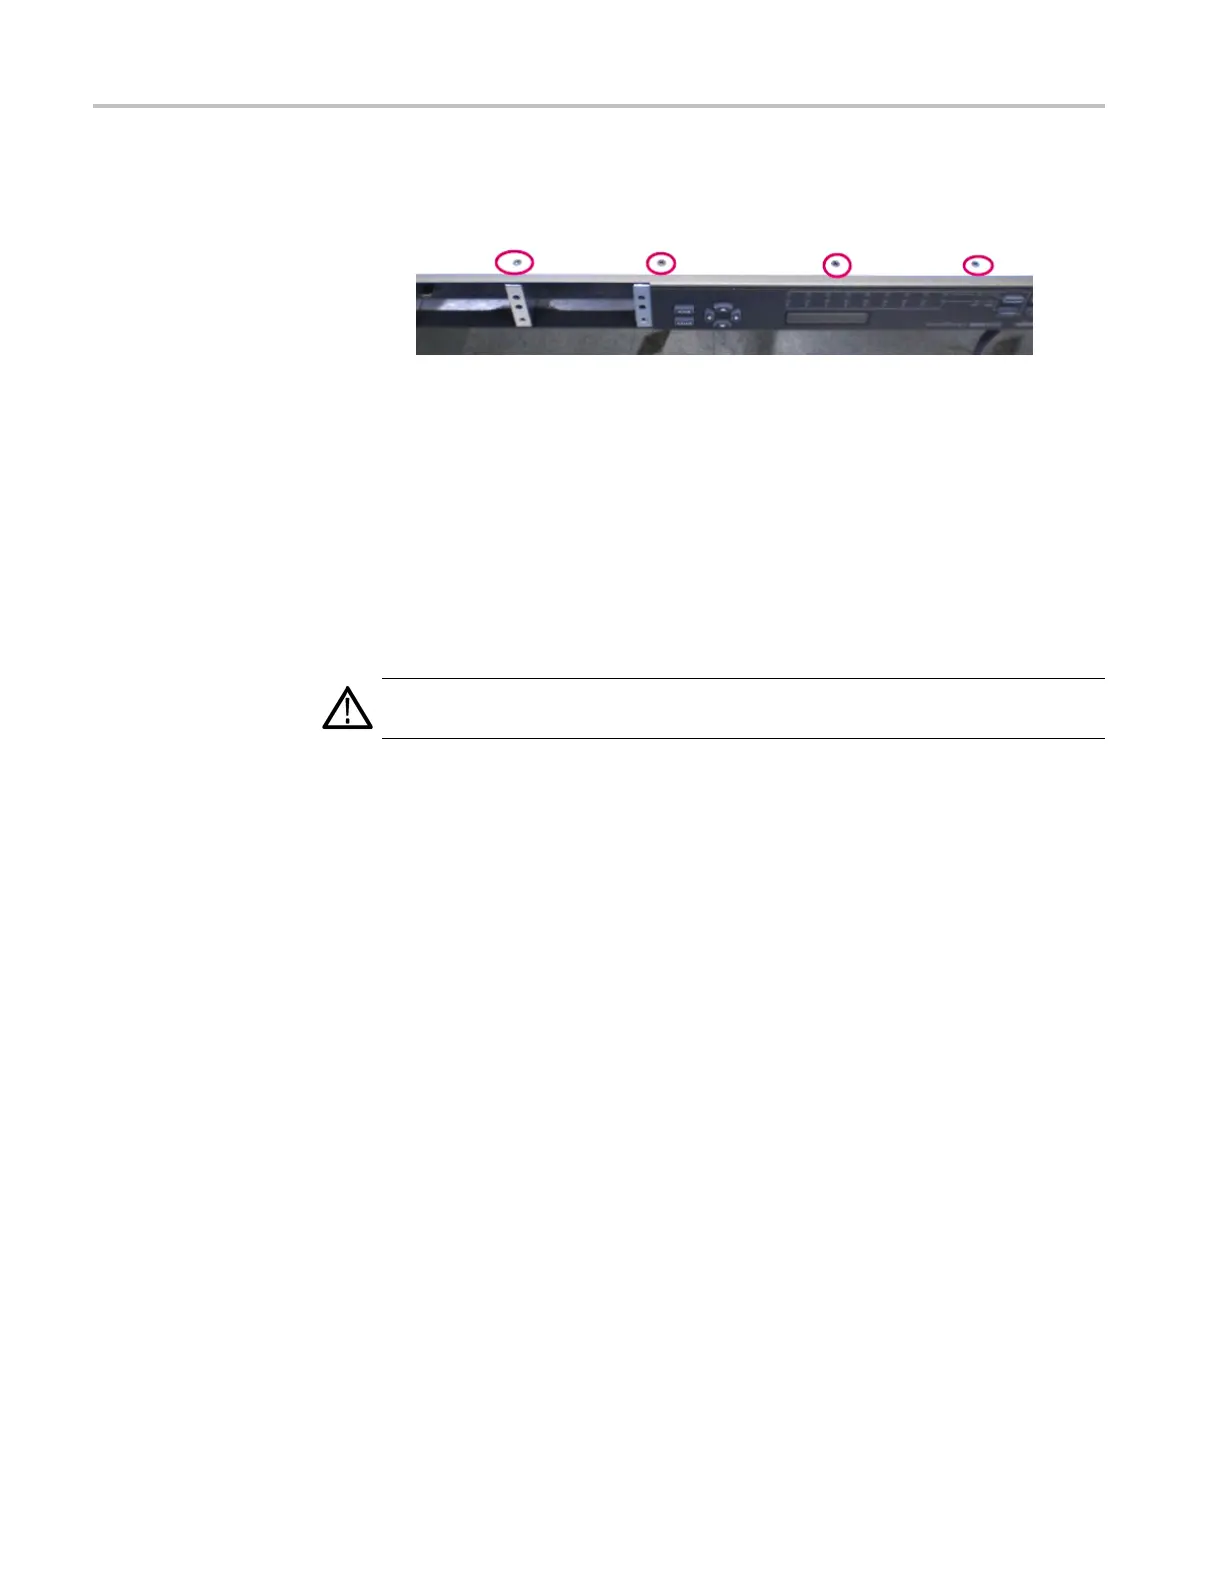
1. Turn instrumen
t over and remove the four screws from the bottom front edge
of the instrument (reassembly torque: 4.0 in/lb.).
2. Turn the instrument back over.
3. Remove the Power Supply module(s) and/or power supply bay cover from the
instrument.
4. Disconnect the flat display panel cables from the Display and Front Panel
boards. You do not need to cut the cable tie on the cable unless you are
replacing one of the cables.
5. Disconnect all four fiber-optic light pipes from the Combiner board. Use
needle nose pliers to firmly hold a light pipe near the light pipe housing o n the
board and pull straight up.
CAUTION. Do not rest your hand on the large capacitor or use it as a leverage
point w
hile removing the adjacent light pipes.
6. Remove the four T15 screws securing the two front-panel handles (reassembly
torq
ue: 4.0 in/lb.).
7. Pull the Front Panel assembly away from chassis. Place face down on a
sta
tic-free work area.
3–22 ECO8000 Series Service Manual

 Loading...