Compact Track Loader
11. Engine Components Disassembly and Assembly
11-2
Muffler Removal and
Installation
The tools required for muffler removal and installa-
tion are listed in Table 11-1. Use manufacturer-
recommended tools whenever possible.
Table 11-1
Required Tools
Socket/Combination Wrenches
Pry Bar
Penetrating Lubricant
Rubber Mallet/Plastic Hammer
Muffler Removal
The exhaust system gets very hot during opera-
tion! Allow the machine to cool thoroughly prior to
performing service on the exhaust system.
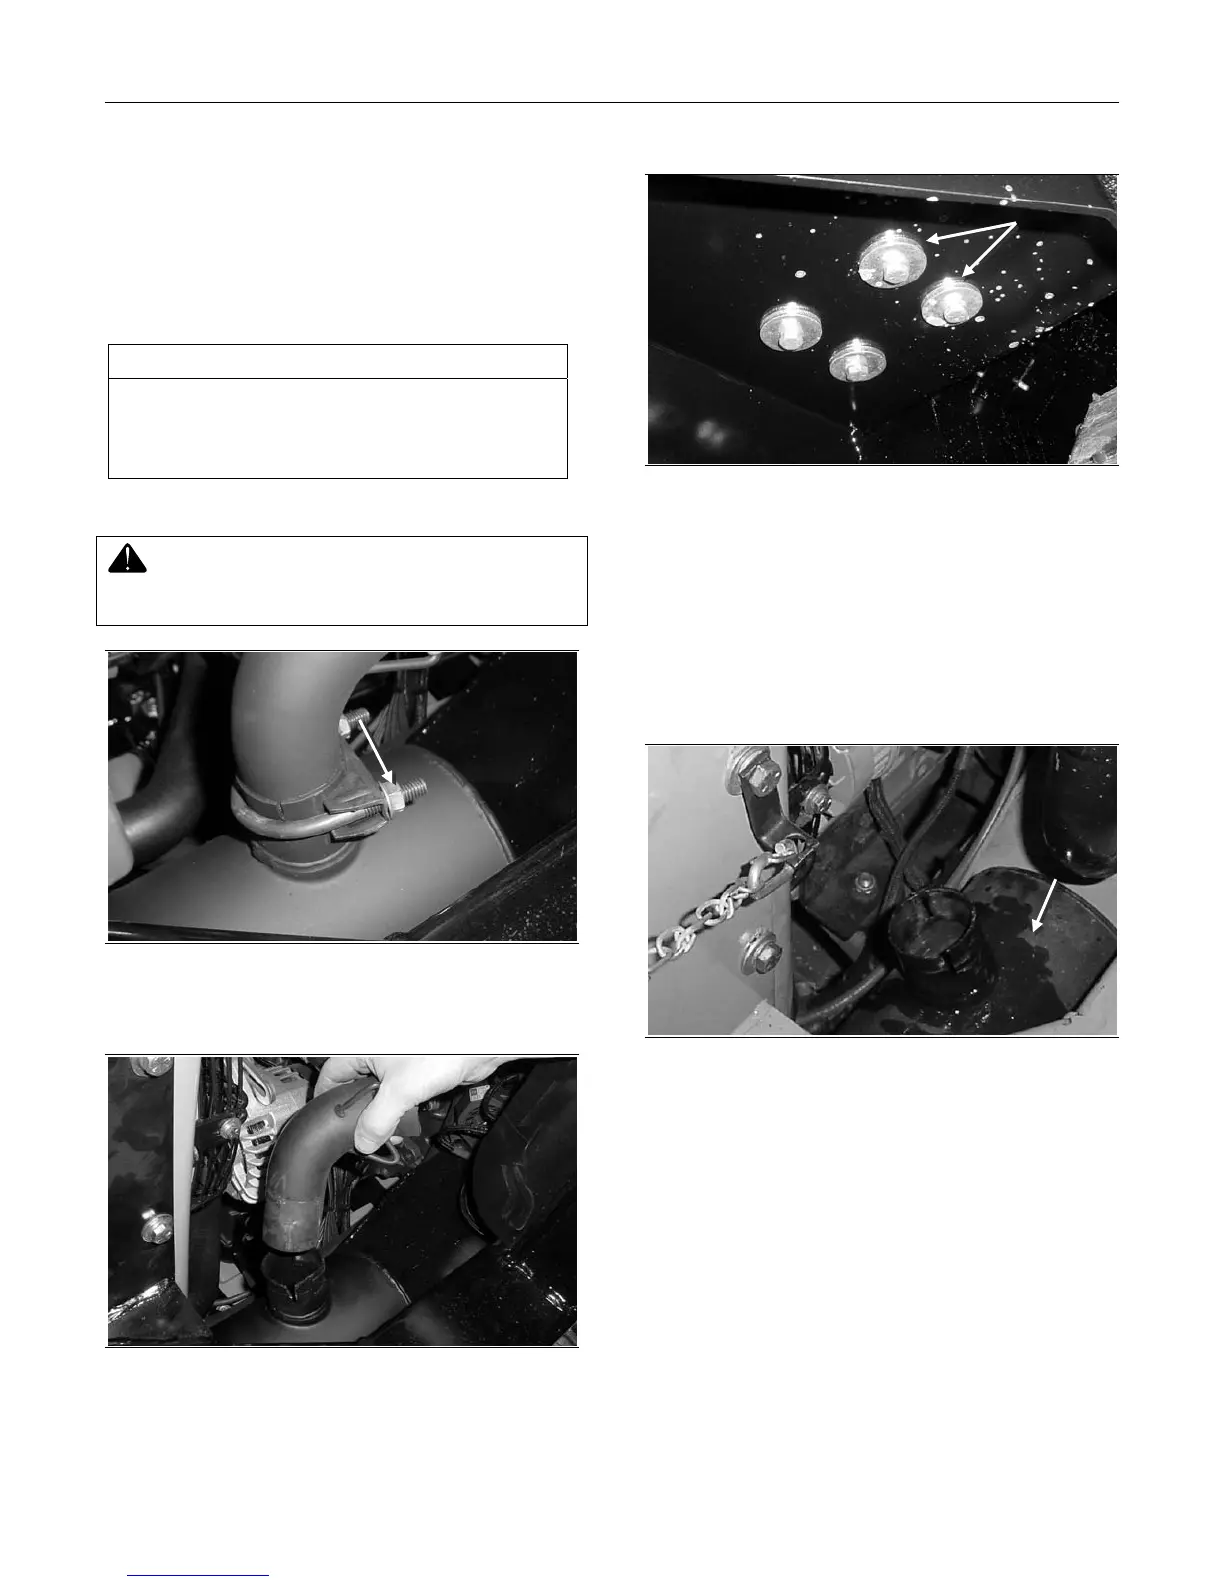
Figure 11-1
1. Loosen the nuts on the muffler clamp.
Figure 11-2
2. Spray the joint with penetrating lube, then slide
the curved pipe out of the muffler inlet. A pry bar
may be helpful in removing this pipe section.
Figure 11-3
3. Remove the four bolts that fasten the muffler to
the chassis. They can be accessed from the un-
derside of the machine (right rear corner).
4. Carefully guide the muffler out of the engine
compartment.
Muffler Installation
Figure 11-4
1. Guide the muffler outlet pipe into its opening at
the rear of the engine compartment, then posi-
tion the muffler over the mounting locations.
Loosen
Nuts
Remove
Bolts
Position
the Muffler
over the
four
Mounting
Holes