Compact Track Loader
14. Quick Attach Disassembly and Assembly
14-2
2. Turn the engine start switch to the OFF position.
Figure 14-2
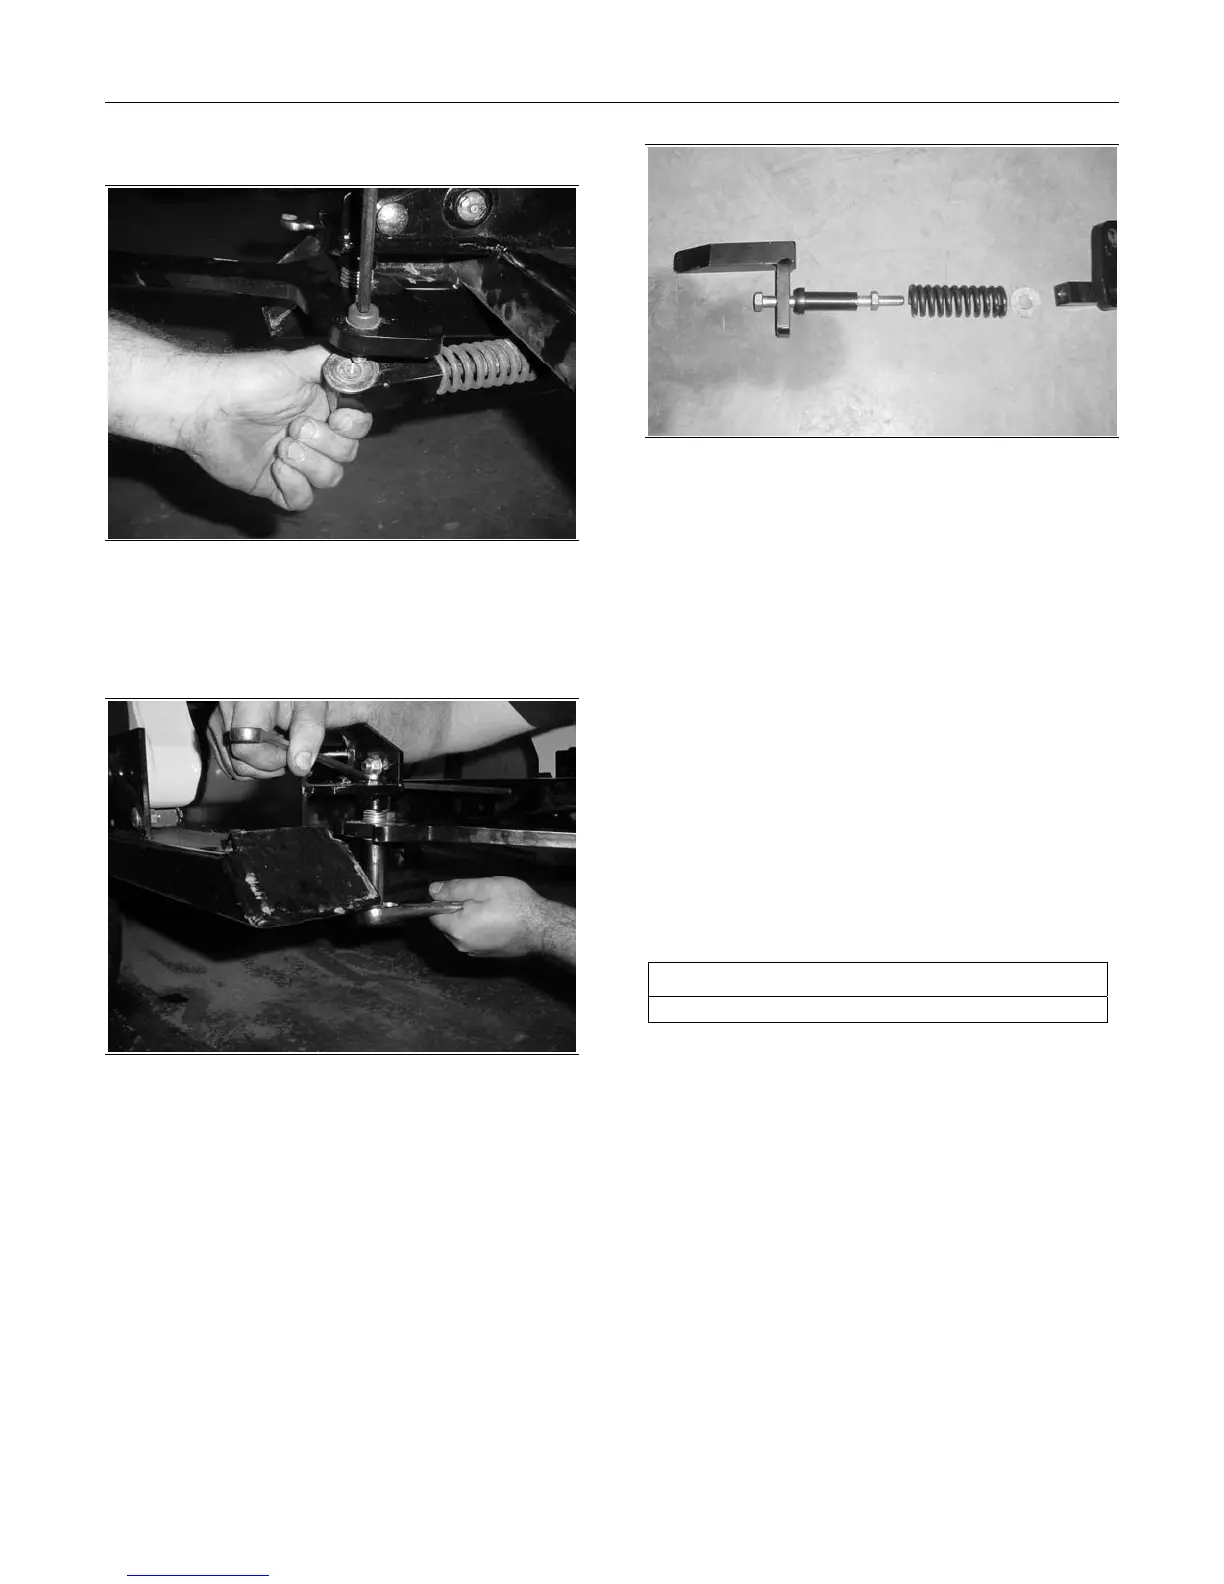
3. Remove the bolt securing the latch mechanism
to the quick attach spring block using an allen
wrench.
Figure 14-3
4. Remove the bolt and nut using to two wrenches.
5. Slide the latch mechanism out for parts
inspection.
Figure 14-4
6. Disassemble as necessary and replace worn
components to ensure proper function.
Latch Mechanism Installation
1. Latch installation is the reverse of the removal
procedure.
2. Add removable lock tite to allen bolt threads.
Quick Attach Assembly
Removal and Installation
The tools required for quick attach assembly
removal and installation is listed in Table 14-2. Use
manufacturer-recommended tools whenever
possible.
Table 14-2
Required Tools
Combination Wrench
Quick Attach Assembly Removal
1. Remove any attachments and place support
blocks beneath the quick attach. Then tilt the
quick attach assembly forward and lower the lift
arms until the quick attach assembly rests
securely on the blocks (approximately 6 inches
or 15.24 cm off the ground).
2. Turn the engine start switch to the OFF position.

 Loading...