Compact Track Loader
12. Undercarriage Disassembly and Assembly
12-6
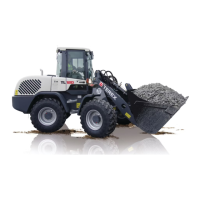
Figure 12-19
3. Install the front wheel. Refer to Chapter 12.
Wheel Installation pg 12-3.
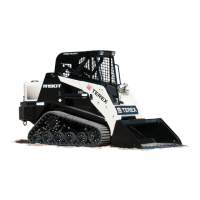
Align
Holes
Figure 12-20
4. Pry the sprocket up until the holes in the track
tensioner and drive table are aligned. A floor
jack or a second pry bar may be needed to get
the drive table off the rail.
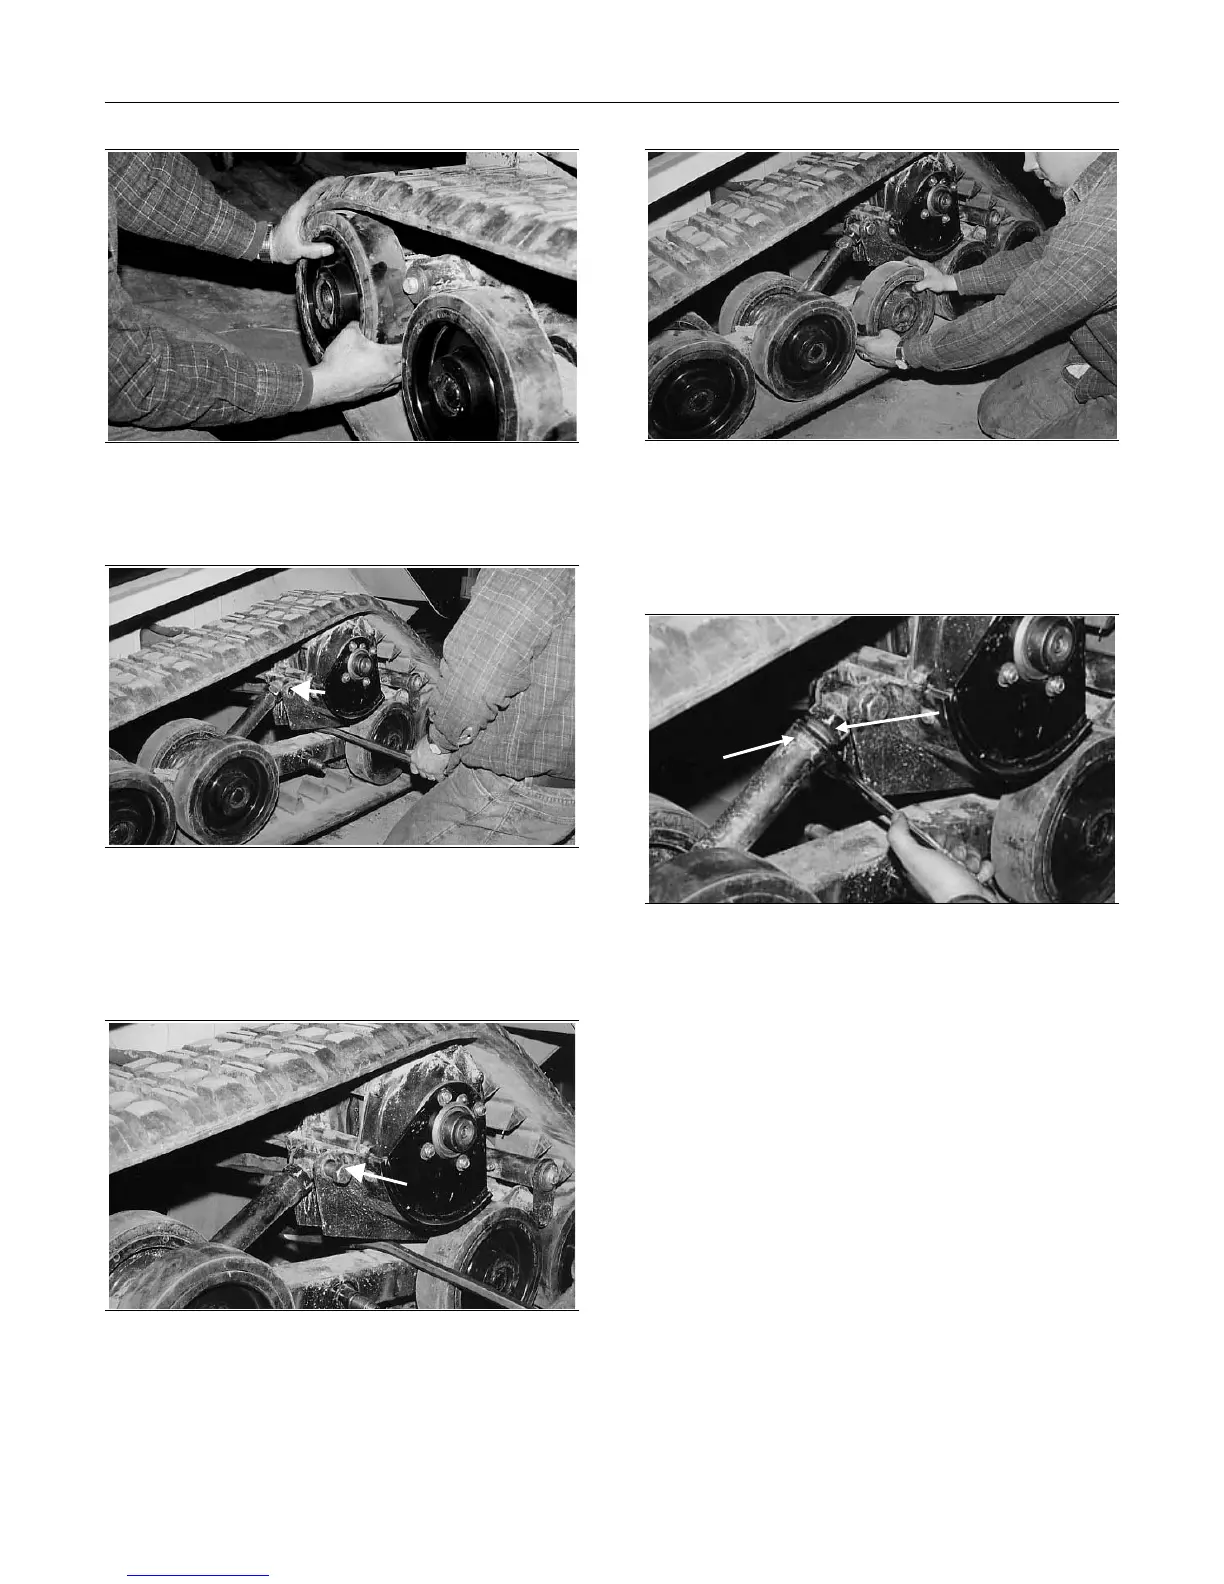
Tighten
Bolt
Figure 12-21
5. Install and tighten the track tensioner bolt and
nut.
Figure 12-22
6. Install the remaining wheels making sure the
bearing, washer, wheel nuts, wheel caps, and
snap-rings are properly installed. Refer to
Chapter 12. Wheel Installation pg 12-3.
Figure 12-23
7. Tighten the track by turning the track
tensioner. When proper track tension has been
achieved, tighten the jam nut on the track
tensioner.
8. Check for proper track tension. Refer to
Chapter 16. Maintenance – Checking for Proper
Track Adjustment
Sprocket Bearing Plate
Removal and Installation
The tools required for sprocket bearing plate
removal and installation are listed in table 12-3
below. Use manufacturer-recommended tools
whenever possible.
Jam Nut
Track
Tensioner
 Loading...