Compact Track Loader
12. Undercarriage Disassembly and Assembly
12-7
Table 12-3
Sprocket Bearing Plate Removal
1. Remove the track. Refer to Chapter 12. Track
Removal.
Figure 12-24
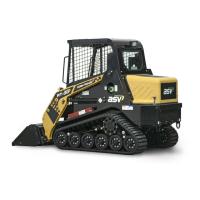
2. Remove the cotter pin from the castle nut on the
end of the sprocket assembly.
Figure 12-25
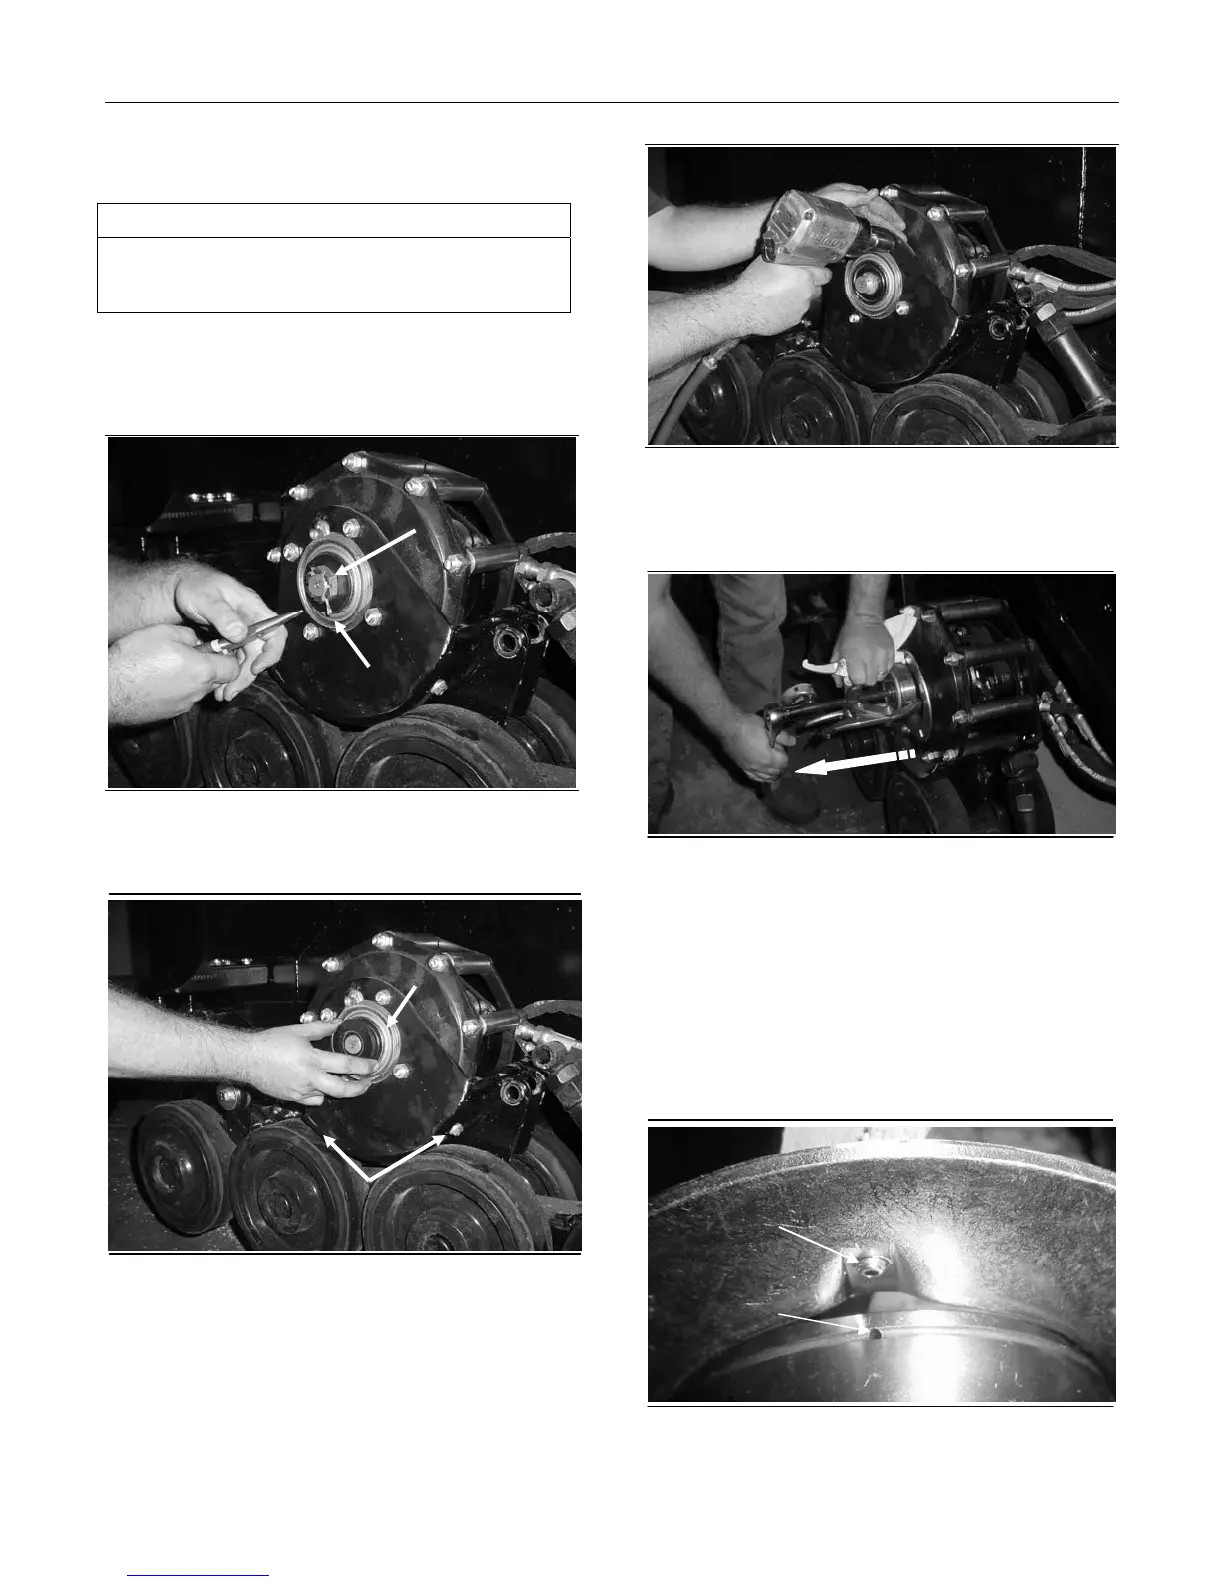
3. Remove the spacer washer.
4. Remove the two bolts securing the bearing plate
to the drive table.
Figure 12-26
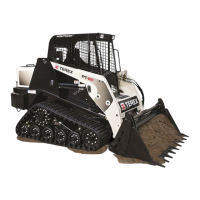
5. Remove the four bolts that secure the bearing
assembly to the bearing plate, remove the
bearing plate.
Figure 12-27
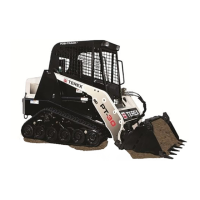
6. Remove bearing from sprocket with bearing
puller tool. Inspect sprocket rollers for wear. If
replacement is needed, refer to sprocket roller
removal on page 12-8 of this chapter.
Sprocket Bearing Plate Installation
1. To install the sprocket bearing plate, reverse
removal procedure with following added
instructions.
Figure 12-28
Required Tools
Socket Wrench Combination Wrench
Bearing Puller Tool Torque Wrench
Two bolts
Cotter pin
Castle nut
Spacer
Bearing
flange w/
zerk
Bearing
grease