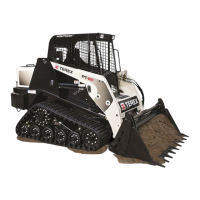
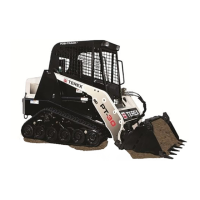
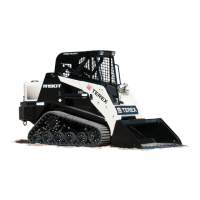
Compact Track Loader
12. Undercarriage Disassembly and Assembly
12-10
3. Operate the puller by tightening the push bolt
with a wrench until the sprocket is pulled off the
drive motor shaft as shown in figure 12-36. Re-
move sprocket and inspect sprocket rollers for
wear. If replacement is needed, refer to Sprock-
et roller removal on page 12-8 of this chapter.
Sprocket Installation
Figure 12-37
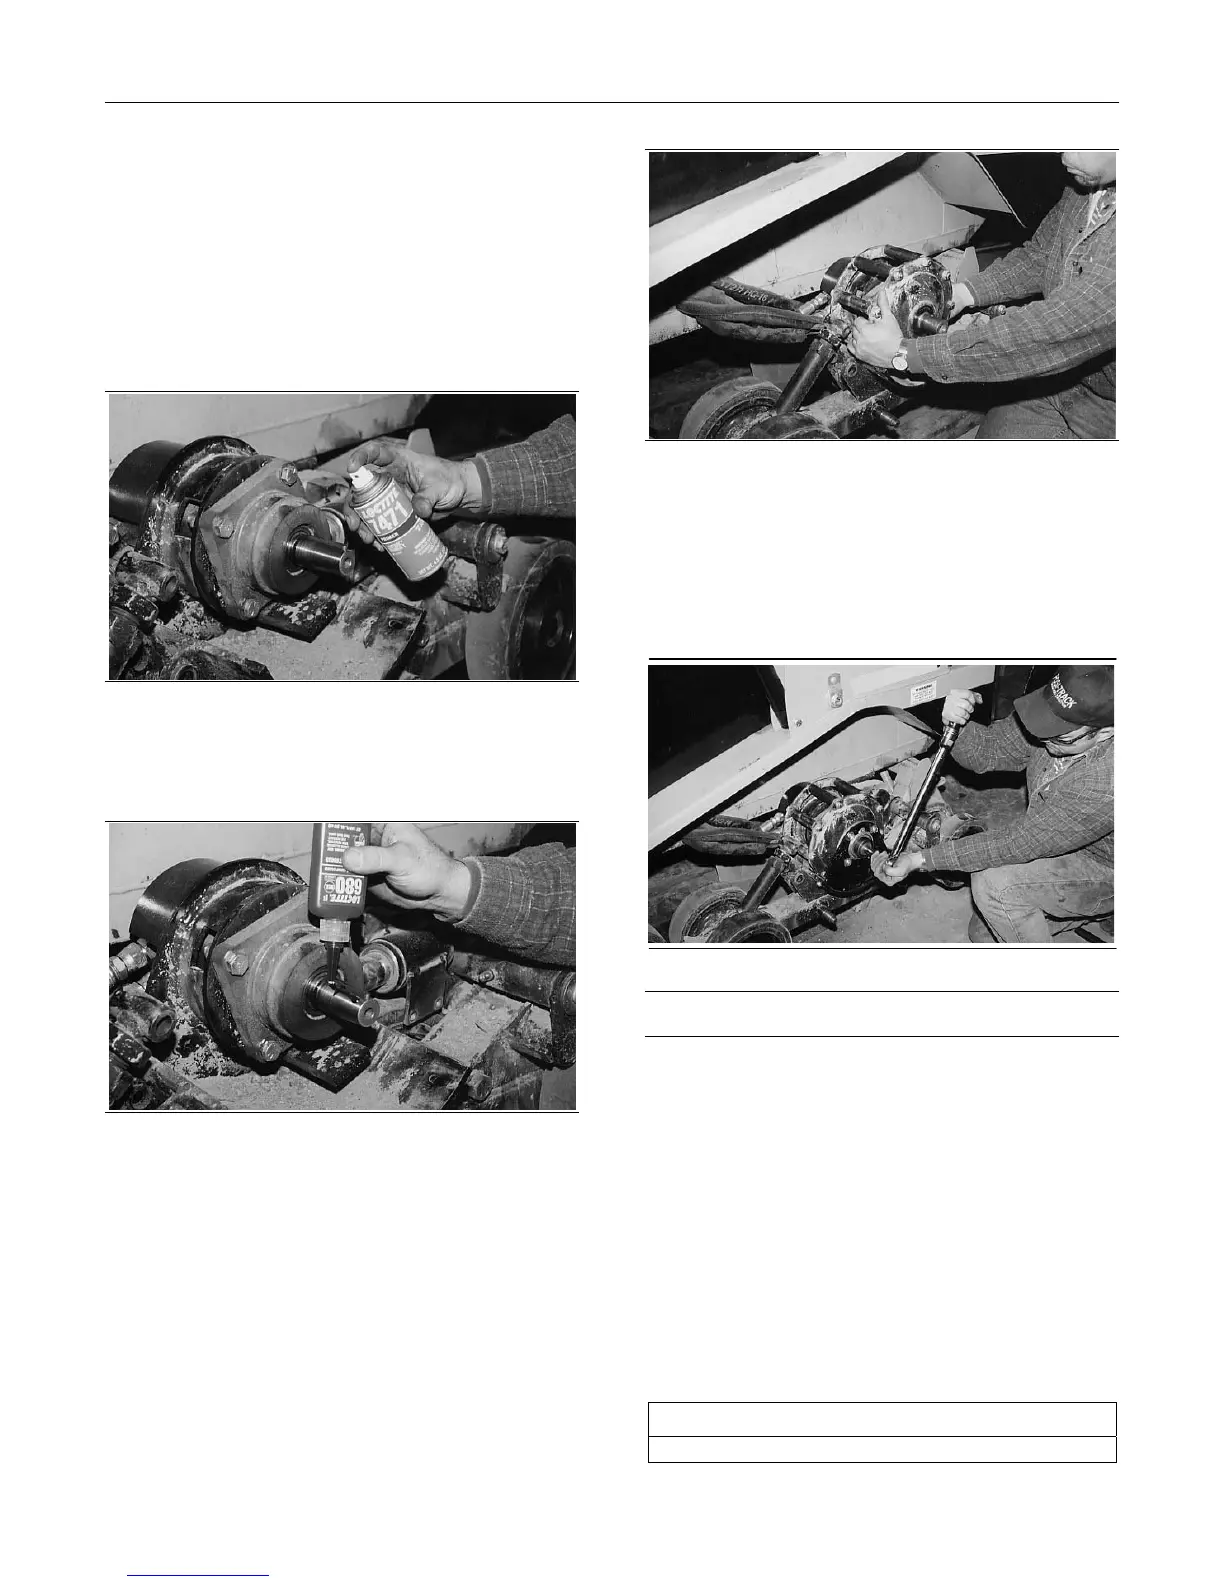
1. After inspecting and cleaning the shaft, spray
7471 Loctite Primer on to the shaft.
Figure 12-38
2. Once the primer has dried spread 680 Loc-tite
Retaining Compound onto the shaft. The
retaining compound is very important; it fills in
small inconsistencies in the shaft and creates a
better bond between the shaft and the sprocket.
Figure 12-39
3. Align the key on the shaft with the key-way in
the drive sprocket, and then slide the sprocket
onto the shaft. Install the bolt into the end of the
sprocket shaft and finger- tighten. Complete the
next step as soon as possible to prevent the
Loc-tite from drying before the sprocket is
tightened.
Figure 12-40
Note: Using a torque wrench, tighten the sprocket bolt
to275 lb-ft (366 Nm).
4. Remove the drive motor fittings by turning the
motor so that the fittings face upward. Then tilt
the motor in the table as shown & pull upward
and outward to remove.
Drive Motor Removal and
Installation
Use manufacturer-recommended tools whenever
possible.
Table 12-6
Required Tools
Socket/Combination Wrench
 Loading...