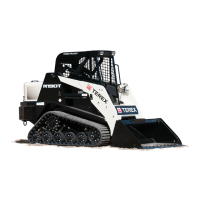
Compact Track Loader
12. Undercarriage Disassembly and Assembly
12-4
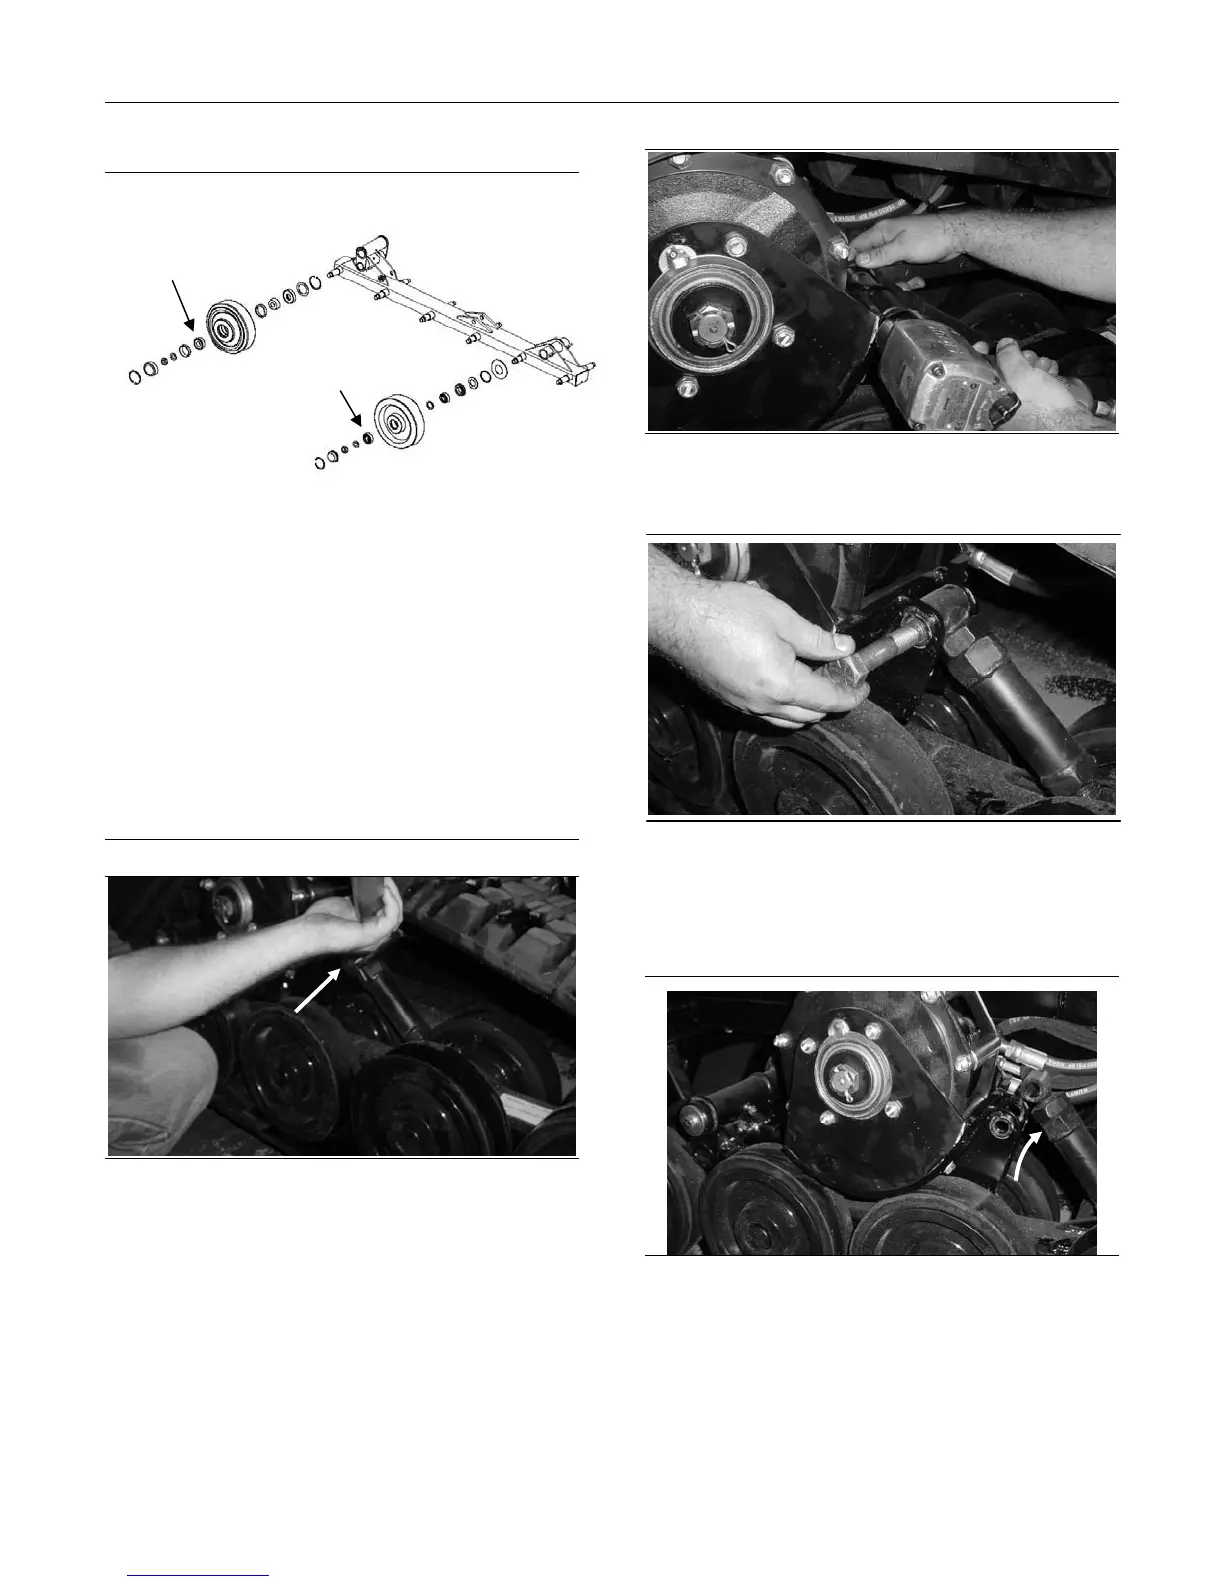
NOTE: Bearings
In the illustration above, the rear wheel is shown
with a tapered roller style bearing while the center
wheel is shown with a ball type bearing. It is
important to note that these bearings are positioned
within the undercarriage as they are, in order to
adequately bear the differing loads/forces applied to
them.
When replacing bearings or removing wheels,
always make sure the front and rearmost wheels
in the undercarriage are equipped with tapered
“roller” type bearings, while the eight interior
wheels are to be equipped with “ball” type
bearings. They are not interchangeable in this
application.
Figure 12-9
Figure 12-10
1. Loosen the jam nut located on the track
tensioner using the correct size wrench. Turn
the track tensioner until the track has significant
slack.
Figure 12-11
2. Remove the nut from the bolt that fastens the
track tensioner to the drive sprocket assembly.
Figure 12-12
3. Using a pry bar, pivot the drive table assembly
upward and support it until the track
tensioner bolt can be removed. Remove the bolt.
Figure 12-13
4. Pry the drive table assembly upward, away from
the tensioner. Then pivot the tensioner forward
as shown. Once the tensioner is out of the way,
lower the drive table until it rests on the rail.
Tapered Roller Bearing
Ball Bearing
Jam nut


 To Next Page