When a tire set becomes worn, replace all four tires at the
same time. Choose a Tesla-approved tire which is designed
specifically for your vehicle. Most Tesla-approved tires can
be identified with a "T-mark" specification on the tire's
sidewall (for example, T0, T1, T2). Tesla-approved tires are
designed to work with electric drivetrains and optimize
performance, safety, reliability, and durability. For more
information about Tesla-approved replacement tires, refer to
the Service Manual.
NOTE: The T-mark identifies a specific tire's progression
according to Tesla specifications. For example, a T1 Michelin
Primacy is newer than a T0 Michelin Primacy, but is not
necessarily newer than other models of T0 tires.
If tires need to be replaced early, for example due to a flat
tire, we recommend replacing the tires in pairs unless the
other tires are within
1.5 mm of tread depth of the new tire.
When replacing tires, it is important to match the brand and
model of the older tires. Always place a pair of new tires on
the rear if all four tires are the same size. Always balance the
wheel and tire after replacing a tire. Consult with a
professional tire retailer and installer for further guidance.
If
you replace your tires or install different ones, reset the tire
configuration (see Tire Configuration on page 176). This
resets the learned tire settings and improves the driving
experience on your new tires. It may take up to 24 hours after
a tire replacement or repair before the tire lubricant is
completely dry and tires achieve maximum adherence to the
rims. Avoid hard accelerations during this period to avoid tire
slip on the rim.
NOTE: Regardless of the number of tires replaced, a
complete set of matching tires is recommended for optimum
performance.
If tires other than those specified are used, ensure that the
load and speed ratings marked on the tire (see
Understanding Tire Markings on page 200) equal or exceed
those of the original specification.
For the specification of the original wheels and tires installed
on Model Y, see Wheels and Tires on page 199.
If you replace a wheel, the TPMS (Tire Pressure Monitoring
System) sensors need to be reset to ensure they provide
accurate warnings when tires are under-inflated (see
Automatic Reset of TPMS Sensors on page 177).
NOTE: Installing winter tires with aggressive compound and
tread design may result in temporarily-reduced regenerative
braking power. However, your vehicle is designed to
continuously recalibrate itself, and after changing tires it will
increasingly restore regenerative braking power after some
moderate-torque straight-line accelerations. For most
drivers this occurs after a short period of normal driving, but
drivers who normally accelerate lightly may need to use
slightly harder accelerations while the recalibration is in
progress. Go to
Service > Wheel & Tire > Tires to select
winter tires and quicken this process.
WARNING:
For your safety, use only tires and wheels
that match the original specification. Tires that do not
match the original specification can affect the
operation of the TPMS.
WARNING:
Never exceed the speed rating of your
vehicle's tires. The speed rating is shown on the
sidewall of your tires (see Understanding Tire Markings
on page 200).
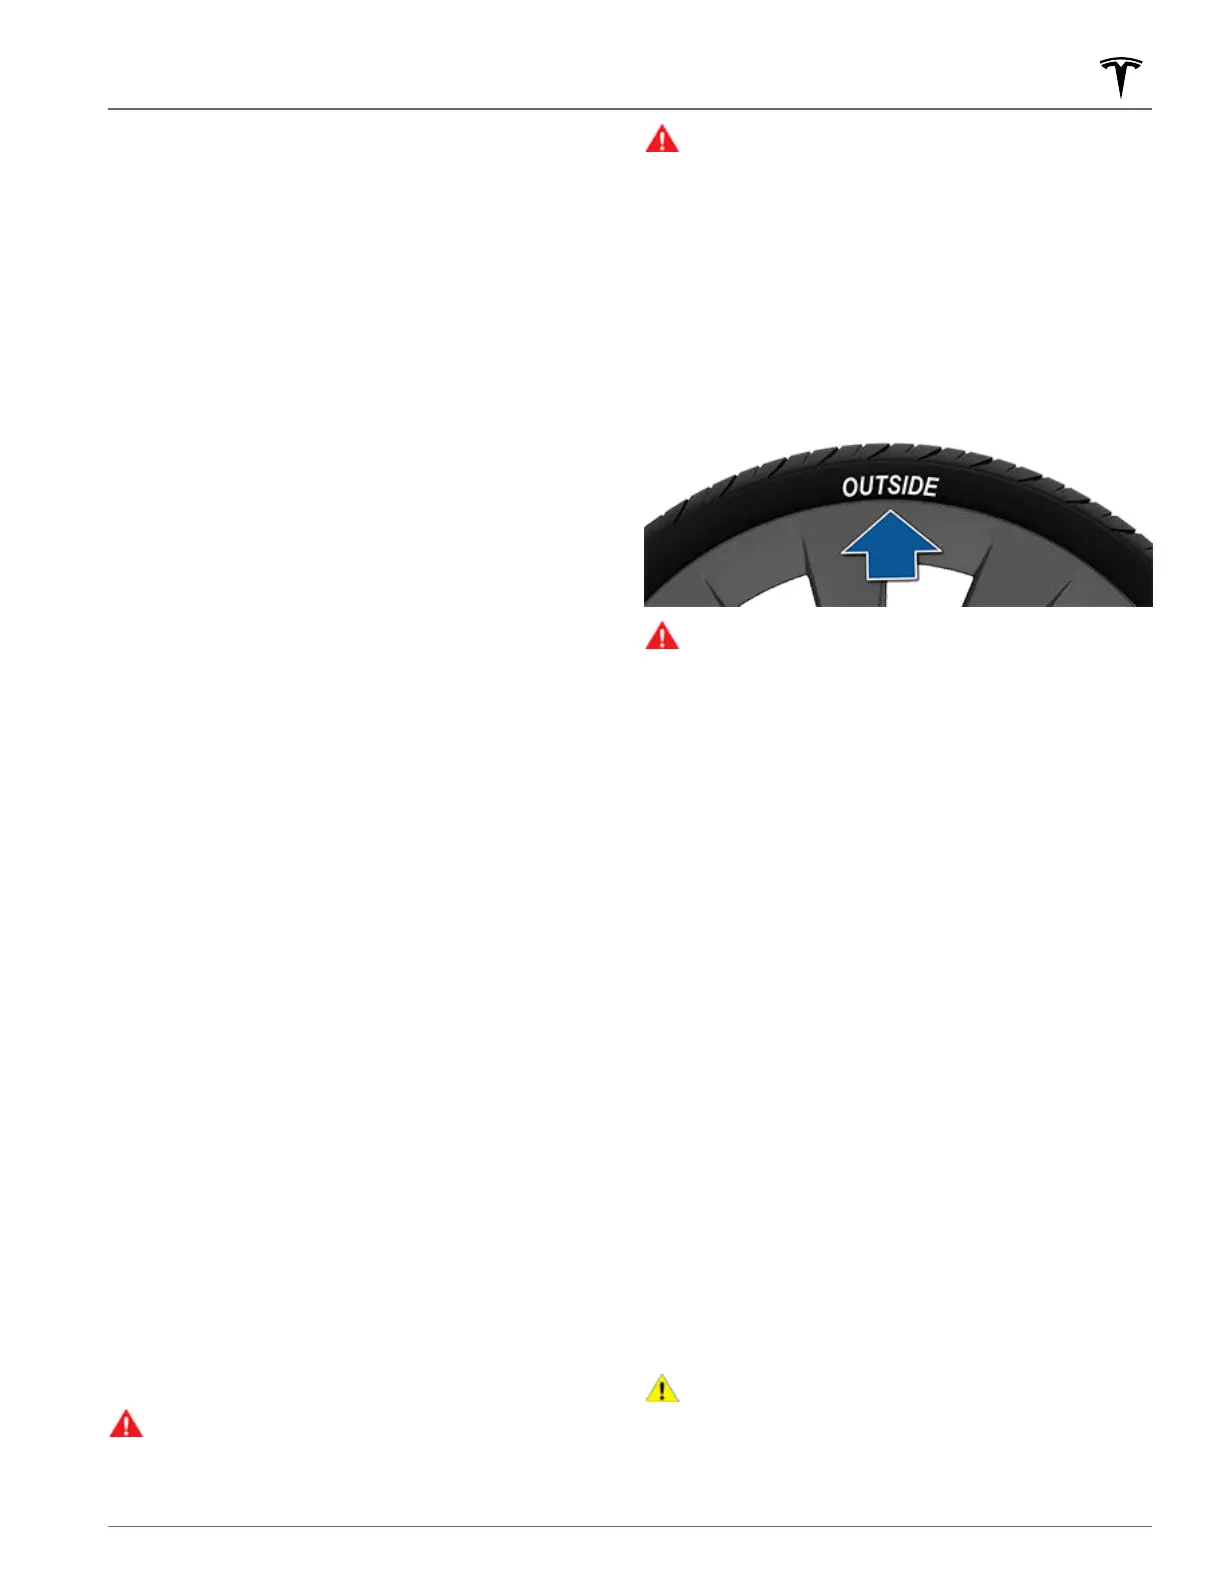
Asymmetric Tires
Some Model Y tires are asymmetric and must be mounted on
the wheel with the correct sidewall facing outward. The
sidewall of the tire is marked with the word OUTSIDE. When
new tires are installed, make sure that the tires are correctly
mounted on the wheels.
WARNING:
Road holding is seriously impaired if the
tires are incorrectly installed on the wheels.
Removing and Installing Aero Covers
If your Model Y is equipped with aero covers, you must
remove them to access the lug nuts.
To remove an aero cover:
1. Grasp the aero cover firmly with both hands.
2. Pull the aero cover toward you to release the retaining
clips.
To install an aero cover:
1.
Align the aero cover with the valve stem.
2. Firmly press the center of the cover to secure it in place,
then work your way out to firmly pressing the outer
perimeter of each spoke. You may need to hold onto the
opposite side of the cover until all spokes are secured.
3.
Firmly press the center of the cap with your hands (do not
hit the cover with your hands) to ensure it is secured.
4.
As a final check, quickly pull each spoke to confirm they
are secured in place.
For Gemini wheels, press on the perimeter of the cover until
it aligns with the wheel surface. Press on the Tesla “T” in the
center until the cap snaps into place. See Parts and
Accessories on page 186 for more information.
CAUTION:
To prevent the aero cover from falling off,
ensure that it is fully secured before driving.
Tire Care and Maintenance
175Maintenance