Chapter 6: Tips and Tricks
USB Storage Expansion
The Thecus IP storage supports external USB hard disks through its USB ports. Once
a USB hard disk has successfully mounted, the entire volume will be linked
automatically to the default USB HDD folder.
Before attaching a USB disk drive to a Thecus NAS, it must be partitioned and
formatted by a computer. The attached device will be located at
\\IPADDRESS\usbhdd\usb\xxx\ where IPADDRESS is the IP address of the NAS
(192.168.1.100 by default) and xxx is the name of the folder on the NAS
(usually labelled 1, 2, 3, etc in succession for each time data is imported).
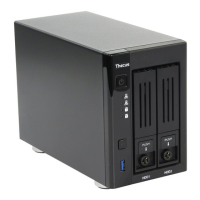
Replacing Damaged Hard Drives
If you are using RAID 1, you can easily replace a damaged hard drive in the Thecus
IP Storage while keeping your data secure with the system‘s automatic data
recovery.
Hard Drive Damage
When a hard drive is damaged and data in the RAID volume, the system LCD
(LED-N0204) will display warning message and begin beeping.
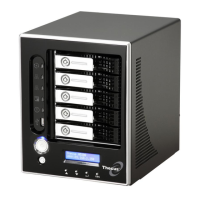
Replacing a Hard Drive
To replace a hard disk drive in the Thecus IP storage:
1. Open front door of the Thecus IP storage.
2. For 3.5‖ HDDs (N2200/N2200PLUS/EVO,N4100EVO)
a. Remove the HDD tray
b. Get the HDD tray, remove failed hard disk(s) and install new hard
disk(s).
c. Slide hard disks into the Thecus IP storage until they snap into place.
3. For 2.5‖ HDDs (N0204/N2200/N2200PLUS/EVO,N4100EVO)
a. Remove the 2.5‖ HDD tray
b. Remove failure hard disk
c. Install new HDD on to the hard HDD tray
d. Slide into HDD tray till it snap into place.