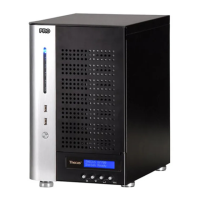
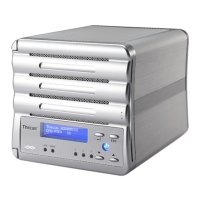
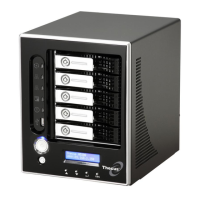
N4100EVO:
The N4100EVO supports four standard 3.5‖ or 2.5‖ Serial ATA (SATA) hard disks. To
install a hard disk into the N4100EVO, follow the steps below:
1. Remove a hard disk tray from the N4100EVO.
2. Slide the new SATA hard disk into the tray and fasten the screws.
3. Insert the hard disk and tray back into the N4100EVO until it snaps into place
and lock it with a key if desired.
4. The LED blinks green when the hard disk is plugged in.
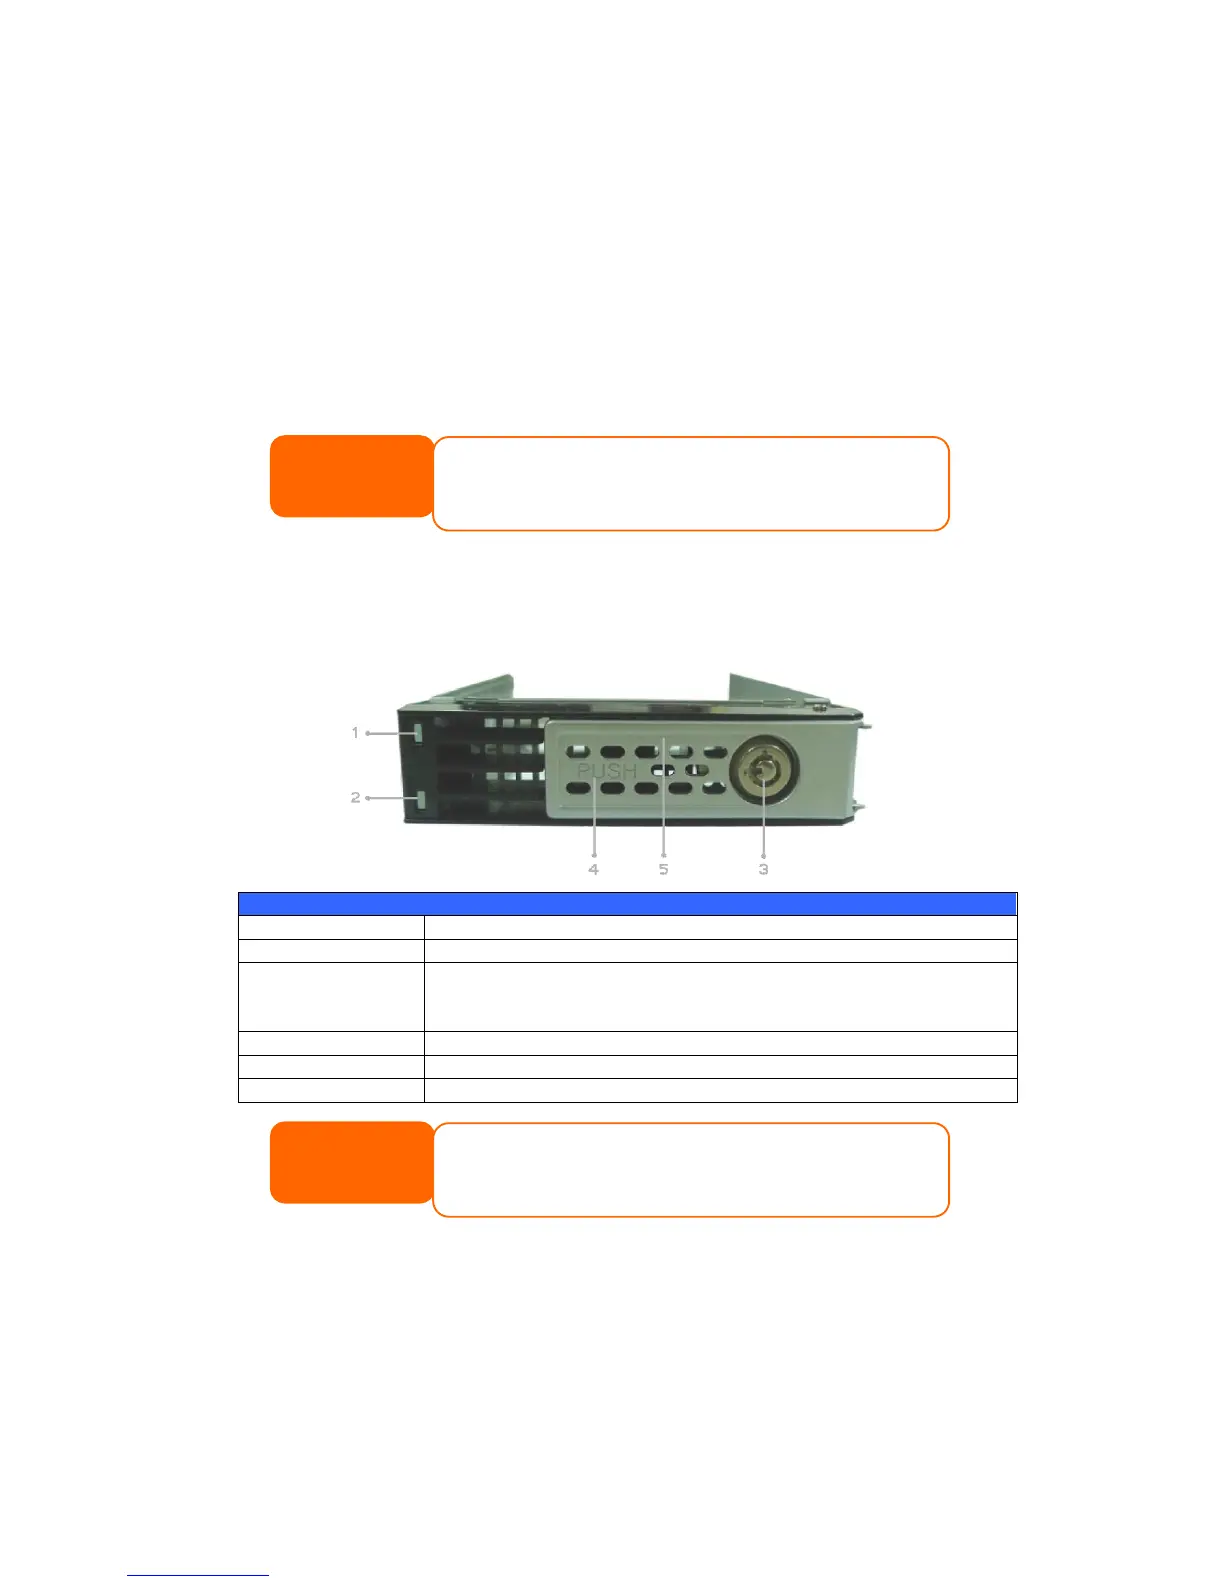
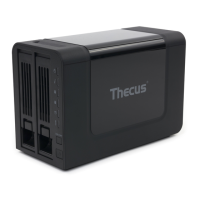
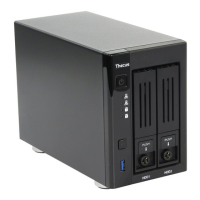
Hard Disk Trays
Each of above mentioned models‘ hard disk trays has a lock, a latch, and two LED
indicators:
Solid blue: Hard disk is powered on
Solid green:When the HDD is plugged in.
Blinking green: System is accessing data on the hard disk
Solid red: HDD fail
Use the lock to physically secure the hard disk to the unit.
Use to open and remove or close and secure the tray.
Pull to remove the HDD tray.
Cable Connections
Make the following connections on the Thecus N4100EVO and then power up the
unit:
1. Connect an Ethernet cable from your network to the WAN port on the back
panel of the N4100EVO.
If your HDD was part of a RAID 1 or RAID 5 array previously, it
automatically rebuilds. If you replace all the drives with higher capacity
drives, you will need to go to Administrator login and format the drives.
After turning on the NAS, the light "activity" will become bright while the
HDD is plugged in, and will glitter while reading or writing information.