Replacing Damaged Hard Drives
If you are using RAID 1, RAID 5, RAID 6, or RAID 10, you can easily replace a
damaged hard drive in the Thecus N4100PRO while keeping your data secure with
e system’s automatic data recovery.
To replace a hard disk drive in the N4100PRO:
4100PRO until it snaps into place.
You can also lock it with a key if desired.
is accessed.
4100PRO, you can use the auto-rebuild
is detected.
which disk has failed.
3. Follow the steps mentioned above to replace the failed hard disk.
the
auto-rebuild sequence to resume its status before the hard disk crash.
th
Hard Drive Damage
When a hard drive is damaged and data in the RAID volume, the system LCD will
display warning message also the system beeps.
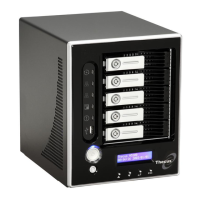
Replacing a Hard Drive
1. Remove the tray with the damaged hard disk.
2. Unscrew the damaged hard disk and remove it from the tray.
3. Slide a new hard disk into the tray and fasten the screws.
4. Insert the hard disk tray back into the N
5. The LED blinks green when the HDD
RAID Auto-Rebuild
When using RAID 1, 5, 6, or 10 on the N
function when an error
1. When a hard disk fails the system beeps and/or an email notification is sent
to specified receivers.
2. Check the LCD to see
4. The system automatically recognizes the new hard disk and starts
108