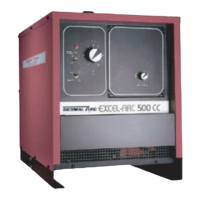
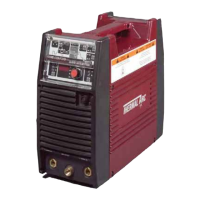
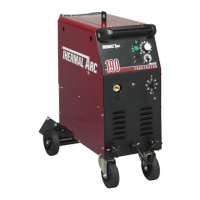
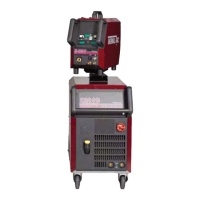
POWERMASTER 500, 500P, 350, 350P
4-10
March 17, 2006
4.09 Pulsed GMAW (Power-Master 500P
and 350P Only)
1. Connect the wire feeder to the power source.
Connect the control cable to the 19-pin receptacle
or the 14-pin receptacle on the rear of the power
source. Connect the electrode cable from the wire
feeder to the output terminal of the power source
(normally positive for DCEP). Connect the other
output terminal of the power source to the workpiece.
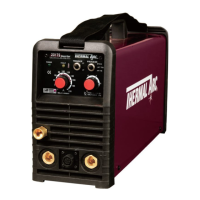
2. Turn the control power switch ON, located on the
front panel of the power source. The digital display
on the power source will be activated.
3. Select Pulsed GMAW mode using the mode select
switch located on the control panel under the door.
4. Select the desired pulse schedule based on the
wire size and type. The label on the inside of the
door shows the default factory pulse schedules.
Schedules 1-12 are standard pulse schedules,
schedules 13-24 are AVC type pulse schedules.
The AVC schedules provide for greater control of the
arc length as the torch to work distance varies.
NOTE
Any or all of the pulse schedules can be
modified using the programmer interface and
the programming software.
5. Preset the pulse reference. The reference can be
between 0 and 440. This is just a reference to the
pulse control circuit and is not a preset of the actual
arc voltage or amperage. The reference controls
the pulse rate. The pulse rate can be considered
similar to voltage for conventional GMAW. A higher
reference gives a longer arc with higher voltage
and heat input. As with conventional GMAW, the
power source must be adjusted to correspond with
the correct heat input for a given wire feed speed.
6. If the wire feeder has remote voltage control, place
the power source in remote mode using the remote
switch located on the control panel under the door.
This will allow the wire feeder to control the preset
voltage of the power source.
7. The power source is now ready to weld.
8. To end the weld, release the torch switch while
holding the torch in place at the end of the weld.
This will allow the wire sharpening circuit in the
power source to condition the end of the wire for
the next weld. The wire sharpening circuit will tend
to leave a very small ball on the end of the wire,
thus making the next start easier.
 Loading...