26
.....Additional setup menus within the 4-20 mA submenu
4. Press ENTER.
5. Access Menu 58 again.
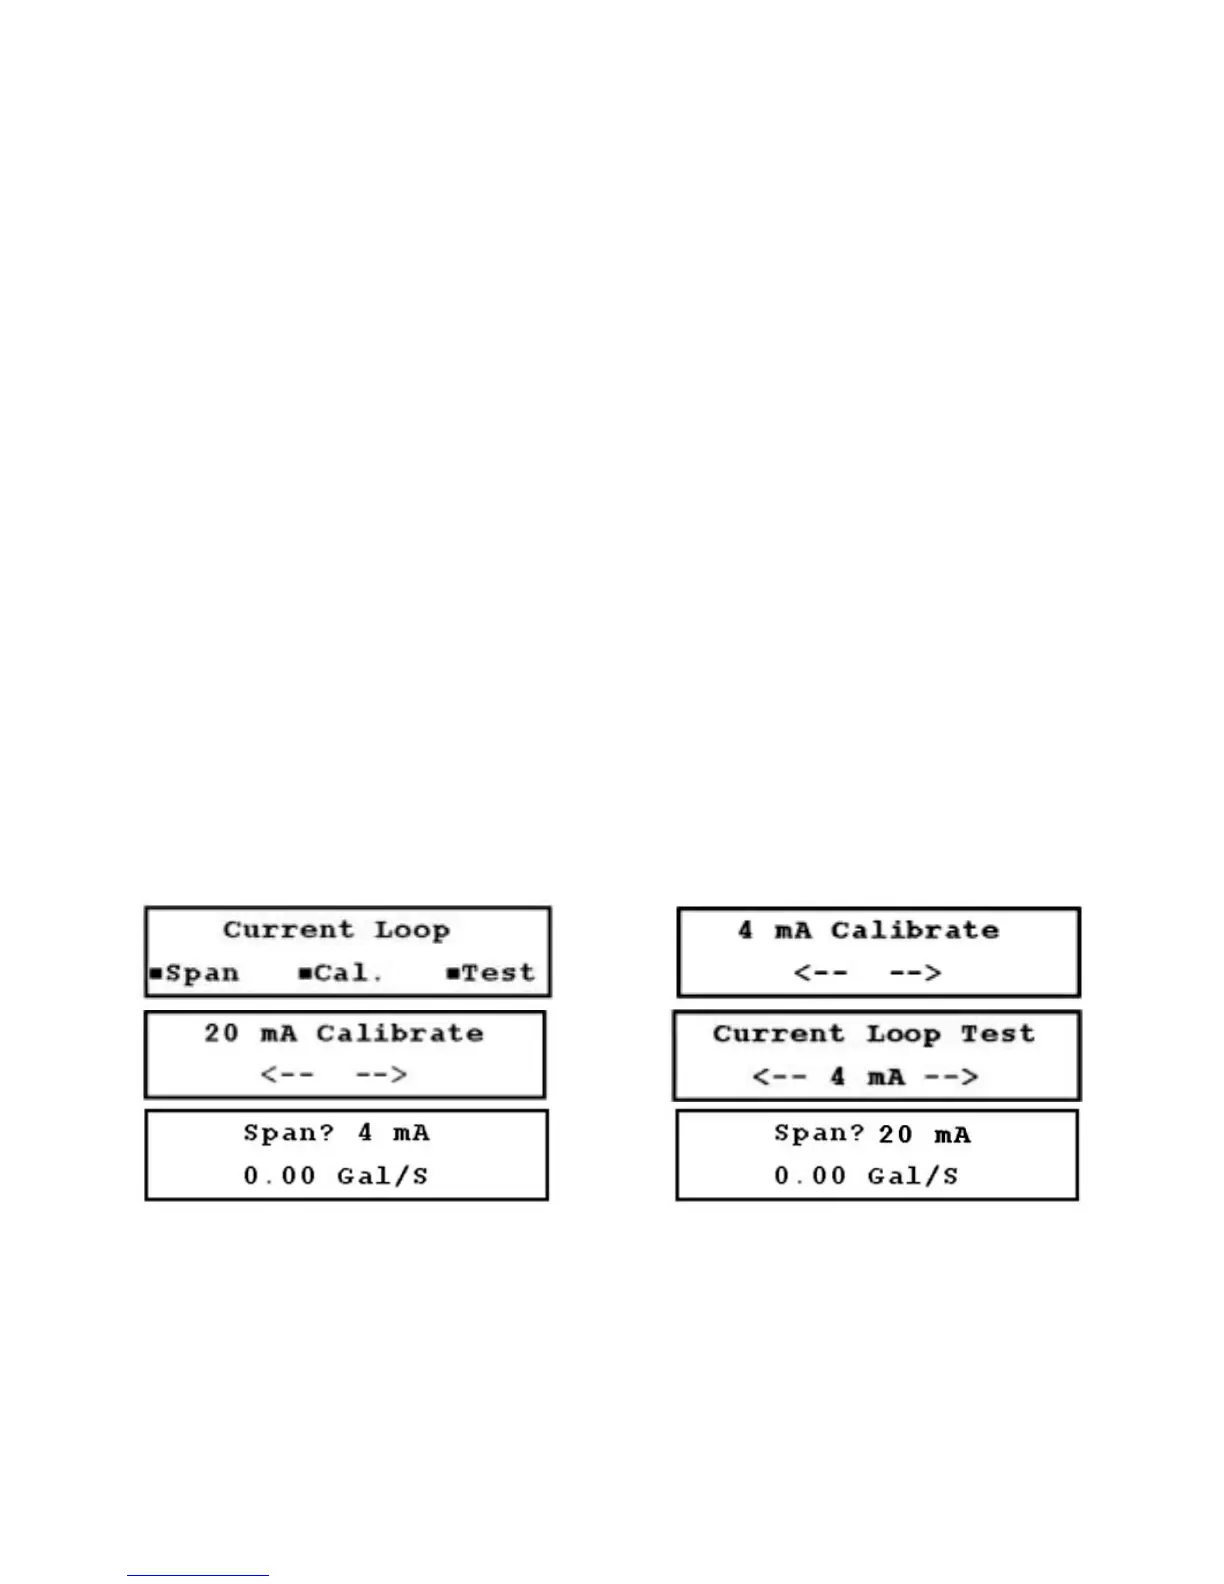
6. Press the DOWN ARROW to scroll to the 20 mA Calibrate screen (Figure 3.14-C, below).
7. Repeat step 3 for entering the 20 mA set point.
8. Access Menu 00.
9. Test the current loop calibration by accessing Menu 59 (Figure 3.14-D, below).
10. Change the current loop output in 1 mA increments using the RIGHT or LEFT ARROWS. The output
indicated on the screen should be the same as the output on the milliammeter. If the values do not
match, repeat steps 2 through 10.
11. Set the current loop span by accessing Menu 57 (Figure 3.14-E, below). The current loop span is the
span of flow versus current.
12. Enter a flow rate which equals the 4 mA (minimum anticipated) reading, and press ENTER.
13. Press the DOWN ARROW, and Figure 3.14-F (below) is displayed.
14. Enter a flow rate which equals the 20 mA (maximum anticipated) reading, and press ENTER.
15. Access Menu 00 to complete the current loop calibration process.
FIGURES 3.14-A THROUGH 3.14-F (LEFT TO RIGHT, TOP TO BOTTOM)