Tohot-swaptheUltrabaydevice,dothefollowing:
1.Clickthetriangularicononthetaskbartoshowhiddenicons,thenclickSafelyRemoveHardware
andEjectMediaicon,andthenstopthedevice.
2.RemoveandinserttheUltrabaydeviceasintroducedin“ReplacingtheUltrabaydevice”onpage98.
Performingawarmswap
Todoawarmswapistoconnect,remove,orreconnectadevicewhilethecomputerisinsleepmode.
Towarm-swaptheUltrabaydevice,dothefollowing:
1.PressFn+F4toputthecomputerintosleepmode.
2.RemoveandinserttheUltrabaydeviceasintroducedin“ReplacingtheUltrabaydevice”onpage98.
3.PresstheFnkeytoreturnfromsleepmode.
Installingasecondaryharddiskdrive
YoucanupgradethecapacityofyourcomputerbyinstallingasecondaryharddiskdriveusingtheThinkPad
12.7mmSerialATAHardDriveBayAdapterIII.
TheThinkPad12.7mmSerialATAHardDriveBayAdapterIII,availableasanoption,supportsthefollowing
drives:
•2.5-inchharddiskdrive(9.5mmheightor7mmheight)
•2.5-inchsolidstatedrive(7mmheight)
Toinstallasecondaryharddiskdrive,dothefollowing:
Attention:Replaceaharddiskdriveonlyifyouareupgradingitorhavingitrepaired.Frequentreplacement
oftheharddiskdrivemightdamagethedriveandbay.
1.RemovetheSerialUltrabaySlimdeviceorSerialUltrabayEnhanceddevicefromyourcomputer.See
“Replacingtheharddiskdrive”onpage73.
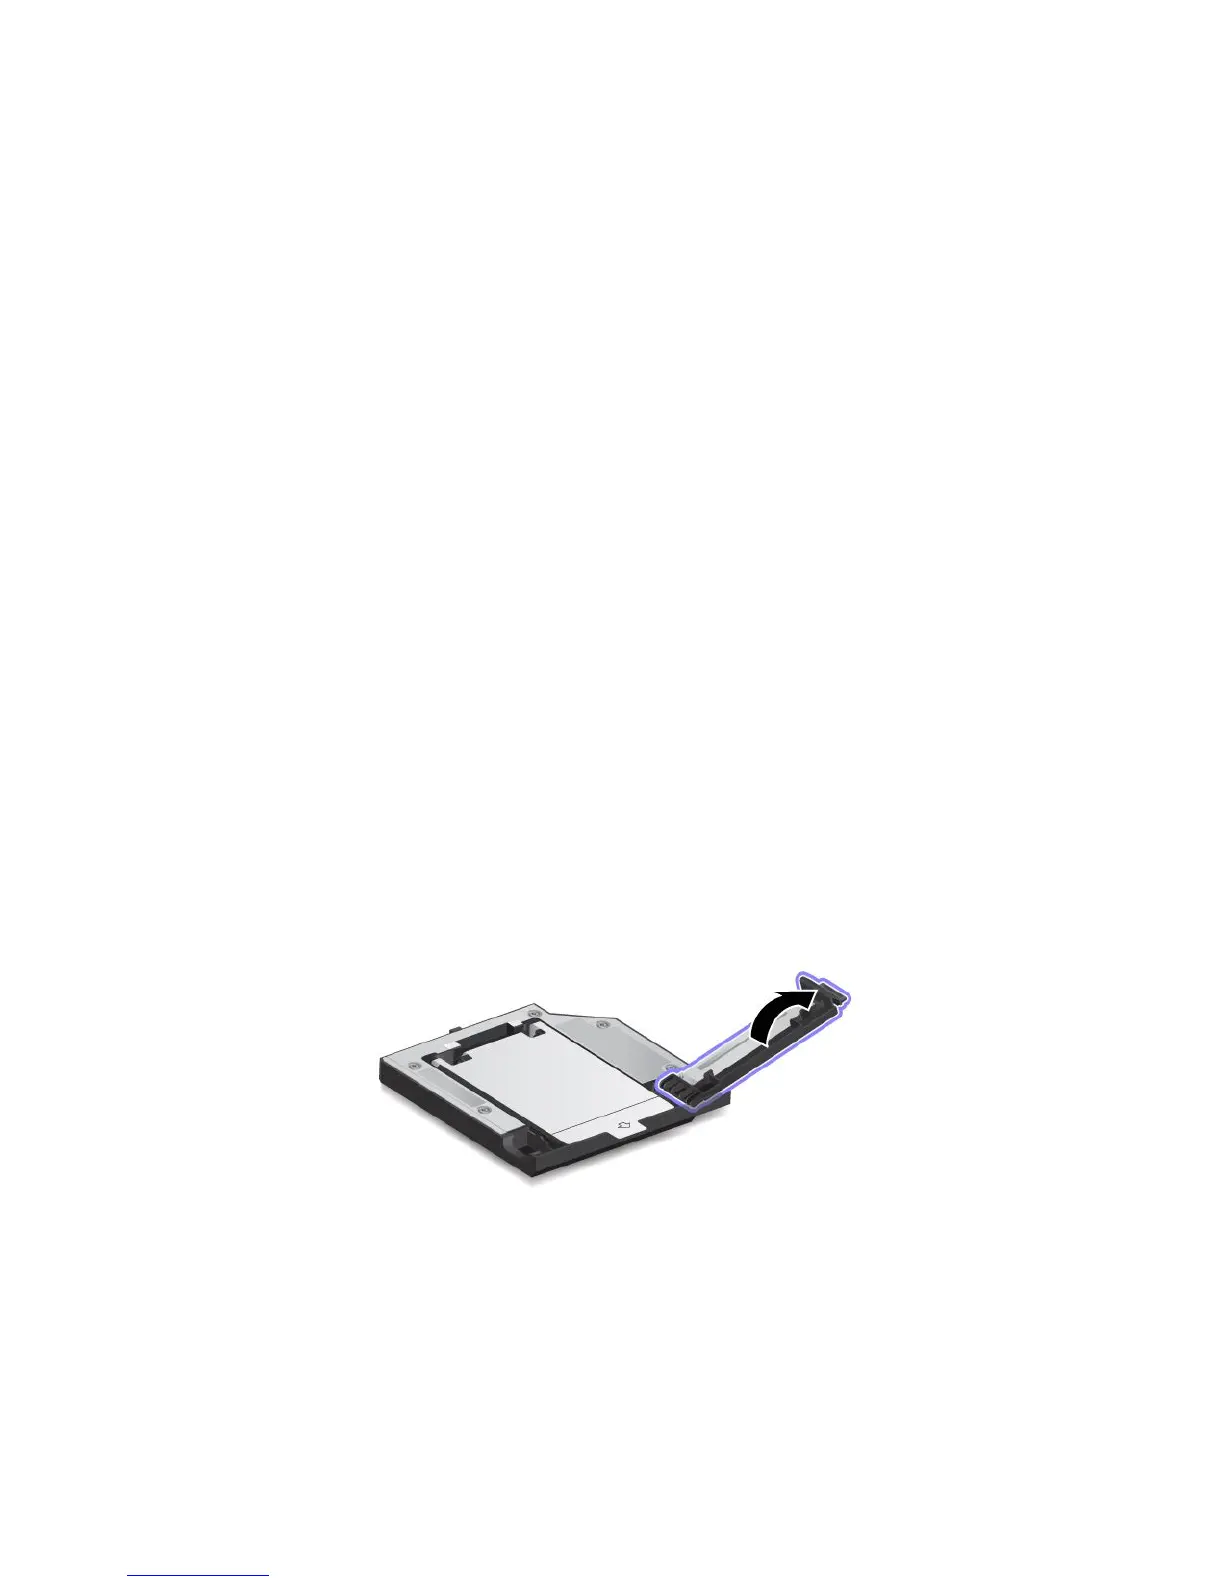
2.OpentheharddiskdrivestopperontheThinkPad12.7mmSerialATAHardDriveBayAdapterIII.
100UserGuide