3-10
Axle Removal
1 Remove any attachment, raise the boom arms and
engage the boom support pins. Shut off the engine.
2 Block the loader securely with all 4 wheels clear of
the ground.
3 Remove the wheels from the side of the loader the
axle is to be removed.
4 Clean the excess dirt from the final drive housing
drain plug area and the inspection cover area located
between the 2 axle towers.
5 Drain the lubricating oil from the final drive housing.
Refer to Section 3.2.
6 Remove the final drive inspection cover located
between the 2 axles.
7 Remove the drive chain from the axle to be replaced.
8 FRONT AXLE: Remove the foot peal assembly if
so equipped. (Refer to Section 4).
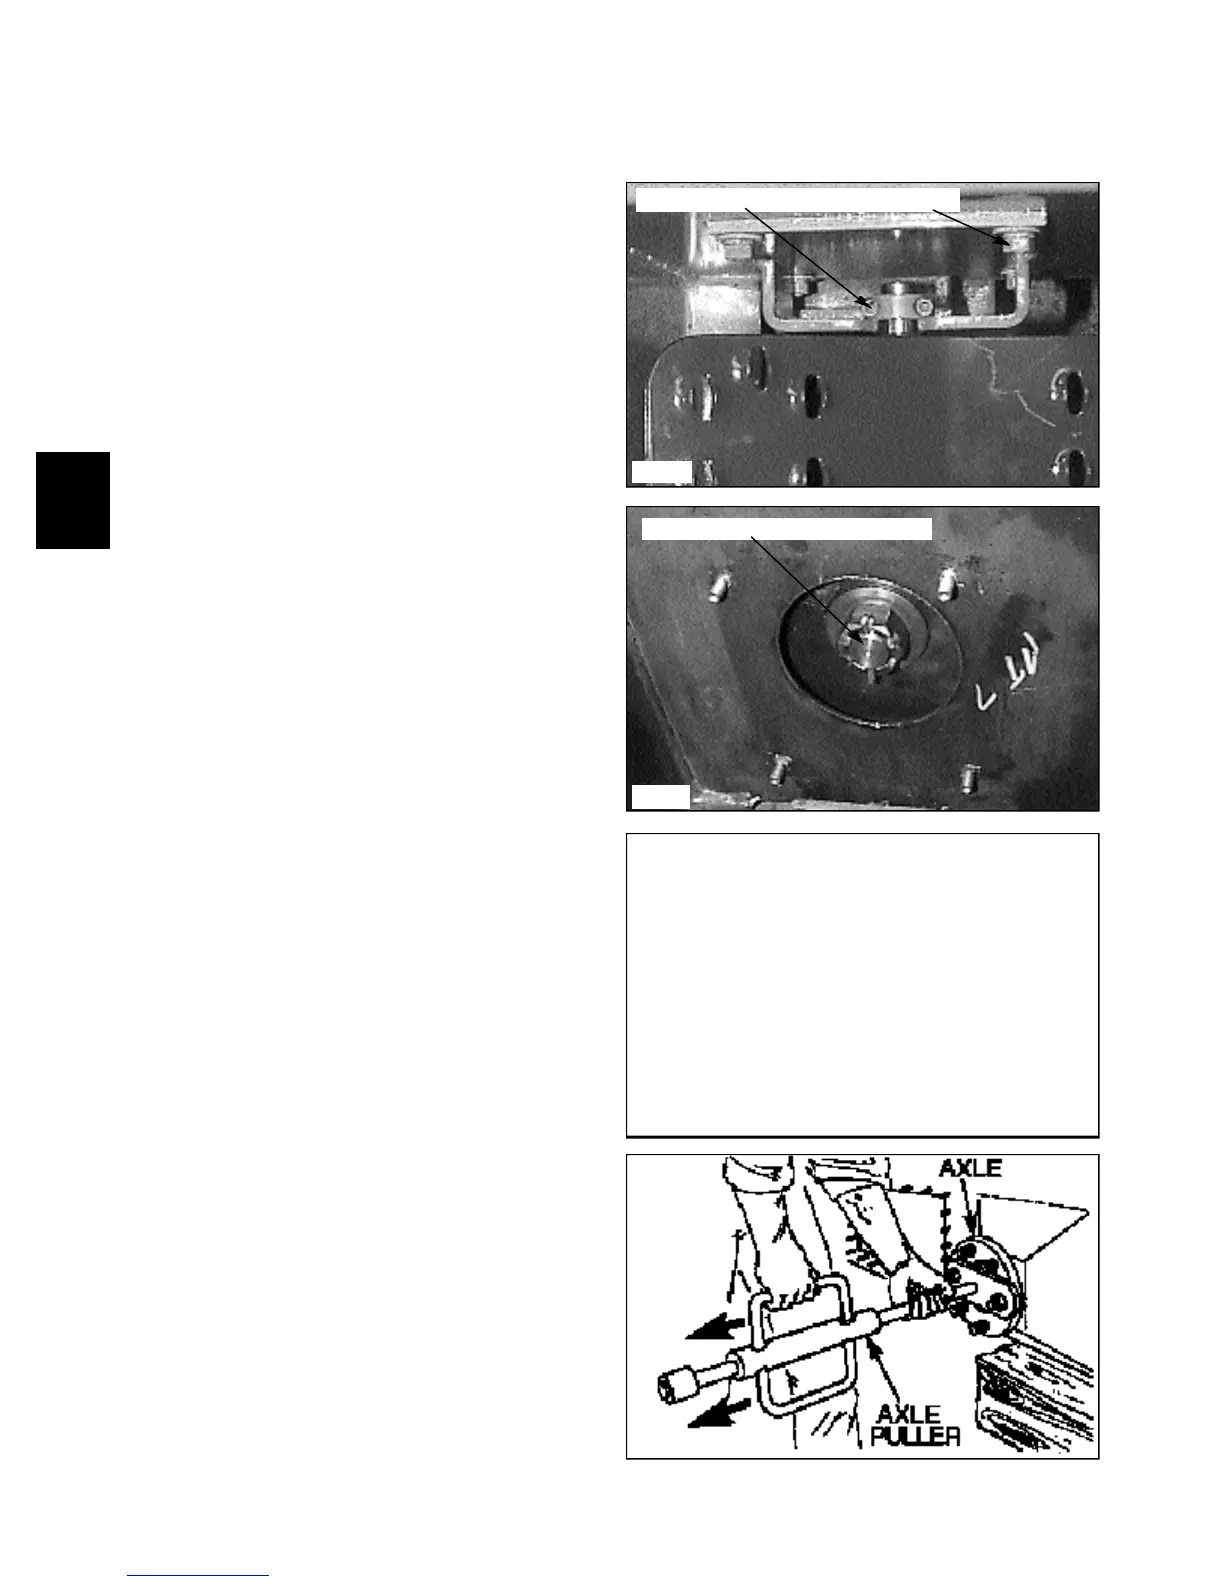
9 Remove the inner axle cover plate from the final
drive housing. (fig. C2430)
10 REAR AXLE: Remove the inner axle cover plate
from the final drive housing.
11 Remove the split pin from the castle nut on the end
of the axle. (fig. C2431)
12 Remove the castle nut and axle washer. The axle will
need to be held stationary.
13 Using a special slide hammer type axle puller tool,
(fig. C502) remove the axle assembly (fig. C228). (See
special tools, Section 8).
AXLE ASSEMBLY 3.5
C2430
C502
C2431
C228
Remove control pedals and axle covers
Remove cotter pin, nut and washer