1-39
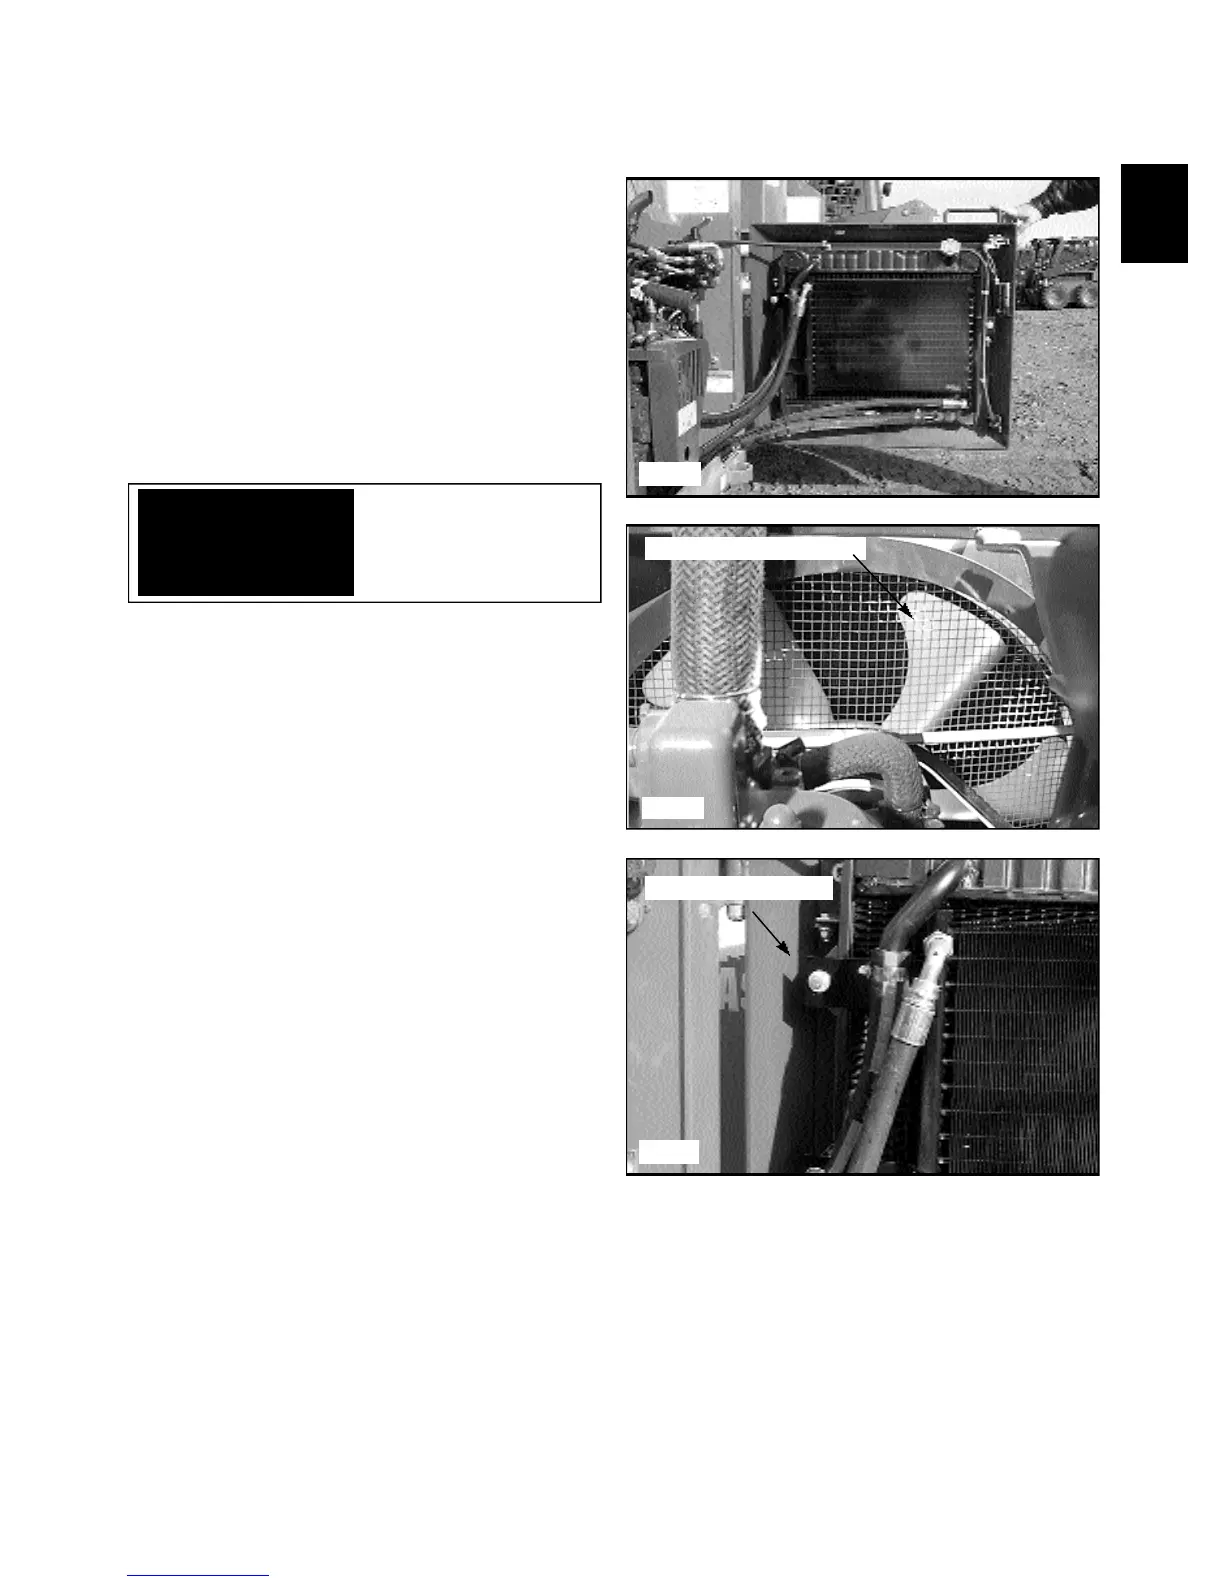
Engine driven cooling fan
C1872
HYDRAULIC OIL COOLER 1.6
The hydraulic oil cooler is mounted to the inside of the
rear door. (fig. C2932) Oil returning from the control
valve is circulated through the oil cooler before being
sent on to other parts of the hydraulic system.
An engine driven cooling fan drives air through the oil
cooler when the rear door is closed.
The oil cooler is rated at 250 BTU / minute.
The oil cooler should be checked daily for dirt build up
on the cooling fins. If air flow is restricted through the
cooling fins, over heating of the hydraulic system may
occur. Clean any dirt build up with compressed air. Flush
with water if necessary.
General Information
Cooler Replacement
1 Lower the boom arms, engage the parking brake and
shut off the engine.
2 Open the rear door.
3 Connect a vacuum system to the oil reservoir filler
spout, if available, or drain the hydraulic oil reservoir. Be
prepared to contain 34 liters of fluid (9 gal). Use clean
containers if the oil is to be reused.
4 Remove the cooler hoses. Plug the open hoses and
cooler ports to prevent contamination.
5 Remove the cooler from the rear door.
6 Remove the fittings from the oil cooler.
7 Inspect the fitting o-rings for damage and replace if
necessary.
8 Install the fittings into the new or repaired oil cooler
following the torque chart on section 1.10. Be sure to
support the cooler as the fittings are tightened to prevent
damaging the cooler.
9 Replace the cooler & cooler lines. Follow the torque
chart on section 1.10 when tightening the hydraulic hoses.
10 Replenish the hydraulic fluid as required. Check for
system leaks and check the fit of the shroud seal to the
engine radiator. Adjust if necessary.
WARNING
To avoid eye injury,
always use safety goggles
when cleaning with
compressed air.
Upper Radiator Mount
C2932
C2933