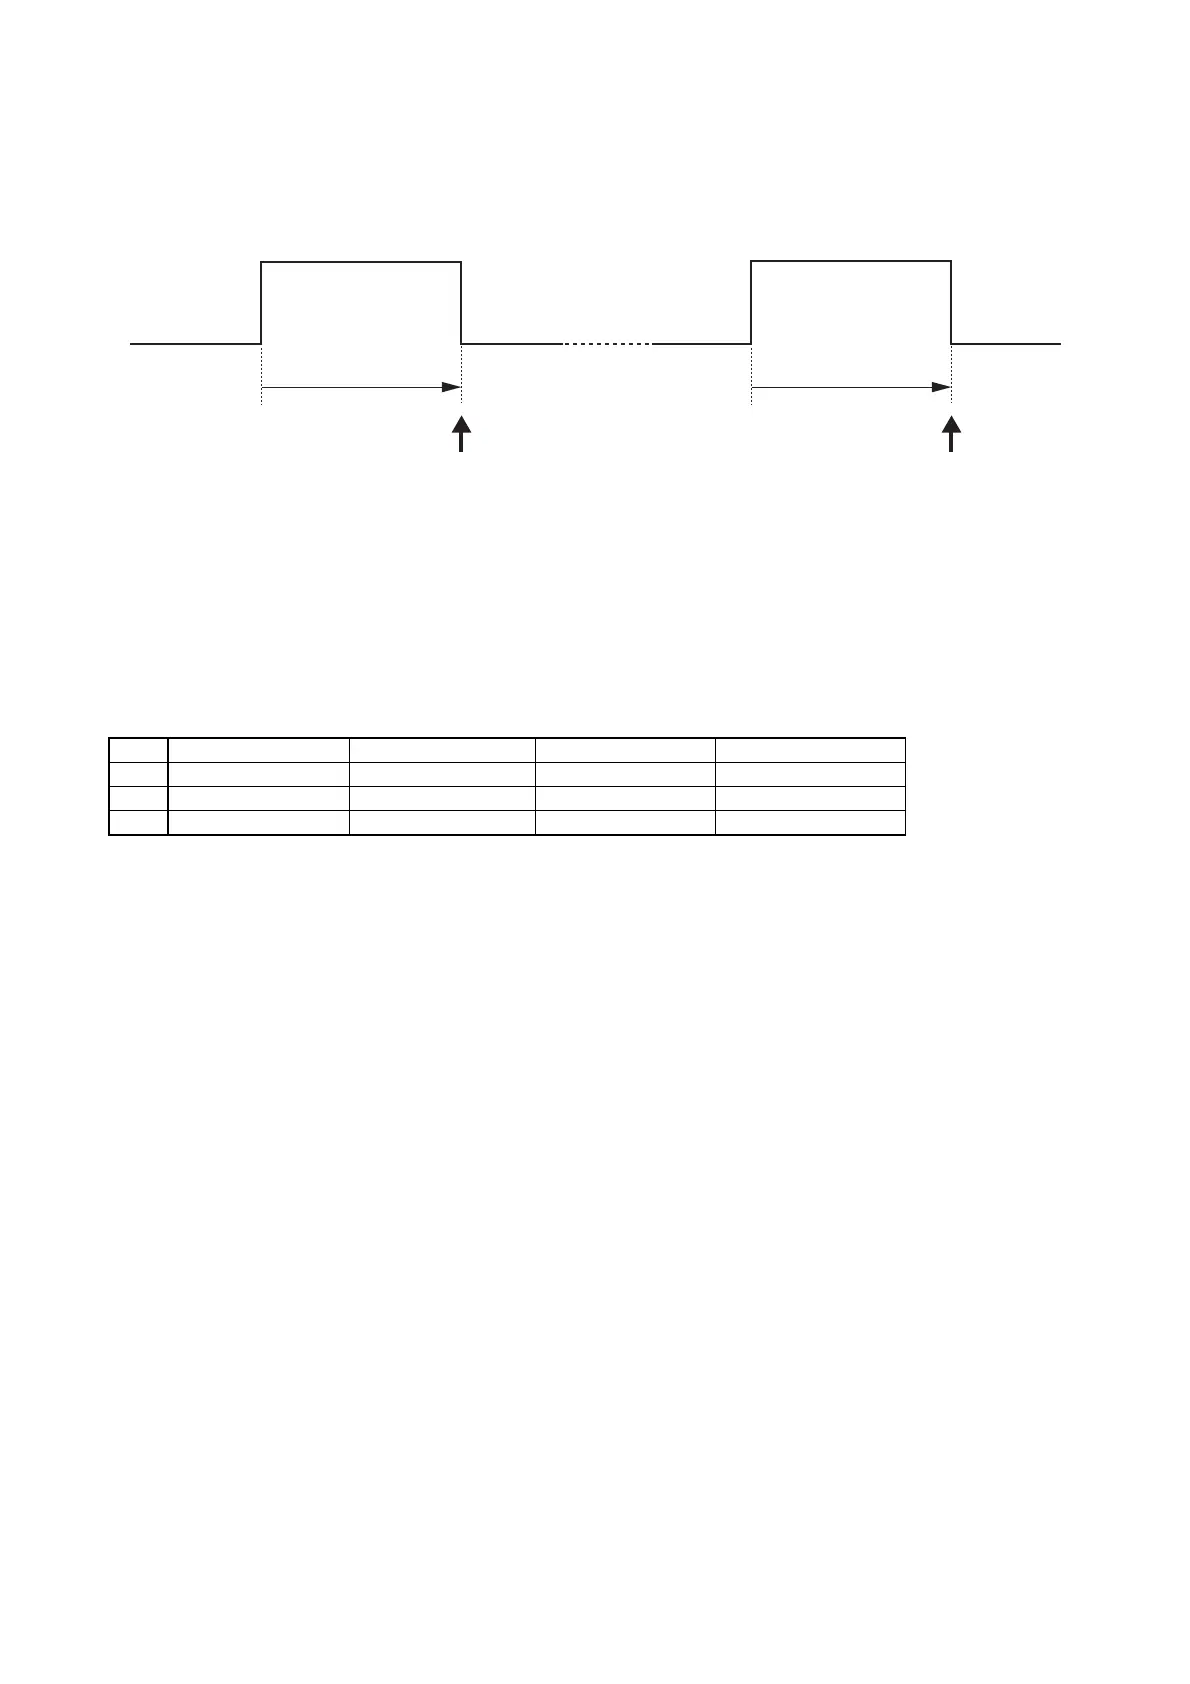
Muting turns ON.
Muting turns OFF.
However, muting of the channel selected at 2 or more terminals is kept ON until all of the terminals that have
selected the channel are turned OFF.
Example. CH1 and CH2 have been selected at Terminal 1, and CH1 and CH3 selected at Terminal 2
After turning muting ON for Ch1 and Ch2 at Terminal 1, if Terminal 2 is shorted, muting is turned ON for Ch1,
Ch2, and Ch3. (Note that Ch1 muting is not turned OFF.*
1
)
If Terminal 1 is then short-circuited, Ch2 muting is turned OFF, however Ch1 muting is not turned OFF. (The
reason is that Ch1 muting has been turned ON at Terminal 2.*
2
)
Next, if Terminal 2 is shorted, muting is turned OFF for Ch1 and Ch3.
Short by Terminal 1 Short by Terminal 2 Short by Terminal 1 Short by Terminal 2
Ch1 Muting ON Muting ON*
1
Muting ON*
2
Muting OFF
Ch2 Muting ON Muting ON Muting OFF Muting OFF
Ch3 Muting OFF Muting OFF Muting ON Muting OFF
8.13. Firmware Update
This section explains how to update the unit's firmware to conform with software upgrades.
Notes
• Save the unit's setting using the setting software before updating the firmware. Refer to the accompanying
Software Instruction Manual for information about the setting software,.
• The firmware cannot be updated if the Unit ID number is not correctly set. Because the Unit ID number is not
factory-preset, set the correct Unit ID number referring to the Section "Unit ID Number Setting and
Confirmation" on p. 16 of this manual.
8.13.1. Confirmation of connections
Update using the same connections as those which were used when setting the unit.
Step 1. Activate the setting software, then click on [File (F) → Open (O)] to open the setting file.
Step 2. Click on [Remote (R) → Connect] to confirm whether connections can be made normally.
Step 3. Click on [Remote (R) → Disconnect (D)] to terminate communications.
Step 4. Click on [File (F) → Exit (X)] to terminate the setting software.
 Loading...

