25
PREPARATIONS
PREPARATIONS
POWERING ON
1 Connect the power cable.
2 Turn the POWER switch ON.
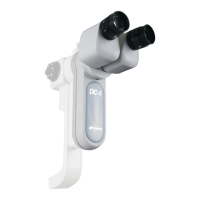
ADJUSTING THE DIOPTER AND PUPILLARY DISTANCE (PD)
If no test rod is provided, turn the diopter adjusting ring to set the diopter scale to your diopter.
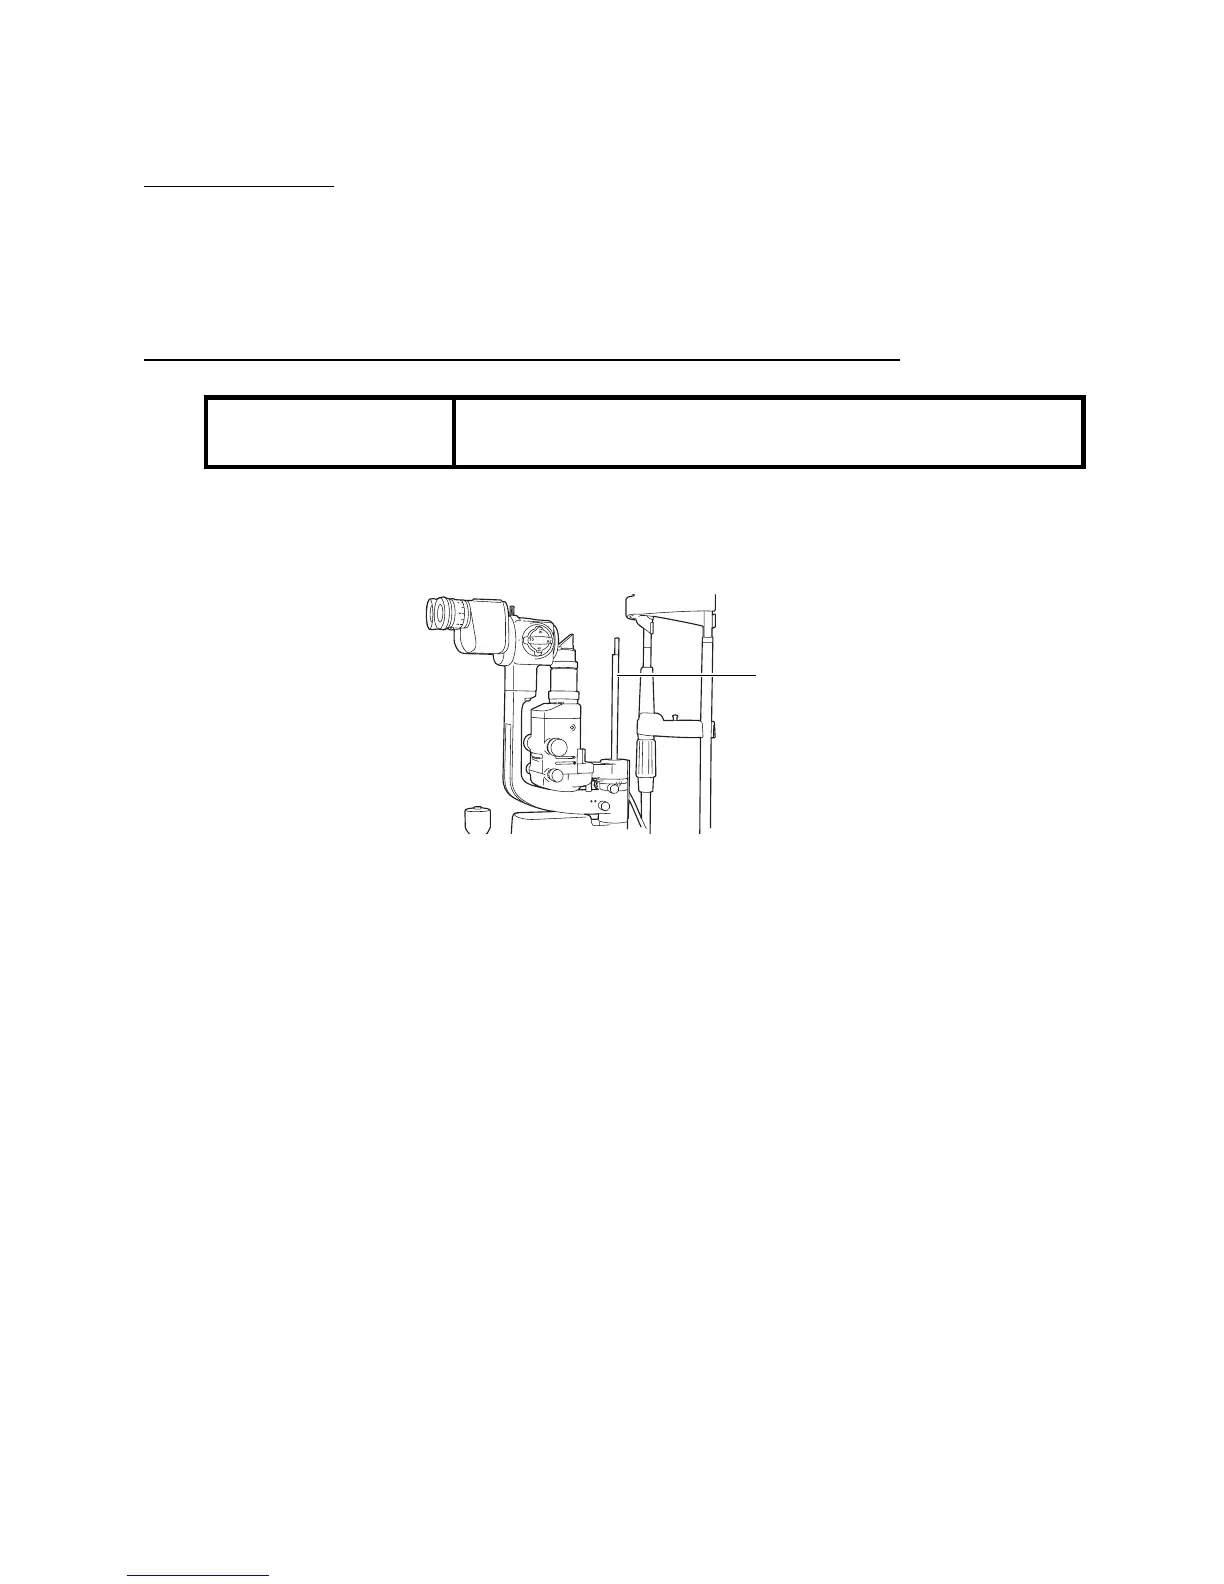
1 Insert the test rod into the rotation shaft cavity, and set the black face square with the
microscope.
2 Turn the POWER switch ON and turn the brightness adjustment knob to an intermediate
position.
3 Adjust the illumination to φ 10mm by adjusting the slit adjustment knob and aperture/slit
length selector knob.
4 Turn the diopter adjusting ring of the eyepiece counter-clockwise to the end.
5 Turn the diopter adjusting ring clockwise and stop when you can clearly see the test rod.
6 Read the value on the diopter scale of the stop position. The value shows the diopter (D).
7 Repeat diopter adjustment for the eyepiece on the other side in the same way.
8 After adjusting the diopter, turn the slit adjustment knob until the slit width is about 1mm,
then check if you can see the slit image projected on the test rod clearly.
NOTICE
To ensure sharp observation of slit images, always carry out
the diopter and eye width adjustment.
Test rod
* The illustration
shows