35
PREPARATIONS
CONNECTING THE USB MEMORY
When you use the USB memory, connect it to the instrument according to the following procedure.
The USB memory can also be connected while the power is ON.
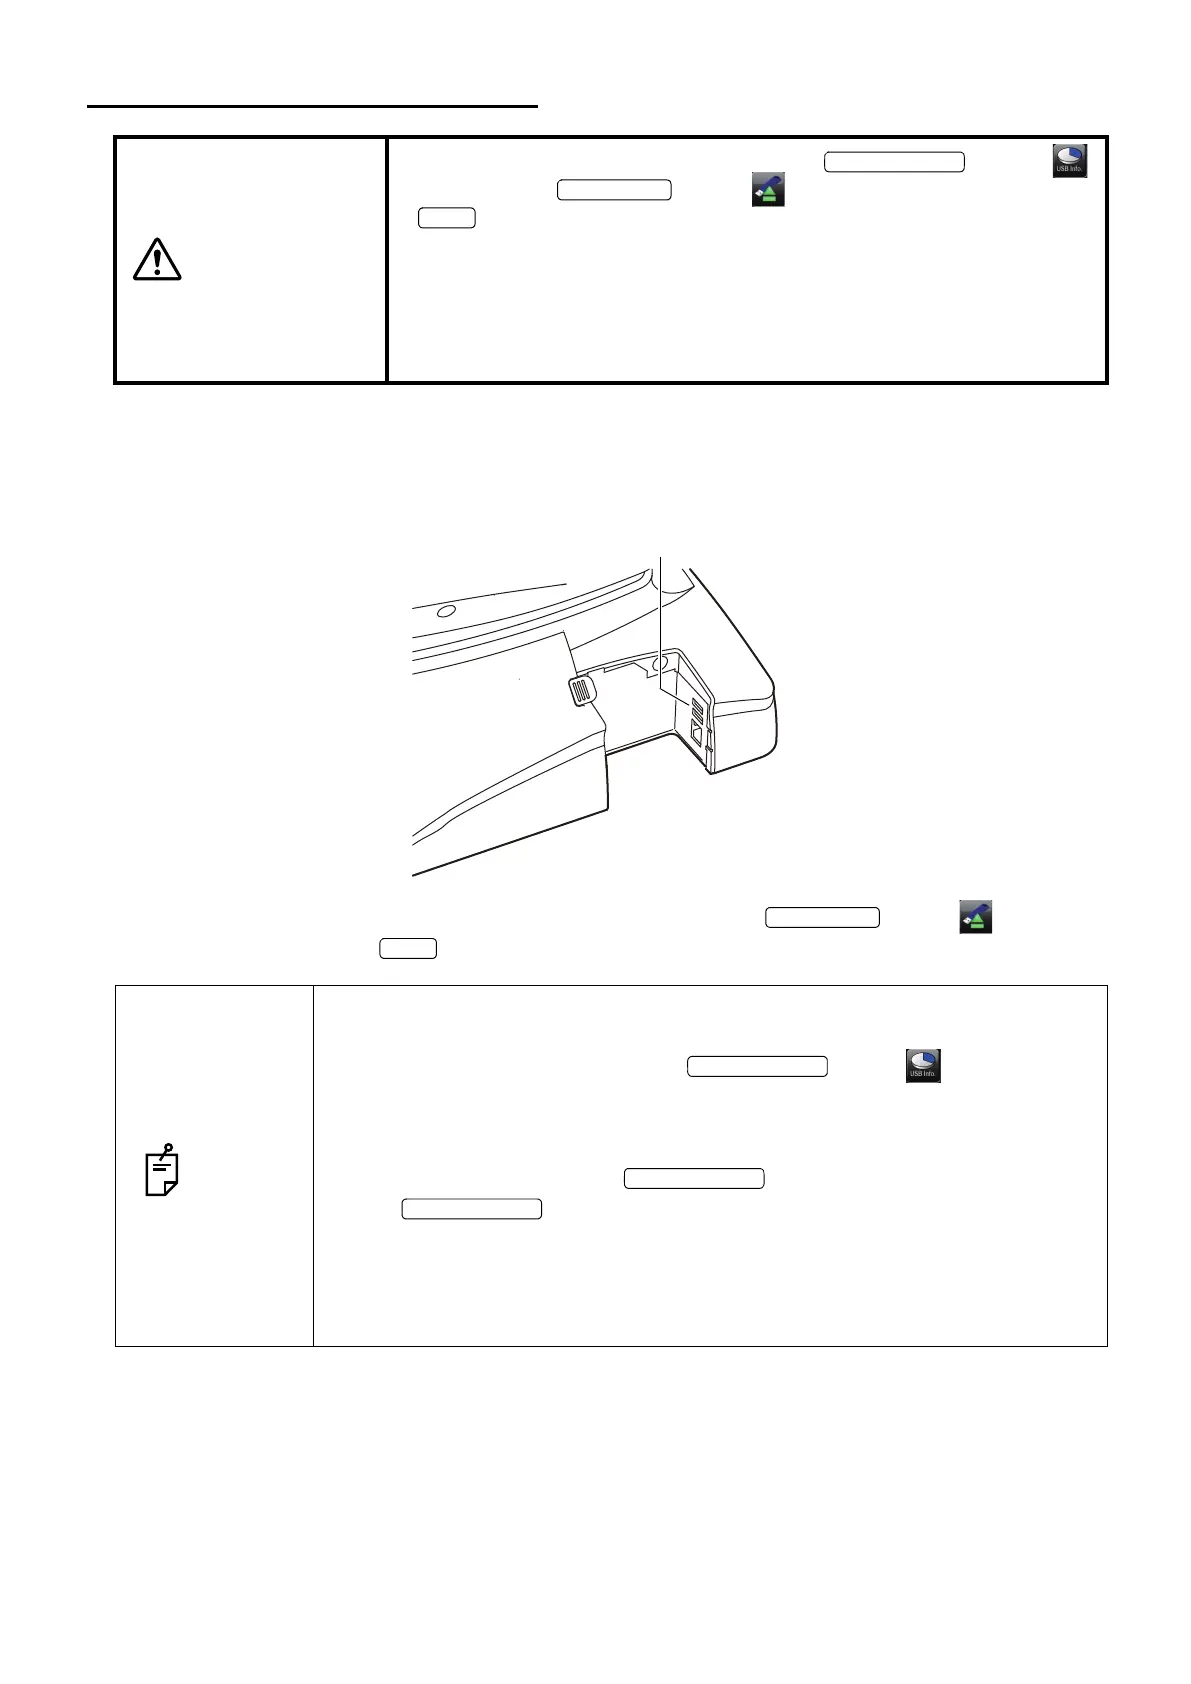
1 Connect the USB memory to the terminal in the correct direction.
2 To take out the USB memory, tap the button. Then, tap the button on the dis-
played screen or the button on the message.
CAUTIONS
•To take out the USB memory, tap the button .
Then, tap the button on the displayed screen or the
button on the message. If you remove the USB memory with-
out tapping the above-mentioned buttons, data is not saved from time
to time.
•Use the USB memory formatted with "FAT32".
If you use the USB memory that is not formatted yet, the instrument
cannot be connected to it from time to time.
NOTES
•Before connecting the USB memory, make sure that it is not infected with any
computer virus.
•Before photographing, check if the button is displayed on
the monitor screen. Unless this button is displayed, the USB memory is not
connected and the captured image is not saved.
Right after the USB memory is connected, it takes a while to recognize the
USB memory. Wait until the button is displayed.
•If the button is not displayed after waiting for a while, remove
the USB memory and connect it again.
•When you want to save data into the DICOM server, be sure to connect the
USB memory. If not, photographing cannot start.
•The USB memory may be destroyed. Back up data diligently not to lose it.
 Loading...