10
Schedule Setup
e EVOLUTION
TM
controller only displays one schedule by default. See the "EWBODFE'VODUJPOT section to activate additional schedules if
needed.
Water Days Setup
e EVOLUTION
TM
controller allows for exible watering by giving you four schedule options: 7-day, Even days, Odd days or Interval
days. By default, the 7-day schedule is set for the schedule. To set watering days to Odd, Even or Interval, see the "EWBODFE'VODUJPOT
section.
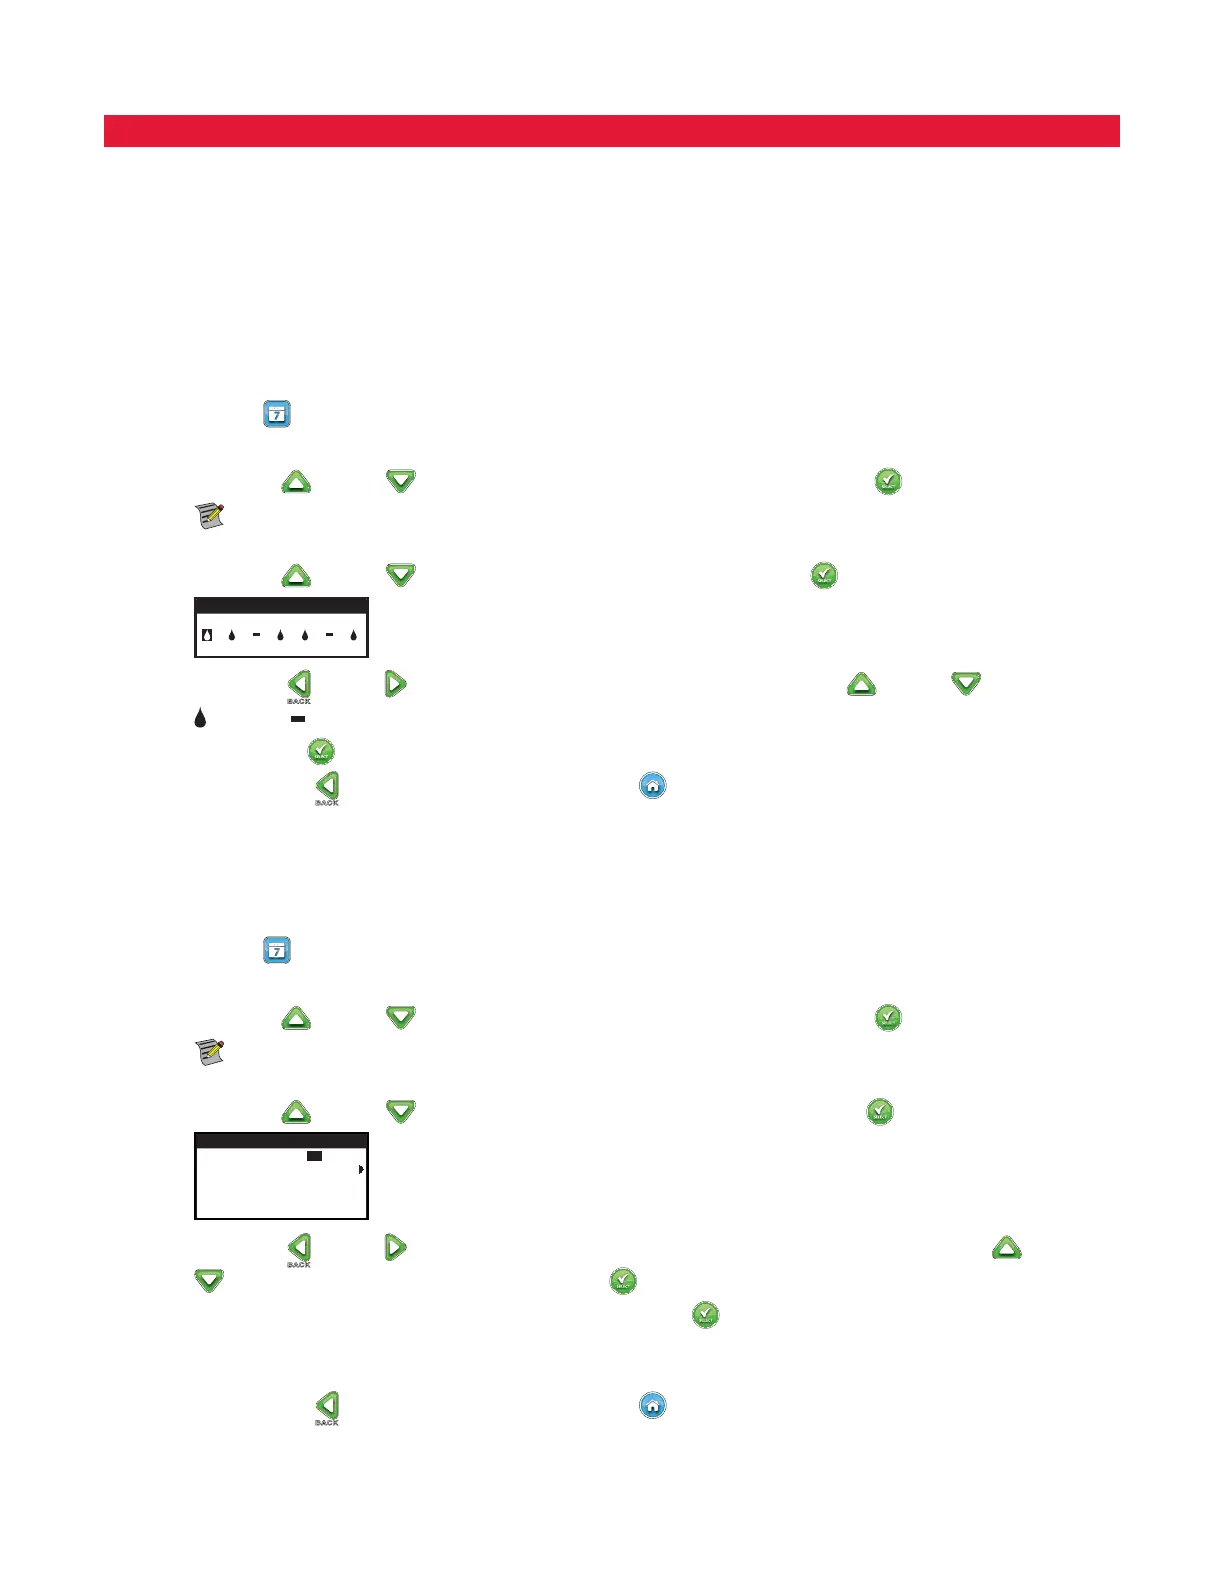
7-Day Scheduling
e 7-day schedule allows you to activate or turn o any of the days in the week. By default, all days are active.
Step 1 – Press the
SCHEDULES button.
Step 2 – (For controllers with multiple active schedules only.)
Use the Up
or Down arrows to select the Schedule you want to edit. Press SELECT .
Note: e Schedule and Zone names can be customized using the EVOLUTION
TM
Software which can be accessed at
www.toro.com/evolution.
Step 3 – Use the Up
or Down arrows to navigate to WATER DAYS. Press SELECT .
SCHEDULE
S M T W T F S
Step 4 – Use the Left or Right arrows to navigate within the days of the week. Use the Up or Down arrows to activate
or turn o the day for watering. Repeat for all days of the week.
Step 5 – Press SELECT
to save the changes and return to the SCHEDULES menu.
Step 6 – Press the BACK
arrow to return to the previous menu or HOME to return to the main screen.
Schedule Start Setup
By default, the EVOLUTION
TM
controller is set with 1 start time set to OFF. Additional Starts can be added with a maximum of four starts
per schedule. Once a start is activated, the schedule will activate the rst zone (lowest number). Once it is complete, the second zone will
water. e schedule will continue until all zones with runtimes have been activated.
Step 1 – Press the SCHEDULES button.
Step 2 – (For controllers with multiple active schedules only.)
Use the Up
or Down arrows to select the Schedule you want to edit. Press SELECT .
Note: e Schedule name can be customized using the EVOLUTION
TM
Software which can be accessed at
www.toro.com/evolution.
Step 3 – Use the Up
or Down arrows to navigate to SCHEDULE STARTS. Press SELECT .
SCHEDULE
START 01:00AM
ADD START
EACH START RUNS ALL
SCHEDULED ZONES
Step 4 – Use the Left or Right arrows to navigate to the start time’s Hours, Minutes and AM/PM. Use the Up or Down
arrows to set your desired start time. Press SELECT to save.
Step 5 – Navigate to ADD START to add another start time. Press SELECT
. Modify the new start time as indicated in Step 3.
Step 6 – To delete a start time, set the time to OFF. e OFF selection is located between the full hour of 11:00 AM/PM and the full
hour of 12:00 AM/PM (23:00 and 00:00).
Step 7 – Press the BACK
arrow to return to the previous menu or HOME to return to the main screen.